Small and super cheap rapid prototype kiln for ceramics and pottery glazes
Make a Tin Can Kiln For Pottery:
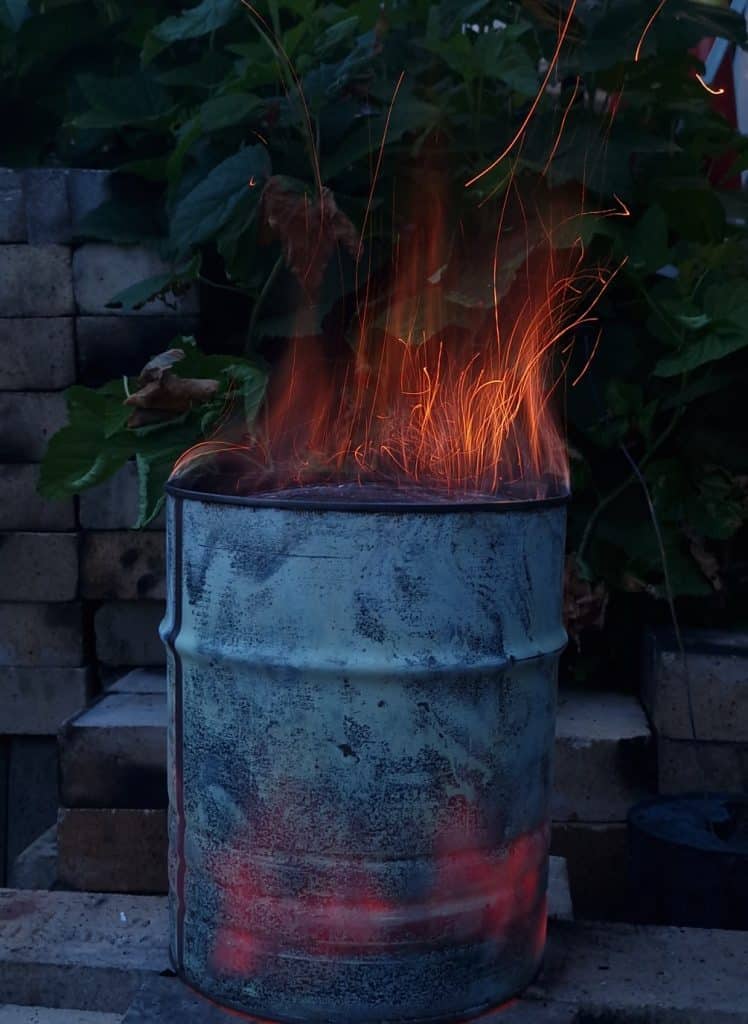
How To Make A Tin Can Kiln – Glaze Fire Ceramics With Charcoal
What is the cheapest, fastest, low-tech, small pottery kiln possible to build?
I would say make a Tin Can Kiln is a good candidate.
This is a really interesting test -kiln: You have a pottery kiln for just a few dollars, and you can burn mid-range glazes in your backyard. It reach max temperature in max 2-3 hours, so it can be fired several times in single a day. And I guess your neighbors wouldn’t even notice, making it a stealth pottery kiln.
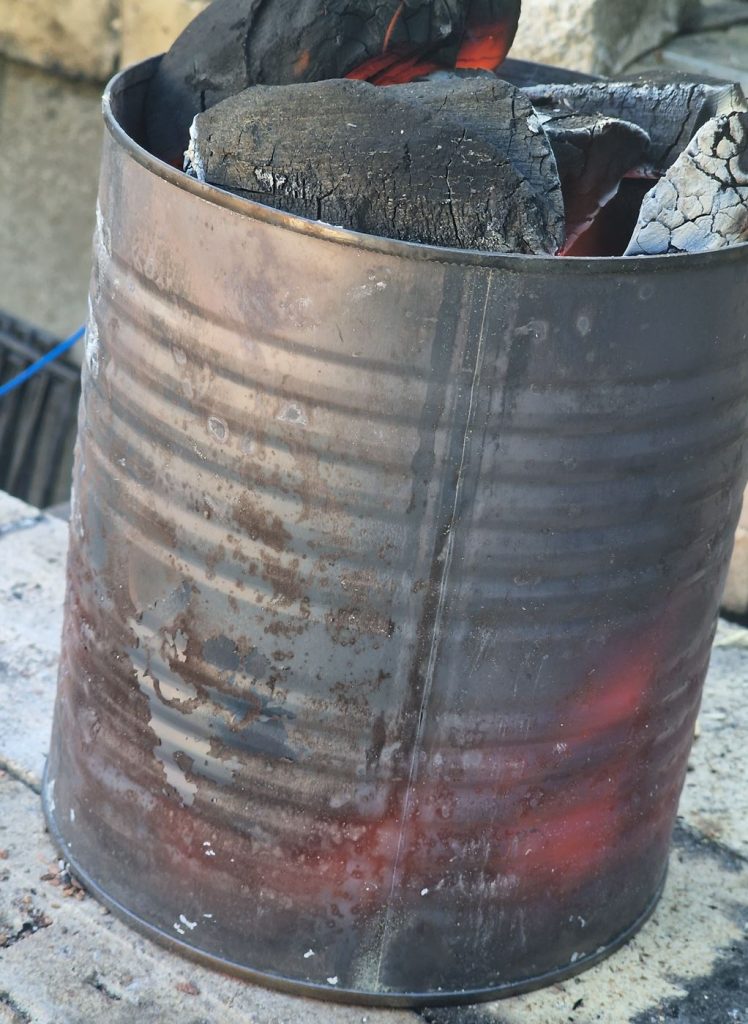
How To Make A Tin Can Kiln:
What you need:
- 2 or 3 Tin Cans, one smaller than the other two
- Tool for shaping the can; can opener, hammer, and 1 nail
- A cheap 5 or 12-Volt fan
- Powerbank
- Charcoal
- Protective glows, consider glasses too
Also take a look at the Minigama kiln here, both kilns have a lot in common but the Minigama is more graceful and refined:
Make A Tin Can Kiln:
The Tin Can Kiln is just an open Tin Can filled with charcoal, with small holes in the bottom where the fan blows air:
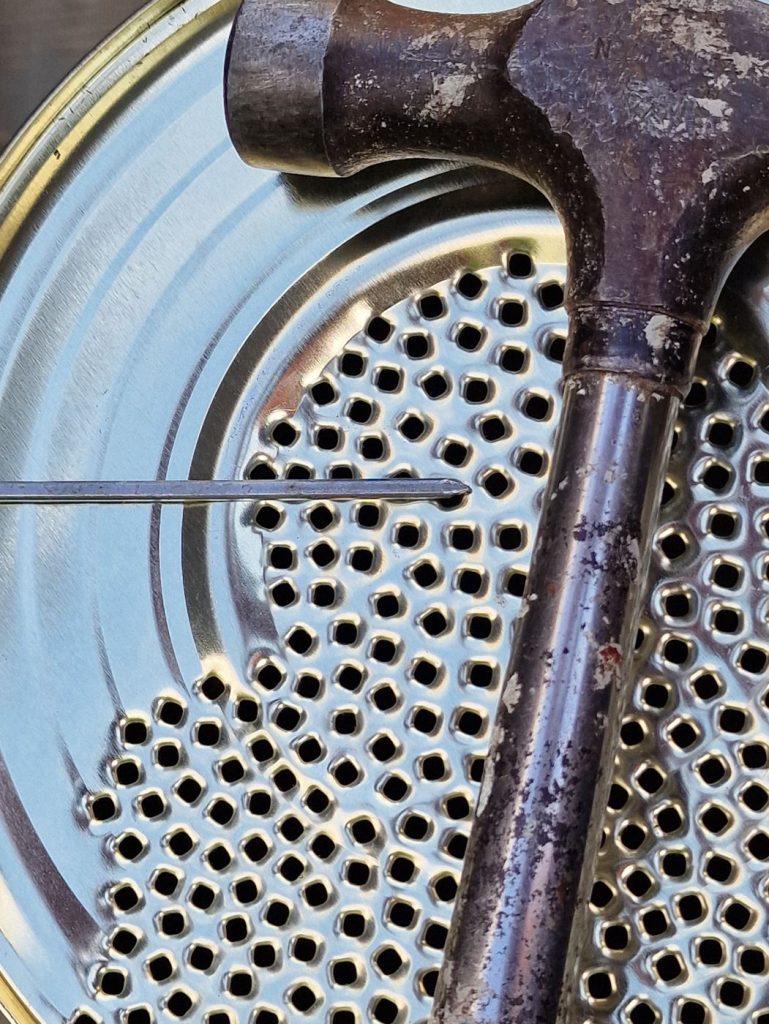
Drill the holes or hammer them out with a nail in the bottom of the tin can, an even distribution of holes gives a nice airflow to the fire chamber, while the tin bottom is still closed enough to keep the heat inside. It’s a lot of holes so be patient and hammer them out one by one:
The Tin Can Kiln is as much a process as it is a tool. First, you need to preheat the pottery to 2-300 degrees Celsius by holding the wares over a small fire in another tin can for 20 minutes. When it’s hot enough it’s time to bury it in charcoal in Tin Can number two, and start the main fire.
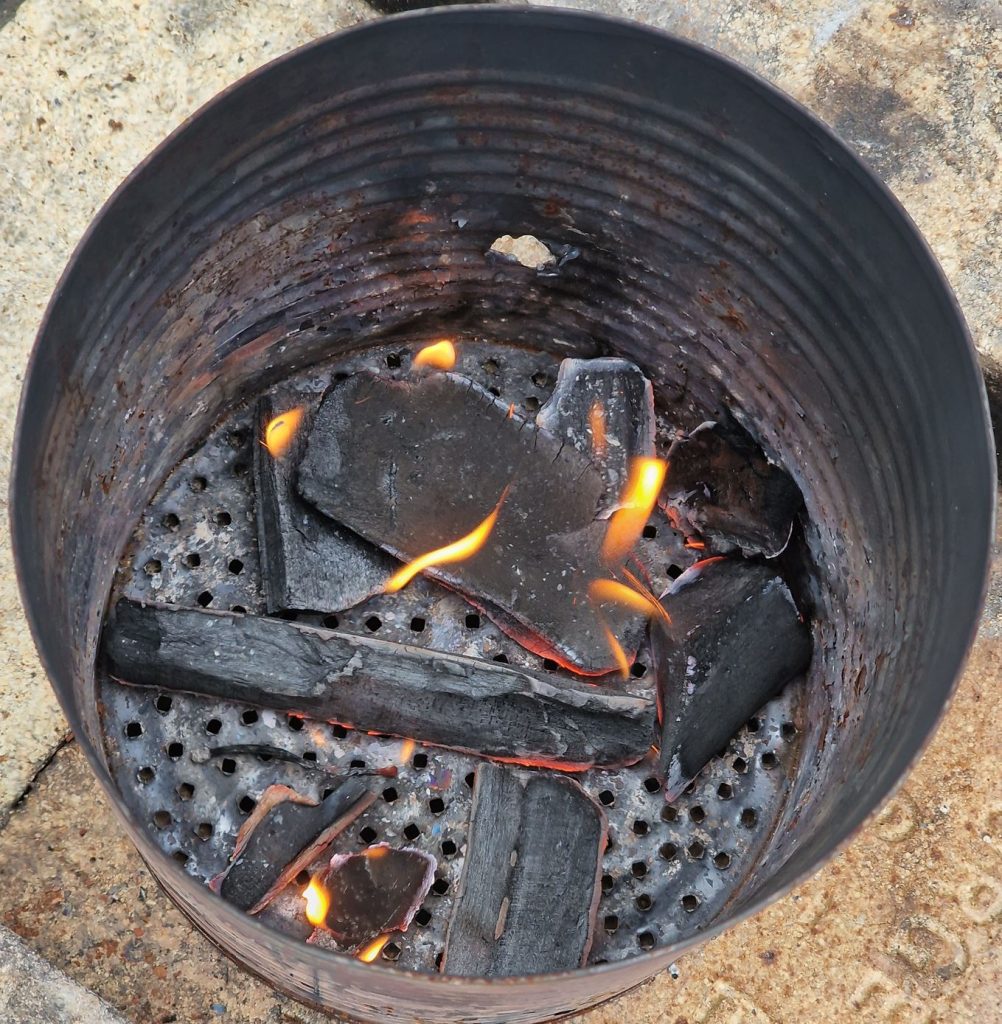
Don’t use big chunks when fire with charcoal. Charcoal burns ( like wood) from the outside and in. Big chunks have less surface compared to it’s volume, so break them up: 5 small chunks of charcoal burn much faster (and hotter) than 1 big. However, small chunks and charcoal dust block the airflow.
How to Fire the Tin Can Kiln to 1100 °C
How to Fire the Tin Can Kiln, preheat:
- 20 minutes heat the wares over a small fire in another tin can
- 20 minutes heat the wares closer to the fire
- When the clay is preheated to 150 – 300 degrees it’s ready to glaze fire
Fire the Tin Can Kiln:
- Fill the Tin Can with 10 cm charcoal, set the ware chamber on top of the charcoal, fill up the sides, and cover it all with 3-5 cm charcoal
- Add lighter fluid and ignite it from the top
- Use the fan for some minutes til the fire has started
- 20 minutes let it burn slowly without the fan til it is burning under the ware chamber
- 40 minutes maximum temperature with the fan on and halfway cover it with a metal sheet
- It’s done, turn the fan off, keep the metal lid on, and let it cool down
In this picture, the fire chamber is buried deep in charcoal and the fire is burning good
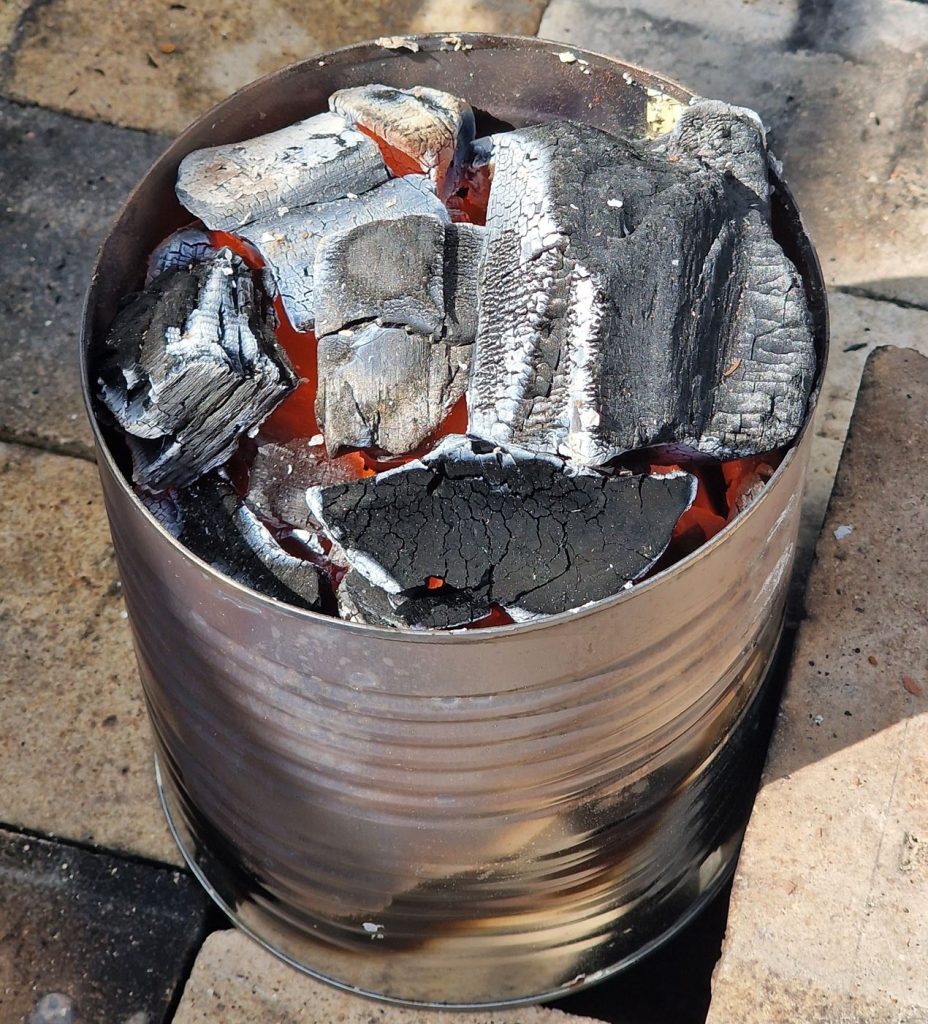
Firing with charcoal is 100% smokeless, except for the first 10 minutes when the lighter fluid burns off. In this picture, it burns really hot compared to wood:
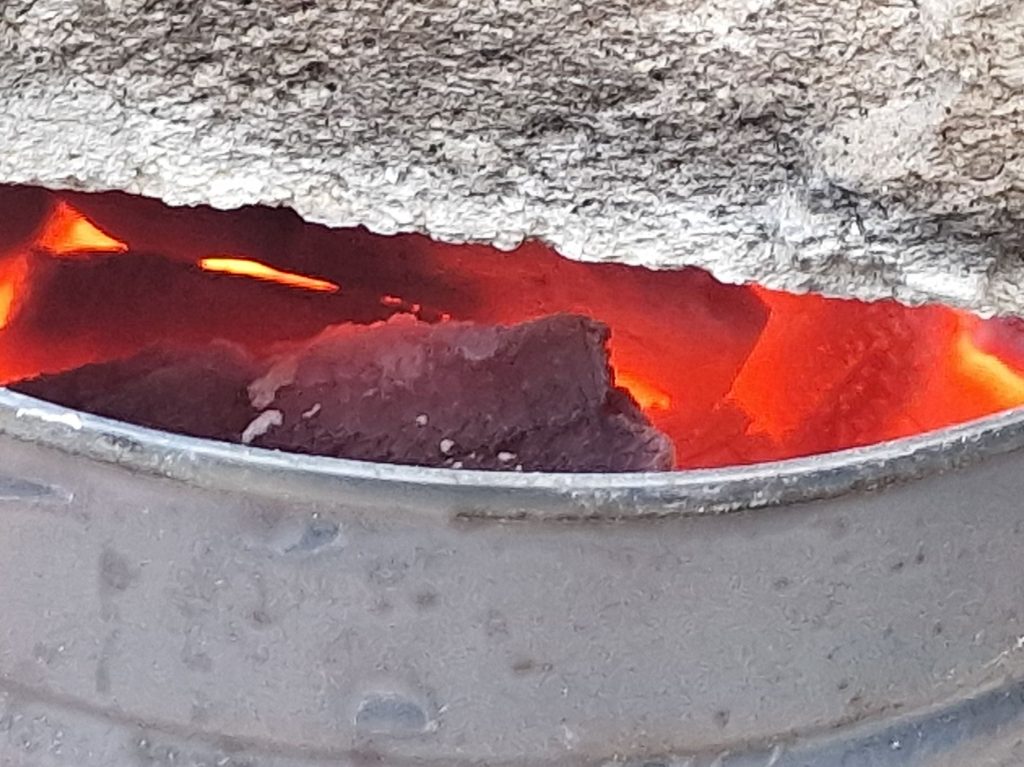
Make A Tin Can Kiln:
The heart of the kiln system is the fan. The fan’s air supply is vital to reach high enough temperatures. Here I build a tunnel with Firebricks. But normal bricks, or even digging out a tunnel in the ground is ok. The important is to distance the electric fan from the heat.
The fan increases the airflow making the fire burn more intensely, but it needs to be slow enough, so the fire burns without sparks and fly ash.
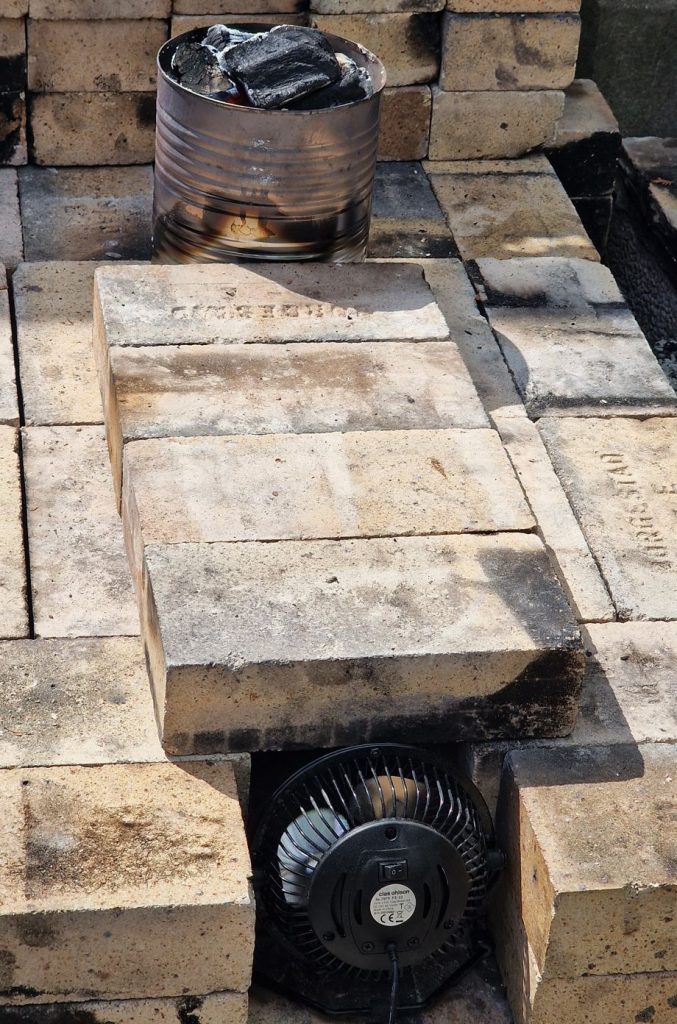
The Tin Can Kiln goes from zero to maximum temperature in no time, – adding the clay pre-heated is your only chance.
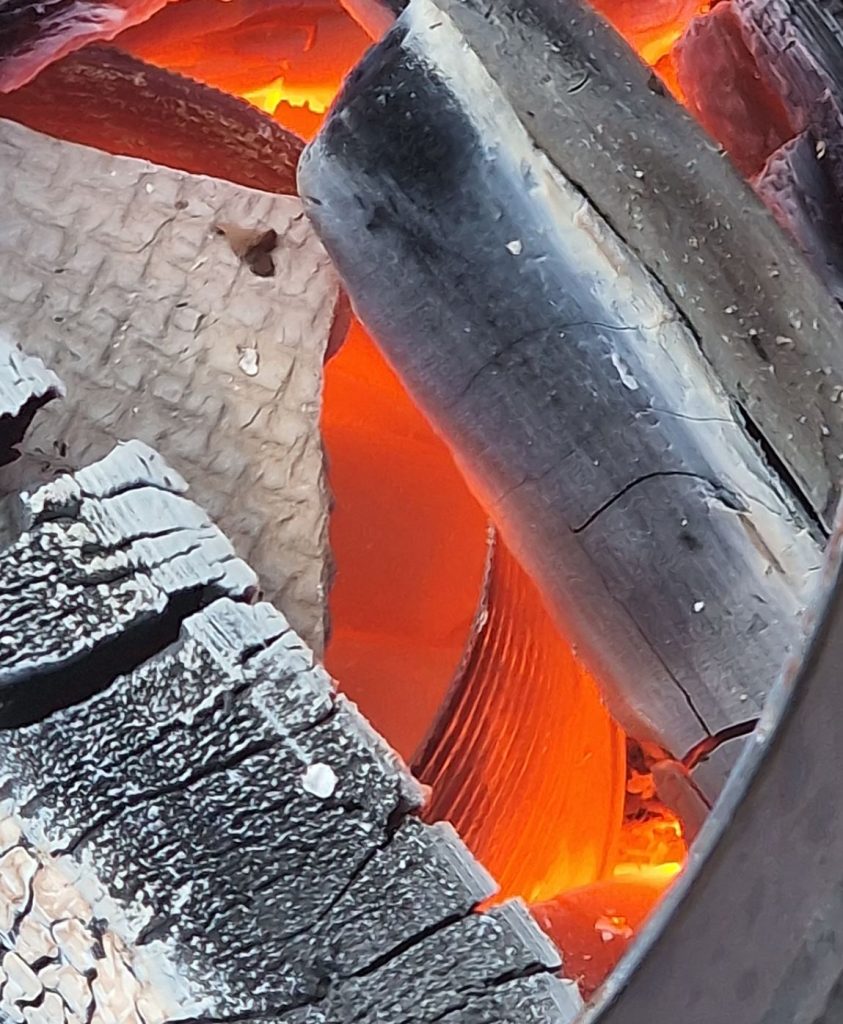
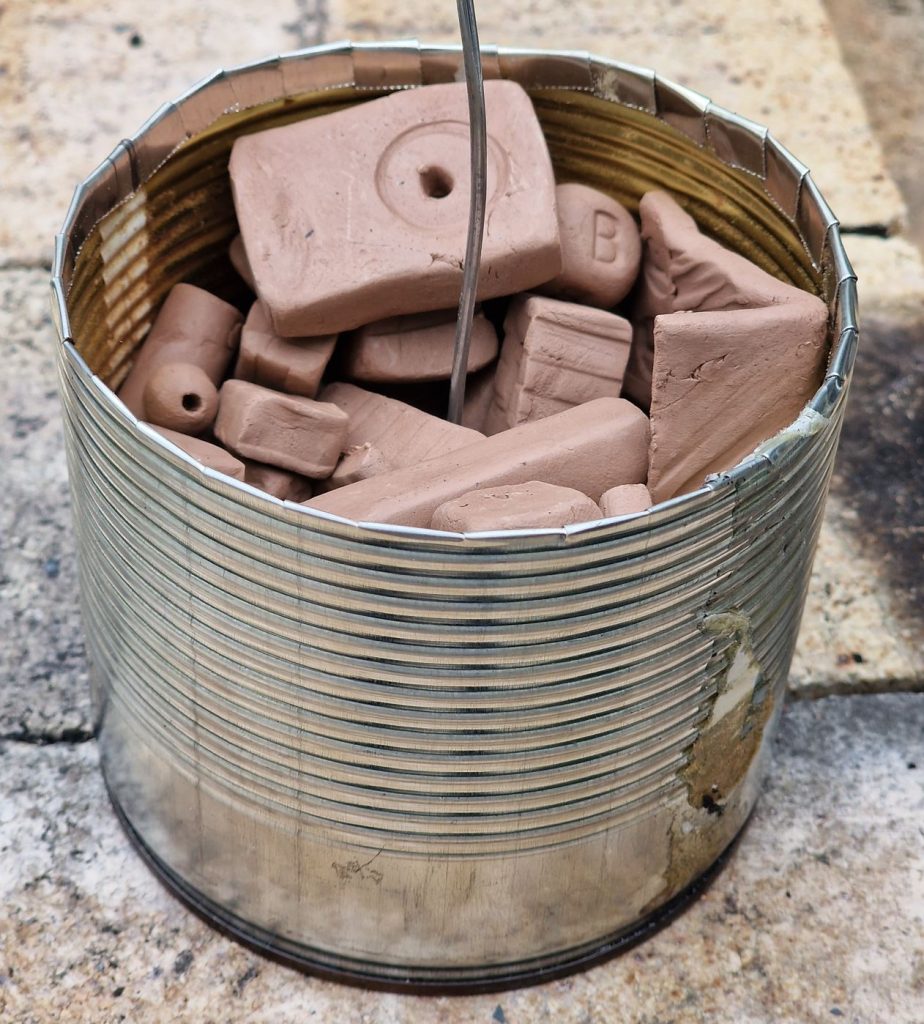
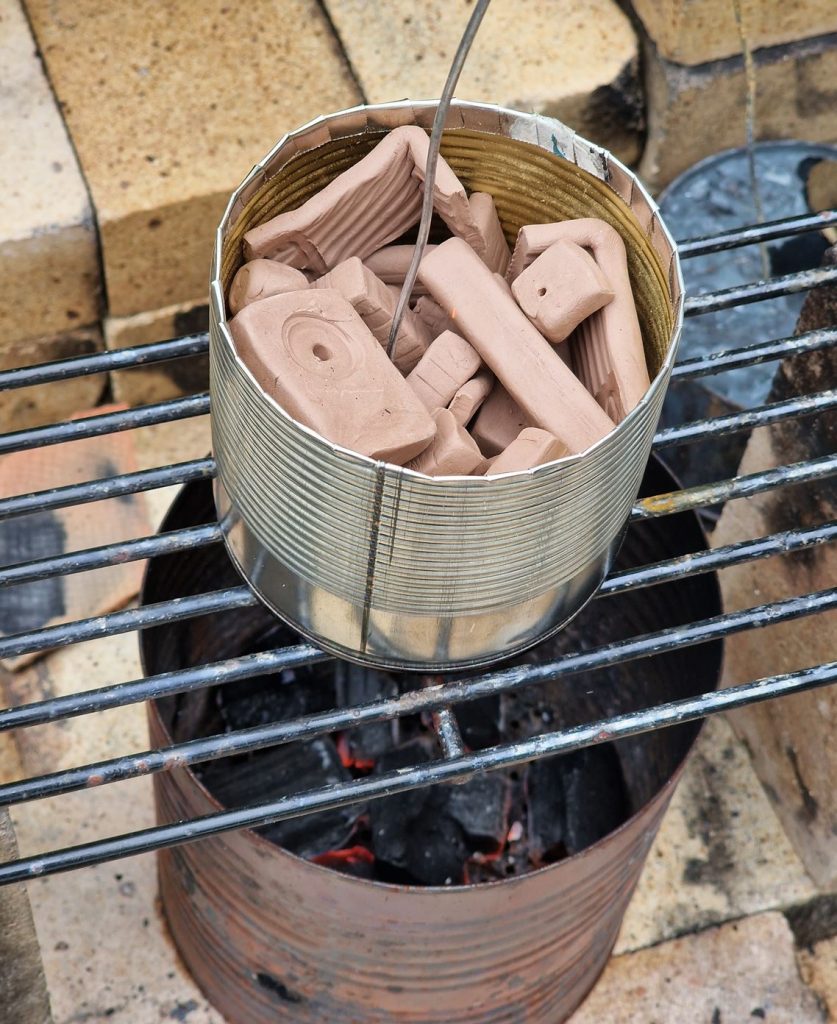
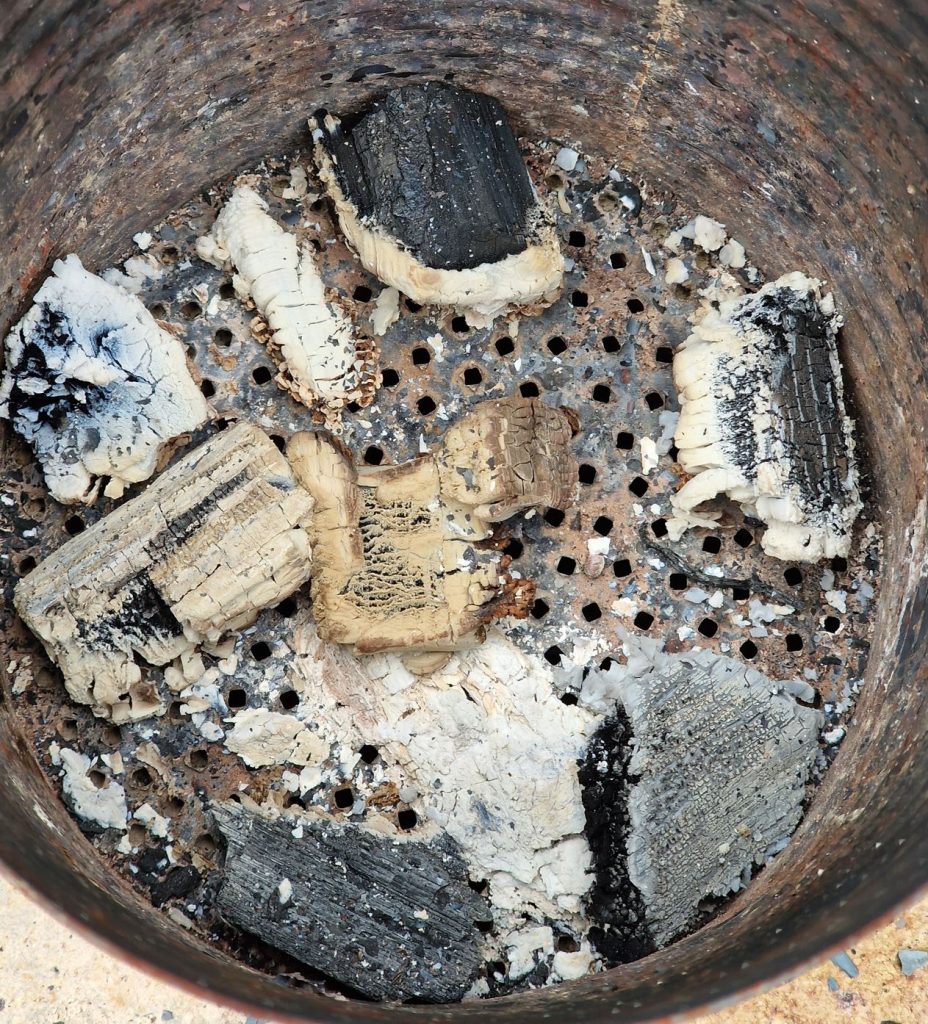
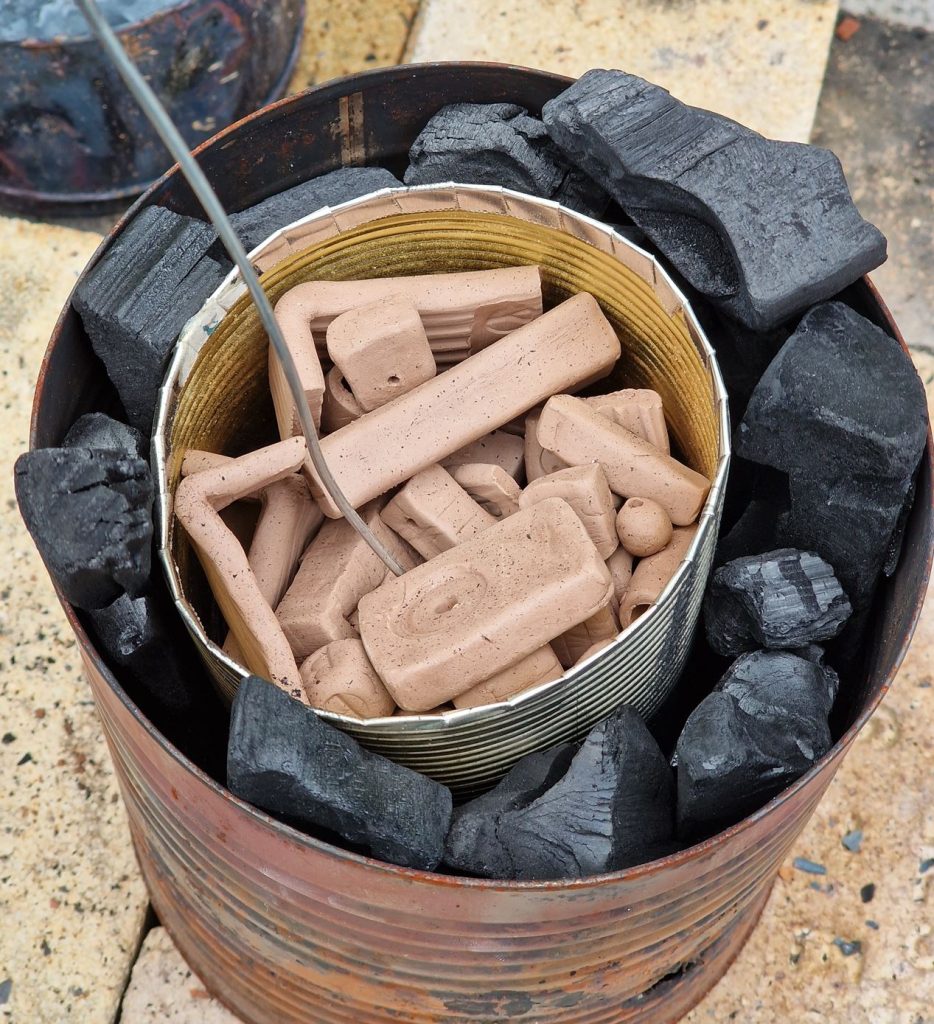
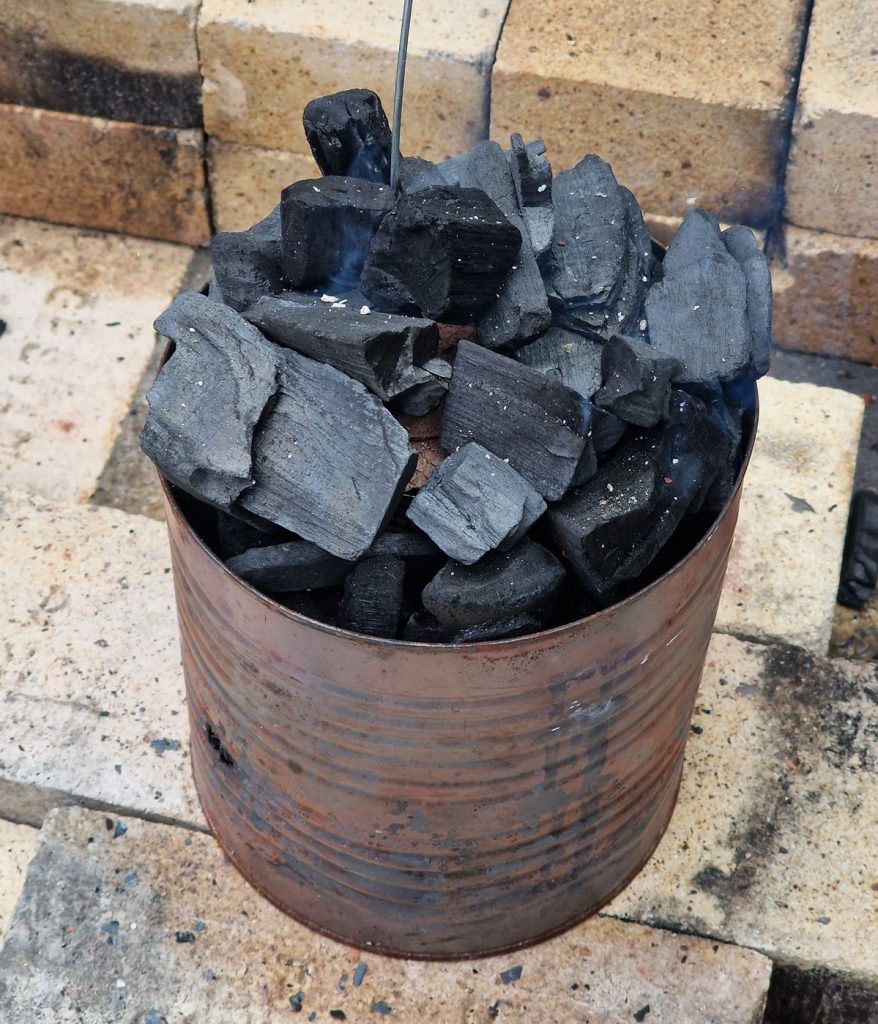
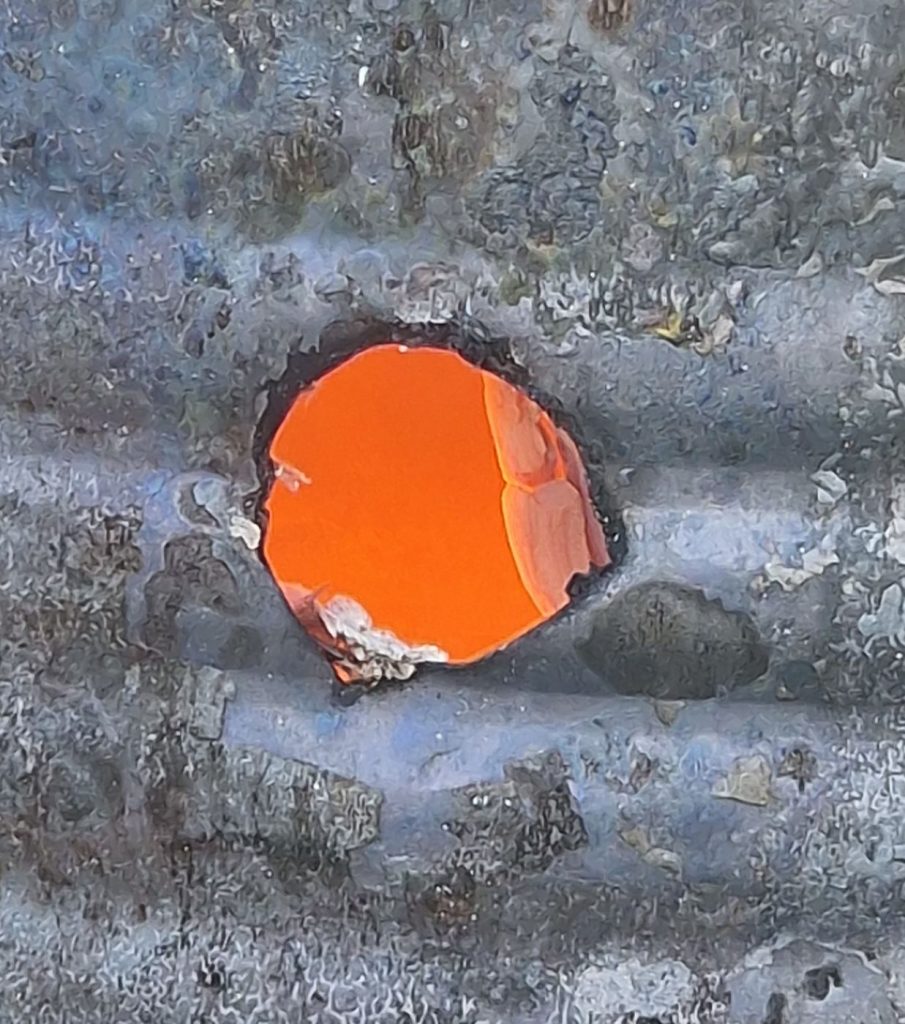
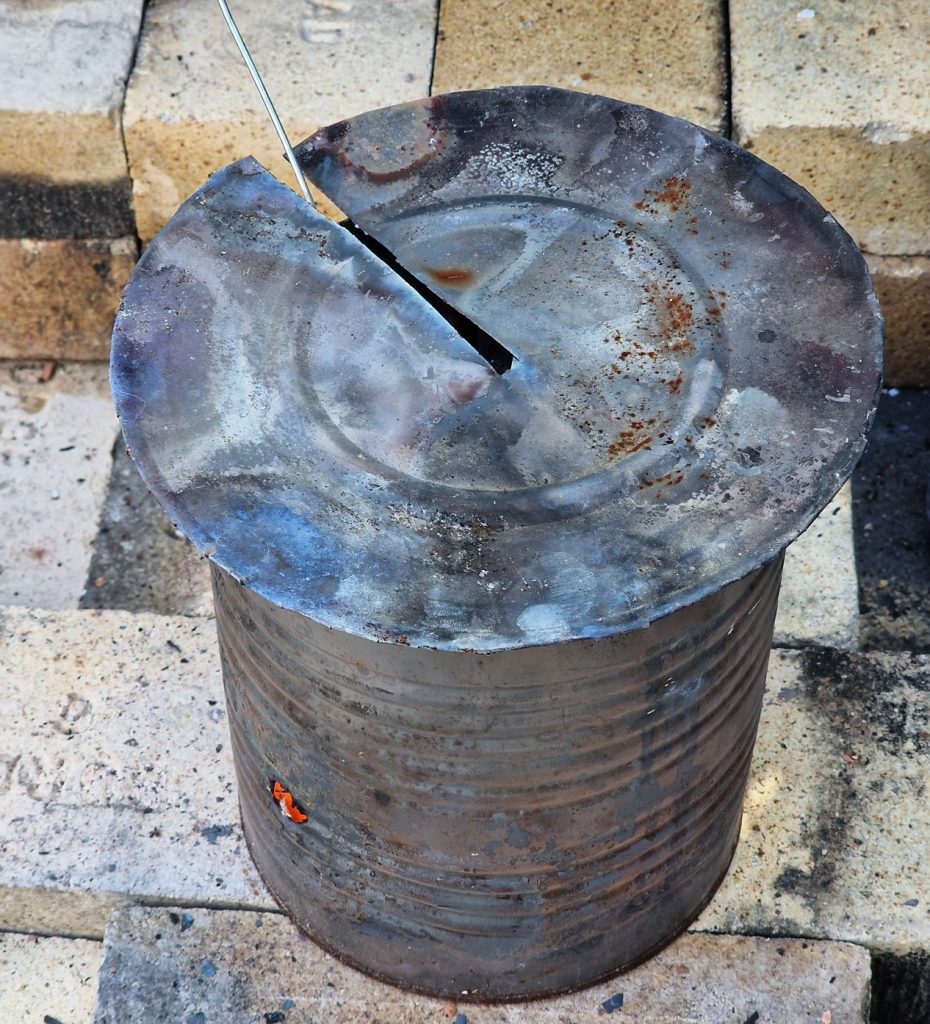
Pictures from the pre-heating process.
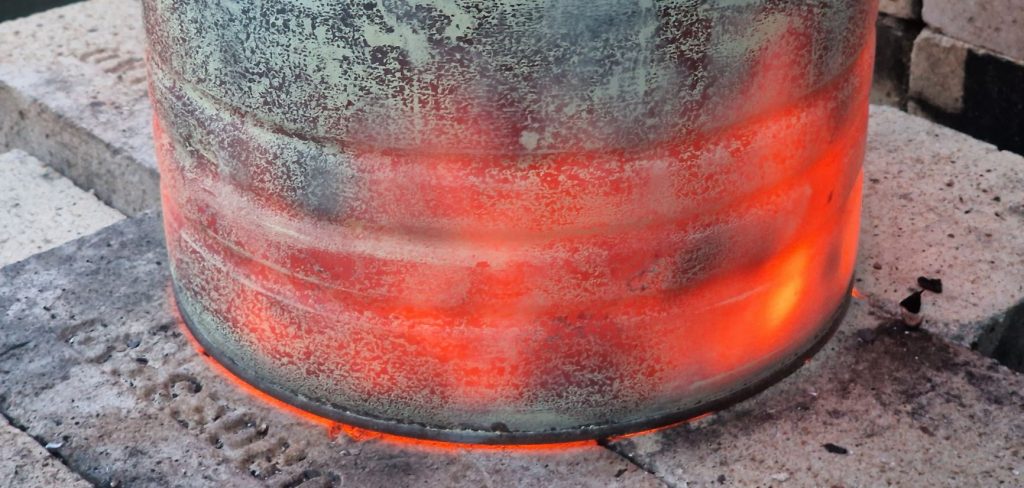
Sometimes the tin can are glowing red to orange, burning with lively flames. Other times it burns more slowly with only dark red spots and almost invisible flames. But if the ware camber is red glowing and the charcoal burning with short white and blue flames, I think it’s all right.
The Tin Can Kiln got my unofficial heat record: The temperature raised 1000 degrees in crazy 18 minutes. from 24 degrees Celsius to 1050. No insulated kiln could do the same.
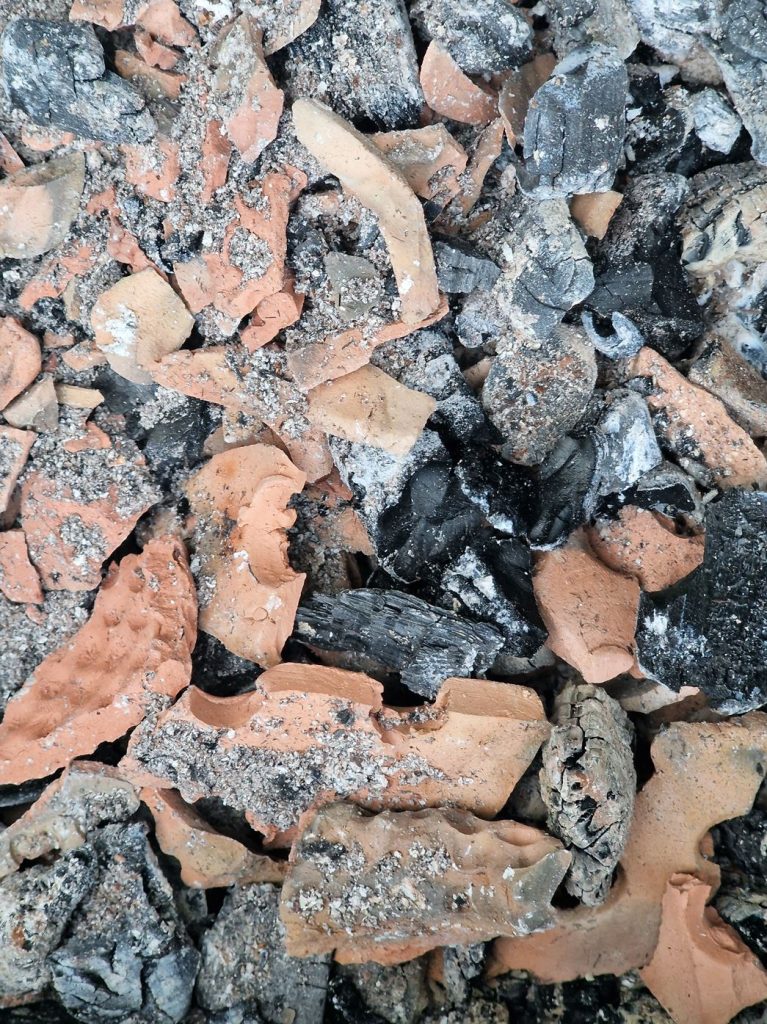
Moisture turns to steam and explodes your clay – unless preheated slowly so it’s completely free from moisture before put in the kiln.
This picture was taken when fired with unheated clay, everything exploded into tiny fragments.
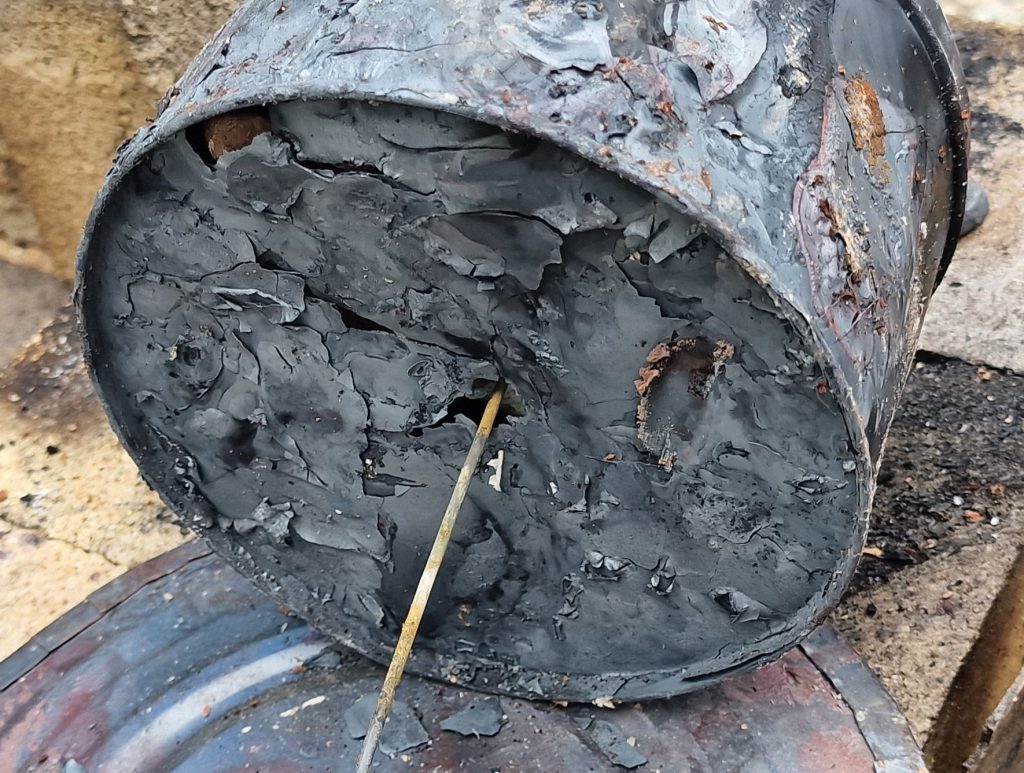
It’s a tough life to be a steel-plated inner box for the ceramics, this one lasted only 2 firings:
Fast Fire Glazes specially made for the Tin Can Kiln:
I made two variants of a clay body that handles the rapid temperature changes.
Receipt 1:
2 parts Terracotta
1 part Talc
1 part coarse Grog
Receipt 2:
2 parts Terracotta
1 part Talc
1 part Molochite
Make A Tin Can Kiln – And Fire It To 1100 °C
Evaluating the kiln:
- It’s hard to measure how hot the kiln gets since it has “moving parts” (the ware-camber is lower down quite hot).
- The fire interval is short, even if the kiln reaches its desired temperature, it also need to hold it there long enough for the glaze to melt and gases to escape.
- The tin can Kiln is a fill-ones kiln, and it reaches the temperature it reaches (depending on the quality of your charcoal, the size of the tin can, and the airflow of your fan)
- Clay objects can’t be too big, and need chamotte to withstand uneven heating and stress.
So that’s the challenge.
Lucky; filling and burning the same way seems to give quite similar results.
Also take a look at the ceramic material list:
I found these videos on YouTube:
Read about my new kiln:
Read about the minigama kiln: