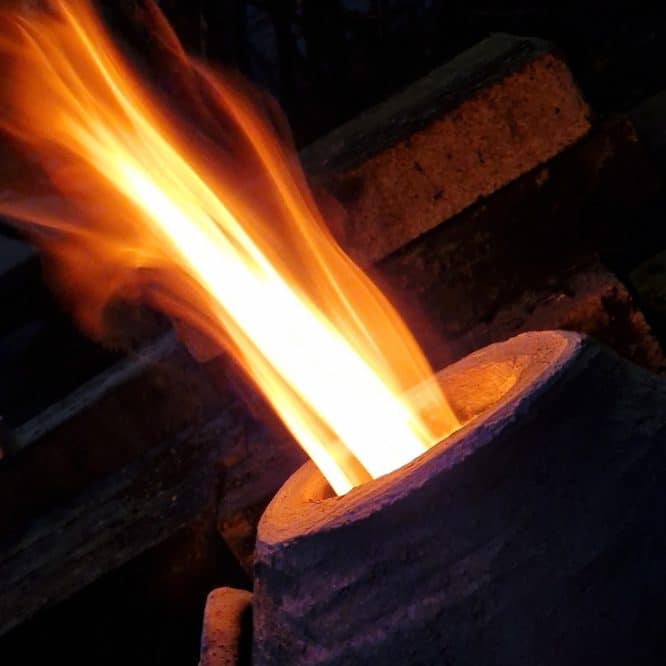
The Egg Kiln.
This is how to handbuild a small pottery kiln for your backyard: All that is needed is a pair of hands, a few square feet of land to burn it, and homemade refractory clay.
This page contains everything you need to make the kiln, how to mix the refractory clay, how to burn in it, best practices, tips and tricks, and the one thing you must never do.
The Clay Kiln:
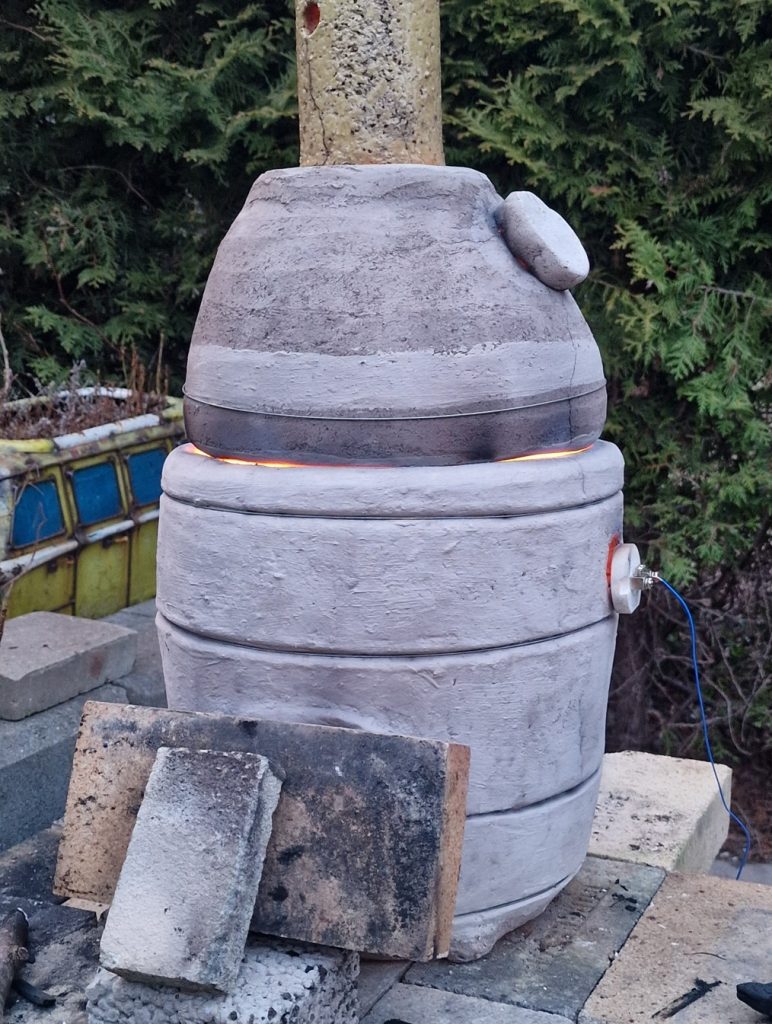
OK, I admit the kiln looks a bit shabby! But I am testing 4 different refractory clay types here.
(Read about the best homemade refractory clay at the bottom of the article)
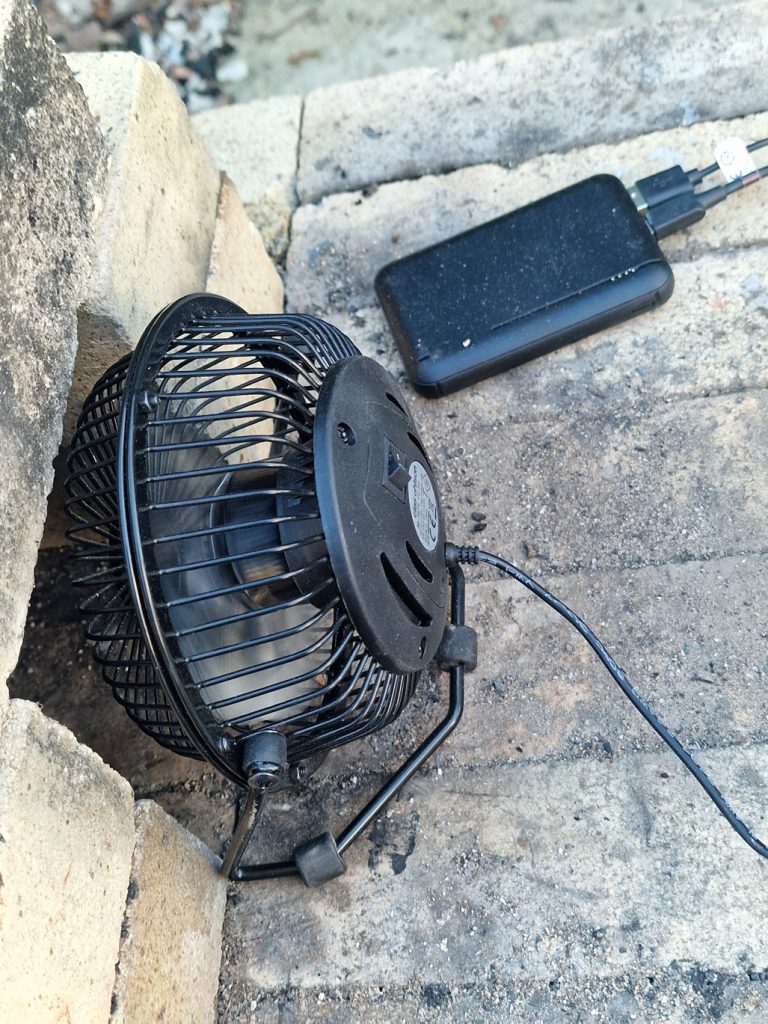
The Egg kiln is a small wood-fired clay kiln, it's fired with charcoal or wood. Handmade by coil-building refractory clay, designed with simplicity in mind, and shaped like an egg to reduce the amount of material. It's an updraft mini pottery kiln, the pottery and the fireplace share the same chamber only separated by a grate. It has a small battery fan for blowing air under the charcoal, and doesn't need a pipe.
How to build the Clay Kiln:
The Egg kiln was designed to address these 3 questions:
- What is the simplest clay kiln design?
- How to build a clay kiln with minimum effort?
- How to make a clay kiln at the lowest price?
How to build the Clay Kiln:
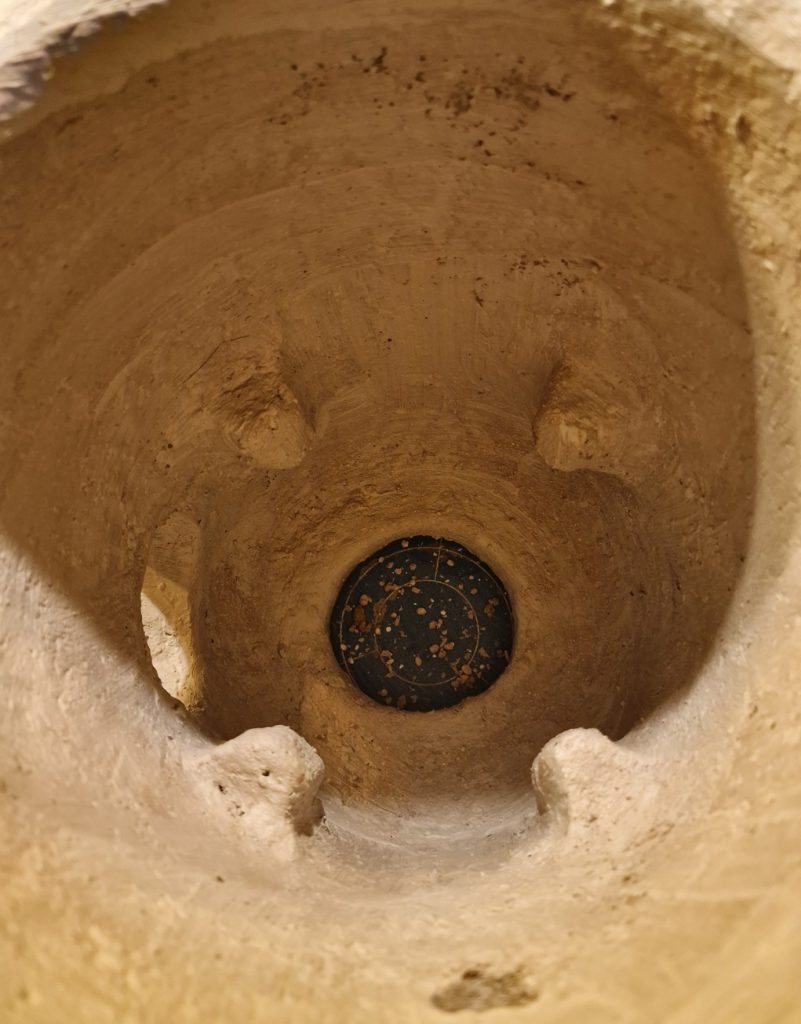
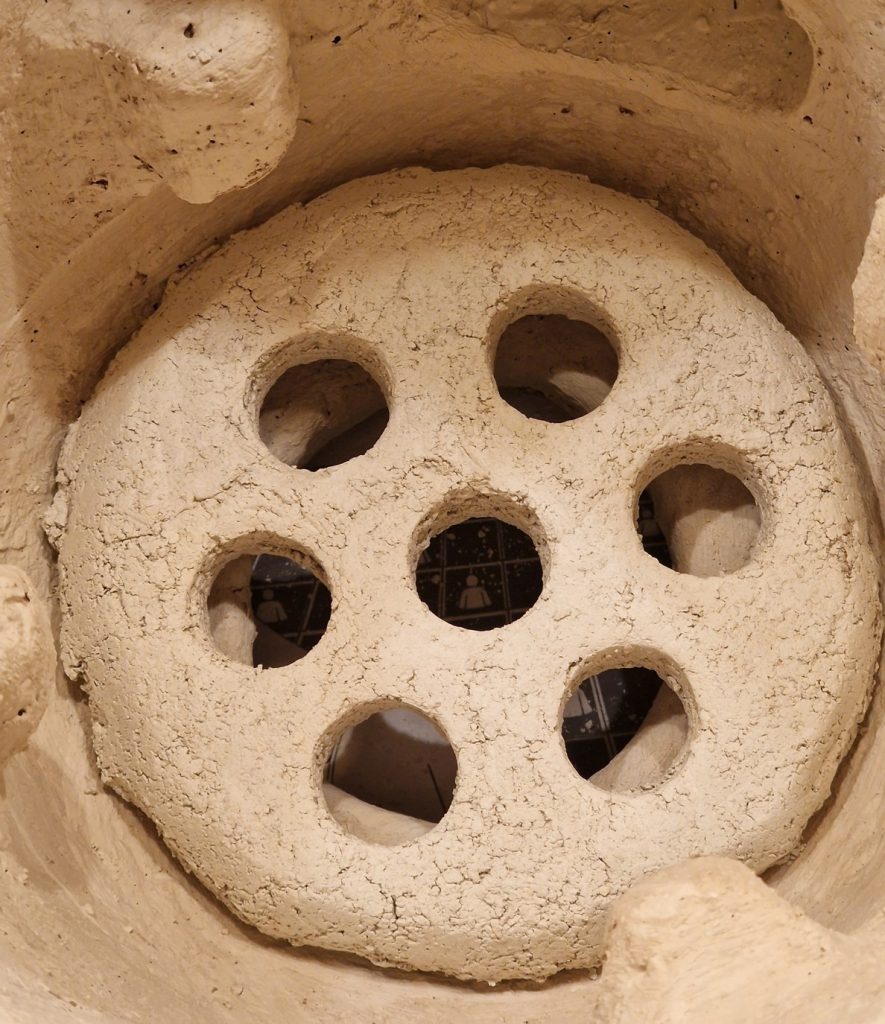
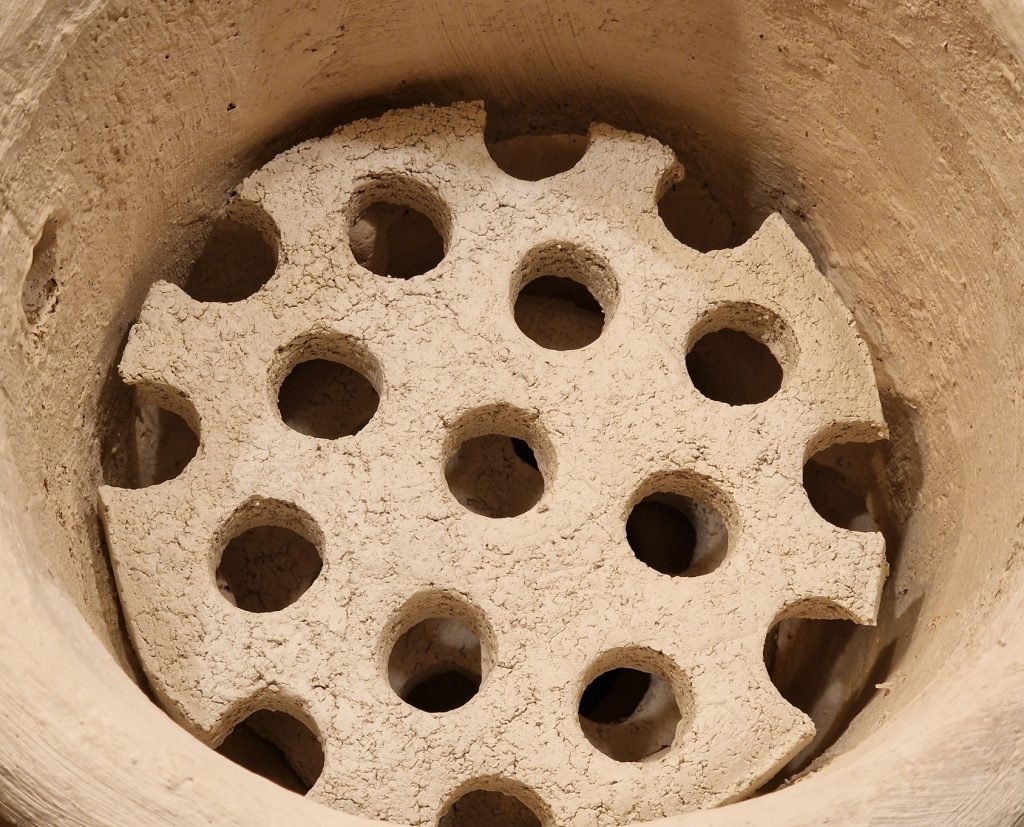
The pictures:
- The air intake at the bottom
- The first grate under the charcoal
- The opening for adding fuel
- The 4 knots that keep the second grate
- The second grate separates the fire and the pottery
The design is egg-shaped, and air is blown from under it and up. Both wood and charcoal can be used, but a limited fire-chamber works better with charcoal since it burns more intensely and with no smoke or sparks. I think my neighbor appreciates that (to be honest, I appreciate that my neighbor doesn’t know. And the clay kiln is absolutely a stealth burner.
How to fire up the clay kiln:
- Preheat for an hour with tea lights.
- Fire slowly with thin sticks til 150 degrees, now all the water has evaporated
- Turn on the fan
- Now start firing with charcoal; a few big lumps in the fire kiln, let them burn down, add more charcoal every 10 – 15 minutes
- 750 degrees, now the fire starts dancing out of the pipe
- Stuff charcoal every 10-15 minutes, let there be no empty areas in the fire chamber. Remember charcoal burns from the surface and inn, so small lumps burn hotter and faster than a few big chunks.
- 900 degrees Celsius, the max temperature for this test, I stop here, but the kiln should handle much higher temperatures.
- I fired for 3 hours, then I closed down the kiln and let it slowly cool down
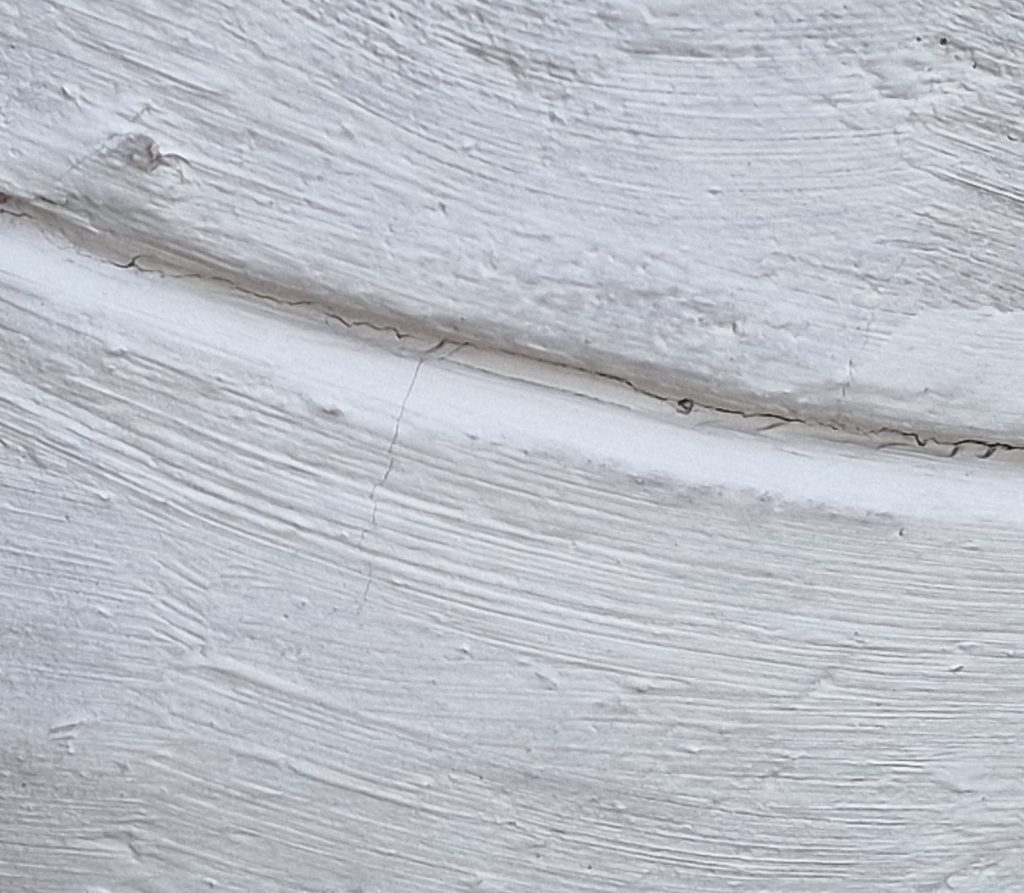
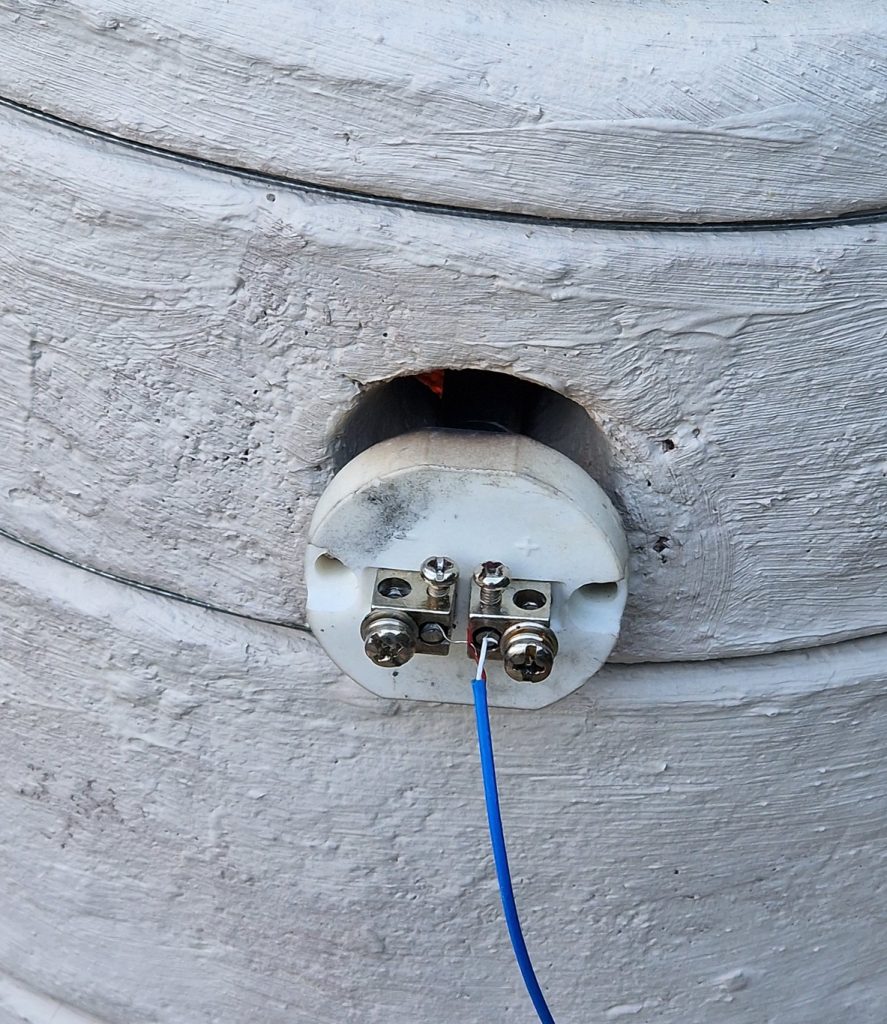
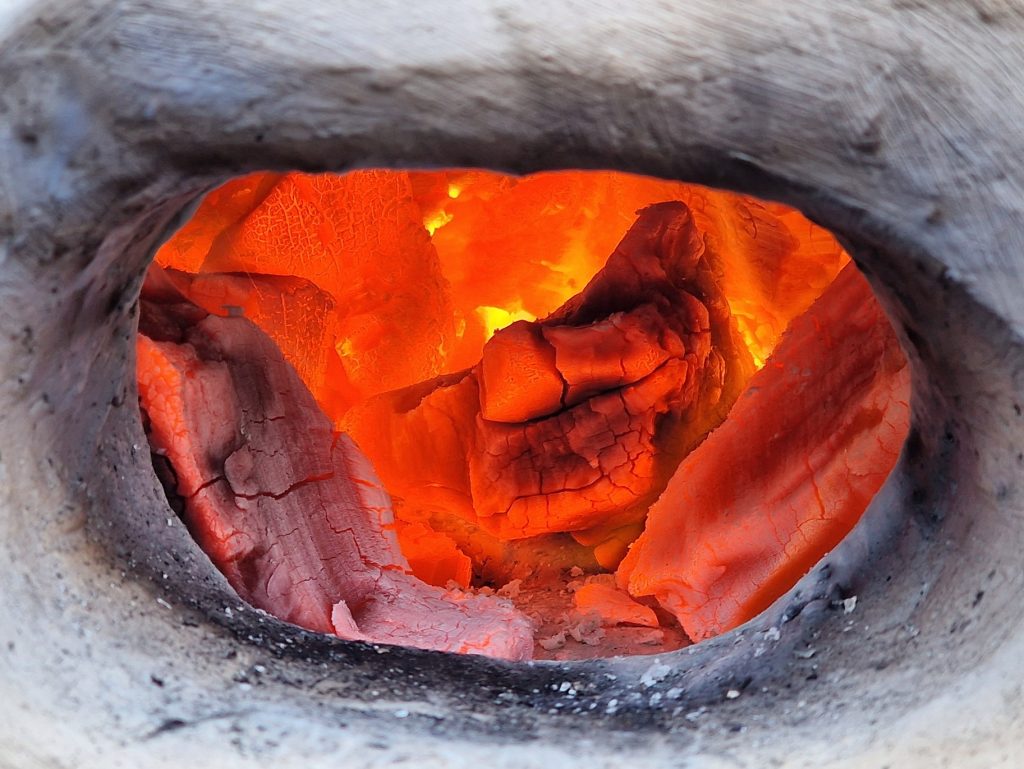

The pictures:
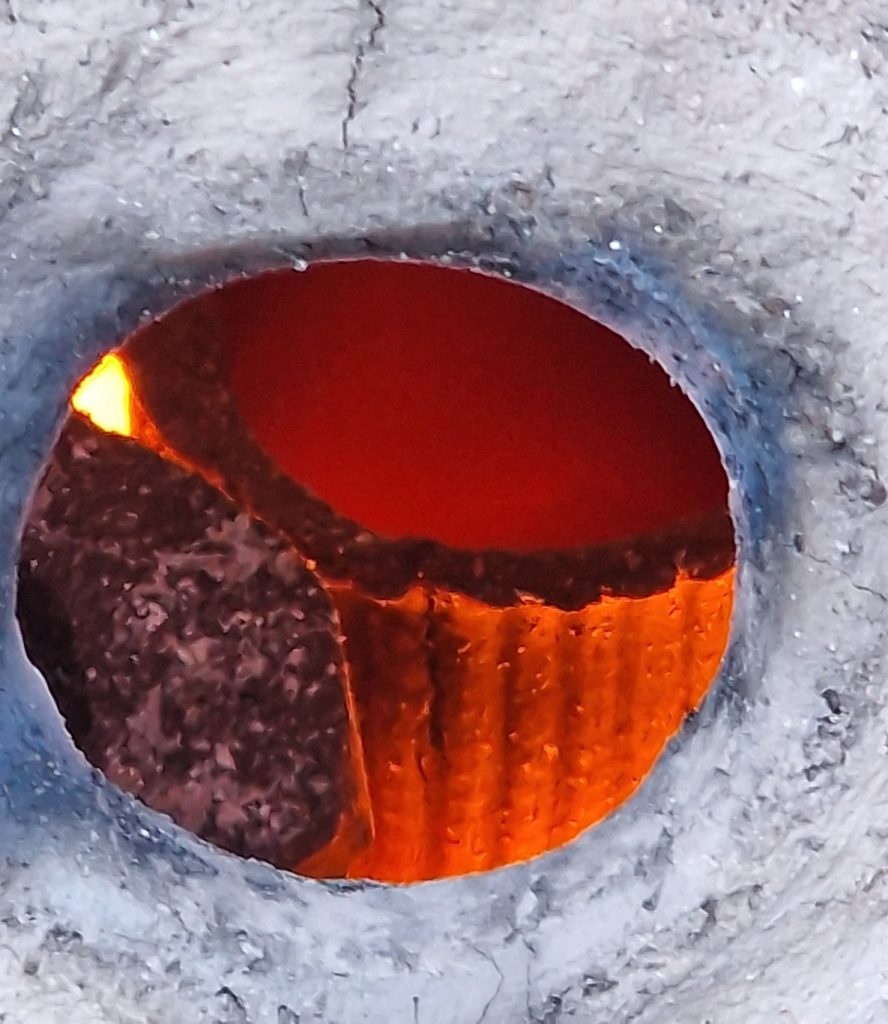
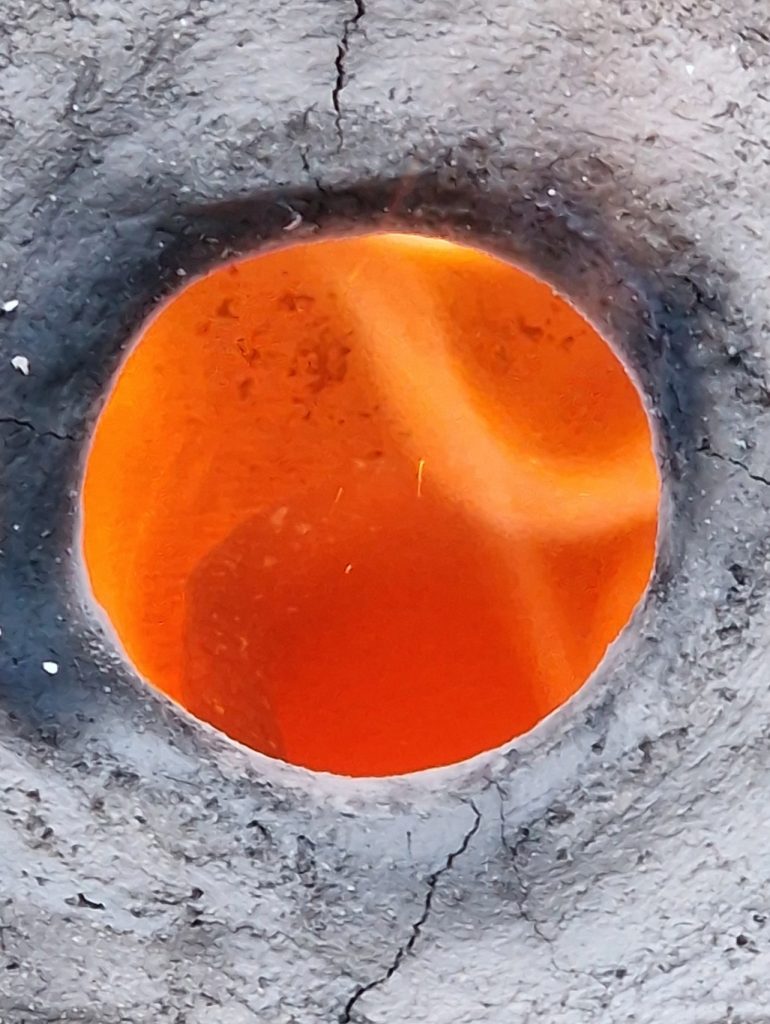
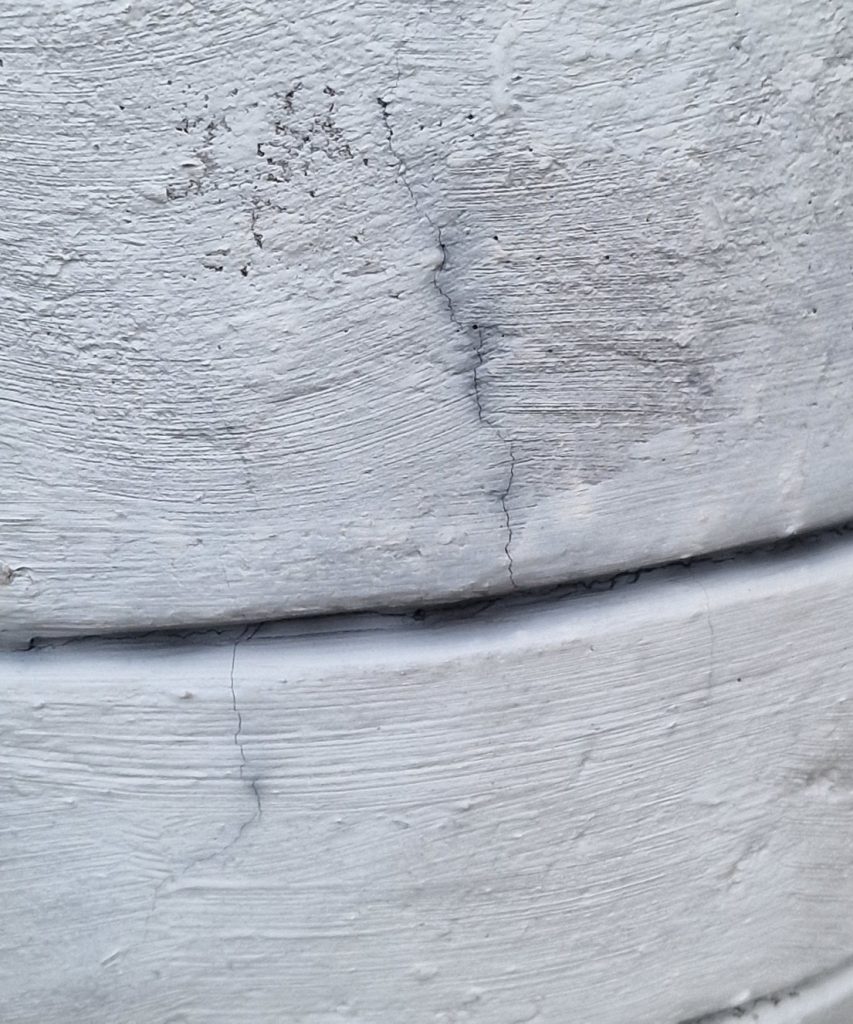
a. small cracks appear outside when the kiln is 300 degrees inside, b. modeled tracks for steel-wire, even if the kiln cracks, the steel-wire will keep it together, c. glowing hot in the fire chamber, d. the Egg kiln, e. the electric battery fan, f. pottery starts glowing dark red, g. pottery glowing bright red, h. dark cracks mean the smoke is coming through, but how deep are the cracks going?
Firing the clay kiln first time:
After modeling and drying the Egg kiln, it’s best to fire it in a bigger ceramic kiln the first time. But I don’t have a bigger kiln, so I have to start using the Egg kiln while it’s still just unburned clay. Using the Egg kiln while it is just clay kind of worked, but it’s far from optimal; the inner temperature reached 900 degrees while the outside was 320 degrees. I think many of the surface cracks relate to tensions in the clay body and uneven heating.
Coil building the clay kiln:
I did not take a picture of the coil building process, but it’s built with a coarse homemade refractory clay, which makes it hard to shape finer details. I built it on a kavalet to rotate it around when working. The walls are about 3 cm thick, and when I was pleased with the final shape, I brushed it with a white clay slurry.
The kiln design complete description:
Egg-shaped, it needs some small feet so it does not start rolling. Make a hole i the bottom (air in), make a hole at the top (smoke out), make a cut trough the middle so you can open the kiln and close it by put the top part on the bottom part. No problem if the joint is not perfect, holes and small openings just give extra air. You need 4 nobs to put the mid-grate on top, and you need some openings: 1 peephole ( don’t make it too small), 1 hole to measure the internal temperature, and 1 hole for feeding charcoal, this opening needs to be closed when not in use (I use a brick). That’s pretty much it! And you need to build 2 grates.
Some measures:
(I will try to make a 3D render of the clay kiln)
31 cm high - bottom part of the kiln
18 cm high - the grate between the fire and the pottery
31 cm outer diameter
24 cm inner diameter
I used 2 different types of refractory clay in the Egg kiln:
The Egg, or “outer shell,” is built with one type of refractory clay. And the two grates are built with another refractory clay.
Read more about refractories here:
https://www.woodfireceramic.com/how-to-make-homemade-fireclay/
The refractories for the outer shell:
The refractory is based on Craft-Crank, a fantastic strong construction clay, handling 1300 degrees like a charm. It’s the best modeling refractory receipt I have, but since do cracks when heated, I am looking for a better one. Anyhow, it’s the best I have for the moment, and by modeling tracks for steel wire in the kiln, I don’t think it will fall apart even when cracking.
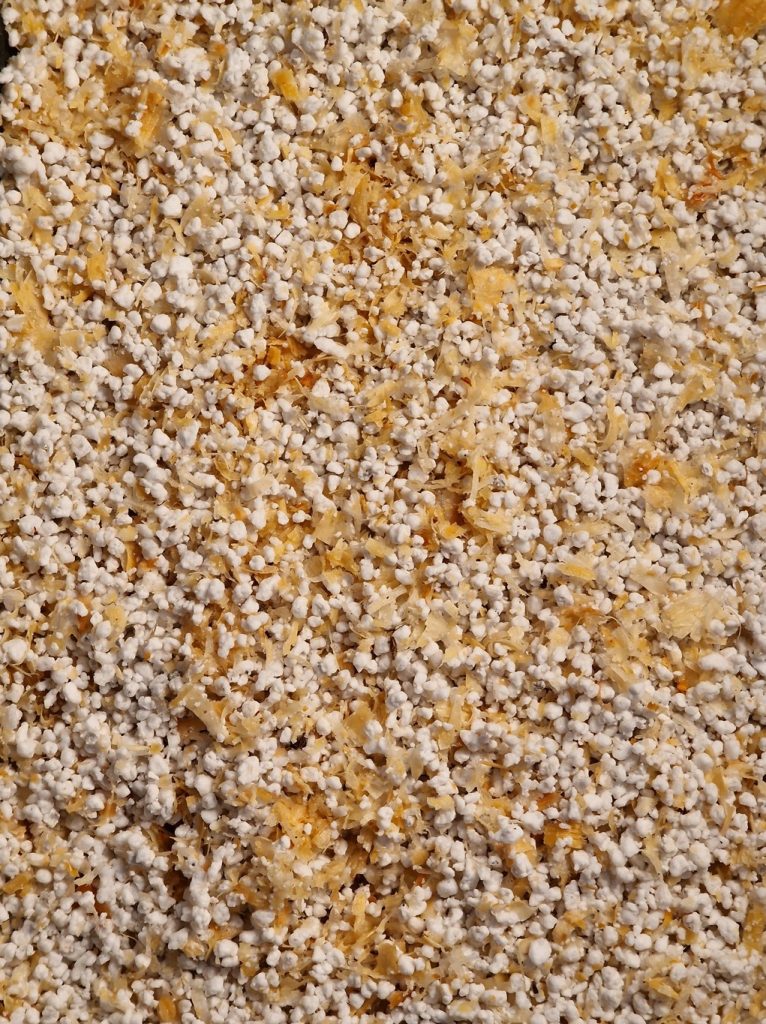
The refractory clay for the outer shell does the job, but cracks; recipe (here in volume):
1 bag of Craft Crank (this is a high-temperature clay with 40% fine chamotte)
1/5 part Talc (refractory)
1/5 part Fine wood chips
1/5 part Perlite
1/5 part coarse chamotte
This recipe can be made by mixing the last 4 ingredients, and then adding more and more Crank clay til it’s difficult, but not possible to coil build.
The refractory for the grates:
For industrial ceramic production, hydraulic high-pressure is used on dry clay. The DIY way is to use as little water as possible and a hammer. By hammering shapes against a table or a mold, we can press out most of the air and make a denser, stronger mass. It is not comparable to industrial quality, but the quality is quite good considering the low-budget tools used. Here, I hammered flat the grates and then drilled the holes with a round gingerbread mold.
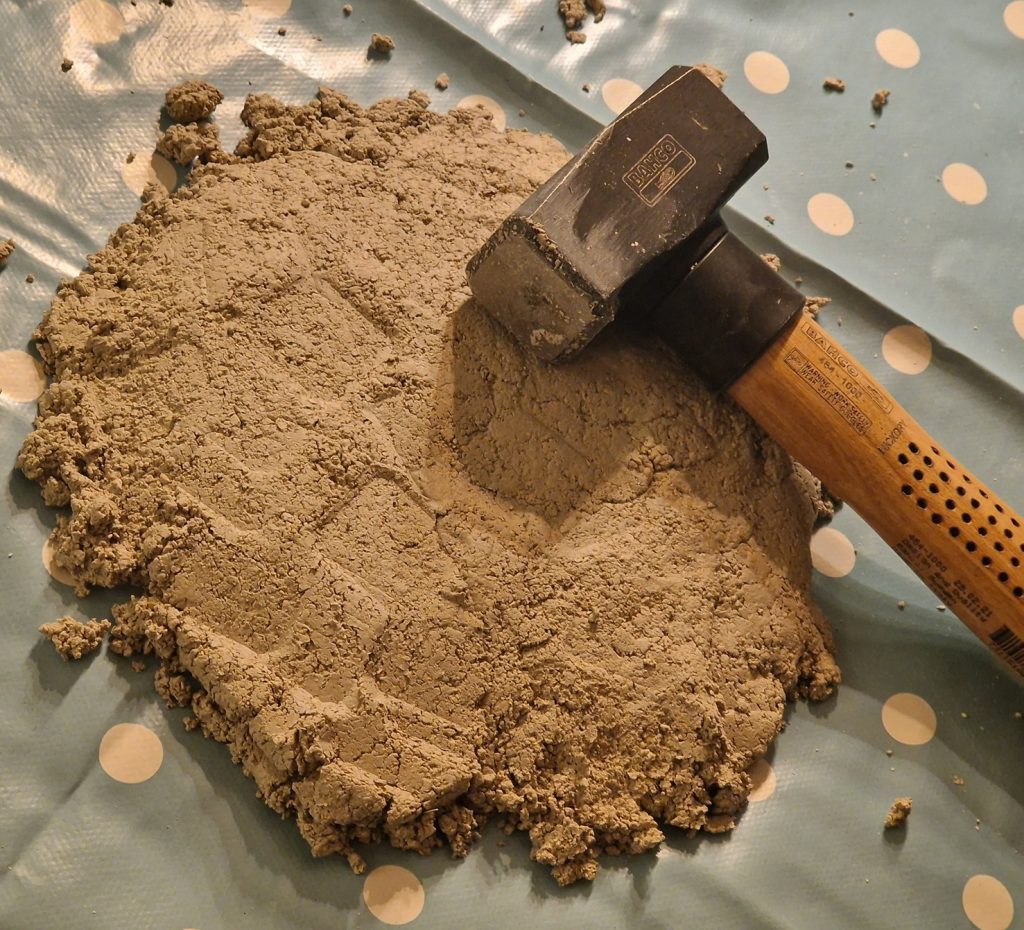
The homemade refractor is a simple but good recipe (here in volume):
3 parts talc
3 parts grog
1 part ball clay
Use as little water as possible, hammer it together.
This refractory clay is quite ok to work with, hand modeling is difficult but not impossible. The green strength is terrible, handle it carefully til it’s fired. After firing to 900 degrees, the strength is really good.
That’s it!
I think it was everything?
But I will add to this webpage as I get more experience with the kiln.
Ah, the one thing you must never do: Never let the kiln stay out in the rain, never let it get wet, and if you do never ever start firing it before it’s completely dry: re-heating wet ceramic will most likely crack.
See also other wood-fired kiln designs:
Also, read how to make Campfire glazes:
See other sites for information:
https://getnavi.jp/dopa/705218/
https://exarc.net/issue-2023-3/ea/experimenting-ancient-greek-pottery-production-process
https://www.pottedhistory.co.uk/Ancient_Pottery_Kilns.html
“Coil Build The Clay Kiln – All You Need To Know” – 2025