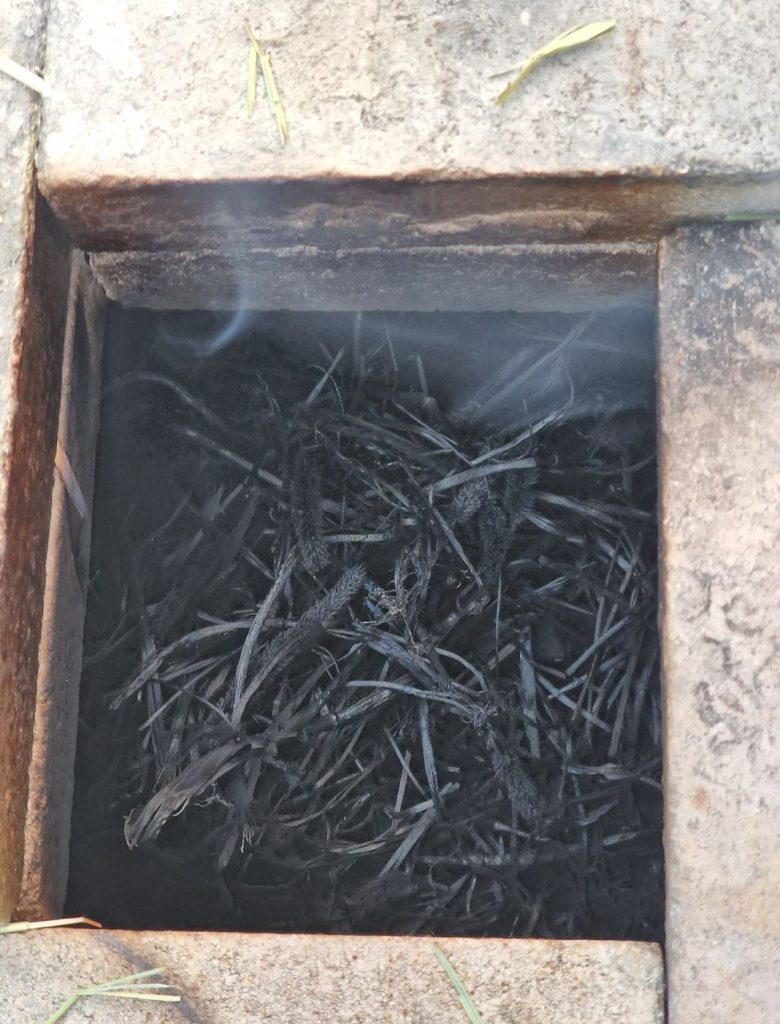
The sawdust pottery kiln
To build the sawdust pottery kiln you only need 18-20 red housewall bricks (made of terracotta) and an iron plate to close off the fire, the kiln can be stacked up and filled with sawdust in an hour or so, and sawdust is a cheap burning material. Pack it, ignite it, and forget it (but never leave a burning kiln). The kiln packed right burns til its end without additional work, just remember to check it from time to time.
The sawdust pottery kiln is a primitive, low-temperature kiln for pottery and ceramics, the fire technique is not too old, since large-scale production of sawdust first began with the Industrial Revolution in the late 18th.
When you close down the burning sawdust pottery kiln it will continue to burn without sufficient oxygen supply, which makes a reduction kiln atmosphere. The fire soaks out the oxygen bound in the clay, and the pottery soaks up carbon and soot from the firing. This carbonization (blackening) of the clay has many beautiful effects, like nice brown-to-black colors on the pots, and hints of other colors depending on the type of wood the spoon was made of. When the soot layer gets thick enough, it also makes a beautiful black, glossy surface on the pottery (not to confuse with burnishing the clay to make it more glossy, also a nice technique for the sawdust kiln and carbonization).
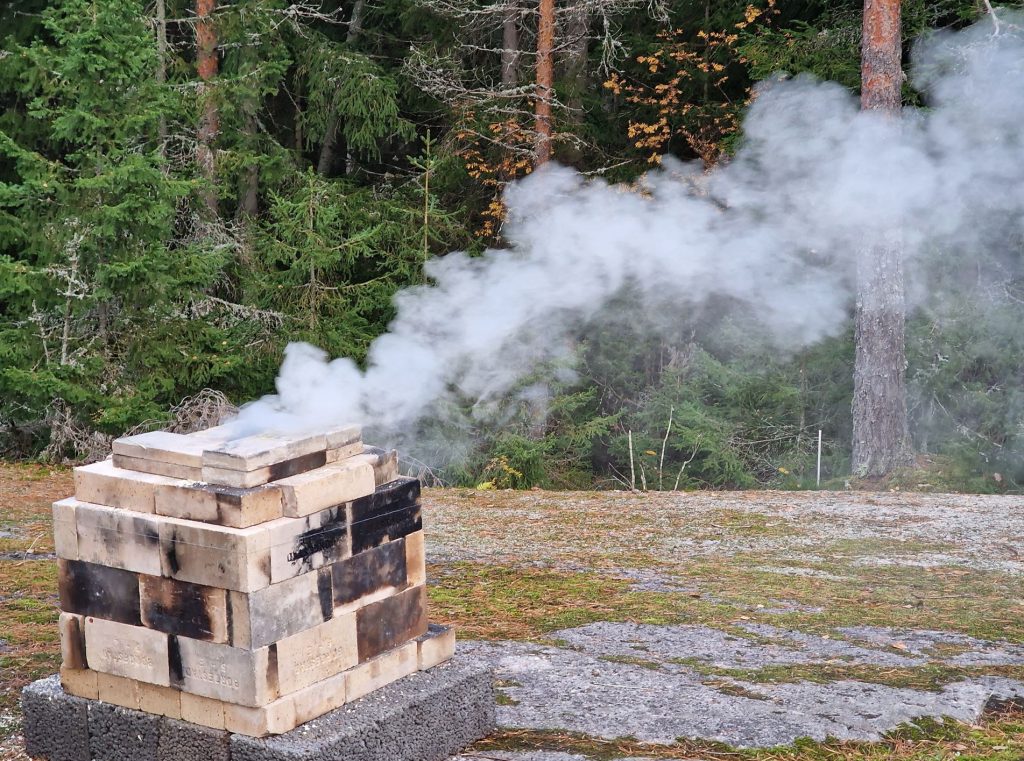
All sawdust pottery kilns can make a lot of smoke, if you live close to your neighbors this may not be the right kiln for you.
Tip on how to fire the sawdust pottery kiln:
Pack the sawdust kiln tight with ceramic and sawdust and light it up at the top. This tight sawdust mix will be a barrier to the fire, and it will slowly burn its way from the top to the bottom. The sawdust kiln can be hard to get steady going. Not so strange since you try to close off its oxygen supply with a metal plate, you need to find the balance here; if you close out the oxygen too effectively the fire will stop (fire can’t burn without oxygen). Some oxygen is needed to keep the fire going, but not much!
Use 15 cm of sawdust on top of your pots and make a good fire for about 30 minutes before you cut off the oxygen supply with the metal plate. This way you buffer up enough heat in the top layer of the sawdust to continue burning after you put on the plate. The sawdust pottery kiln can stop burning from time to time, especially in the beginning (then just ignite it again). A perfect fire burn continues for 12-14 hours from start to finish and leaves only ash in the bottom of the kiln.
The sawdust pottery kiln is not where you bisque-fired ceramics. This brown, sometimes black, fat sot layer is the pottery’s final expression and the reason why people use the sawdust kiln in the first place, though it can be fired over again if you are displeased with the result.
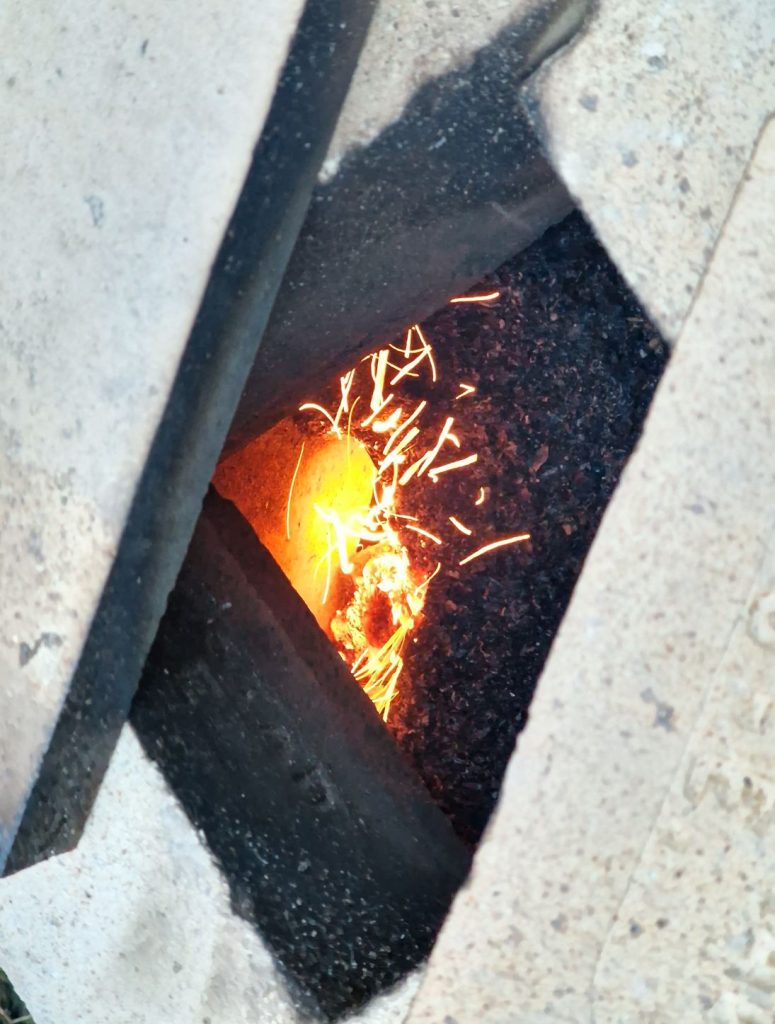
In this picture, I got a strong sidewind blowing between the bricks, not how I wanted it to burn though.
The fire never heat many centimeters down into the sawdust. So the top of your pots can be 6-700 degrees Celsius, while the bottom wouldn’t even start to heat 10 cm deeper down. The sawdust pottery kiln is known to produce a high breakage present. The greatest danger of firing with sawdust is heating up and cooling down. You can pre-fire (bisque fire) your pottery first, or just burn them as dried clay in the sawdust kiln. Bisquet-fired pottery has a higher chance of survival. However, the wall thickness of your work and the use of grog in the clay are more important.
Pictures from the building, filling, and firing:
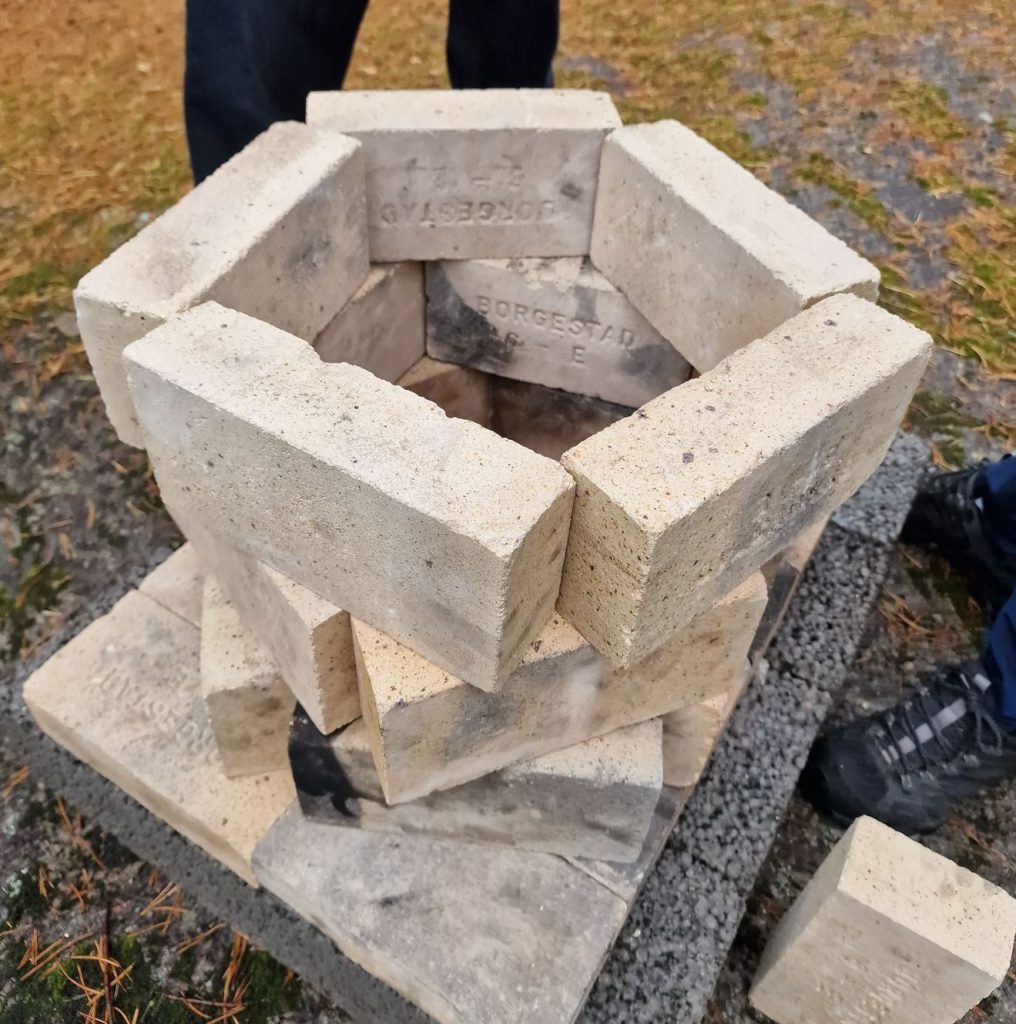
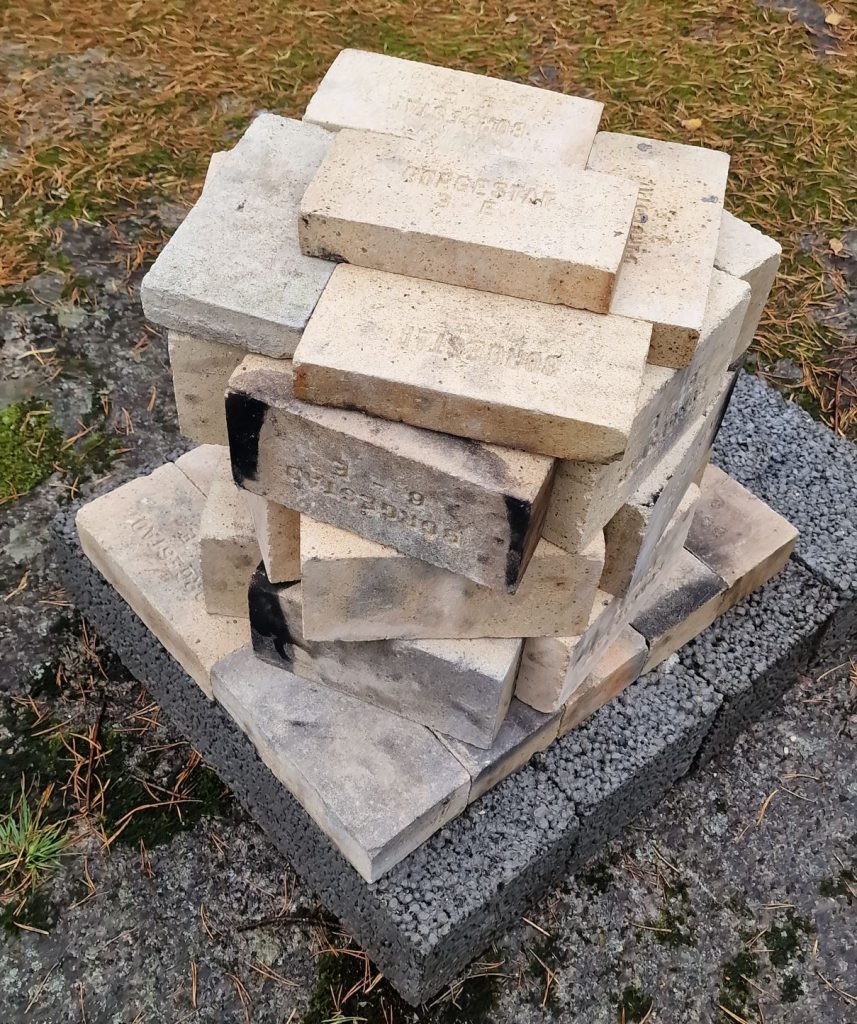
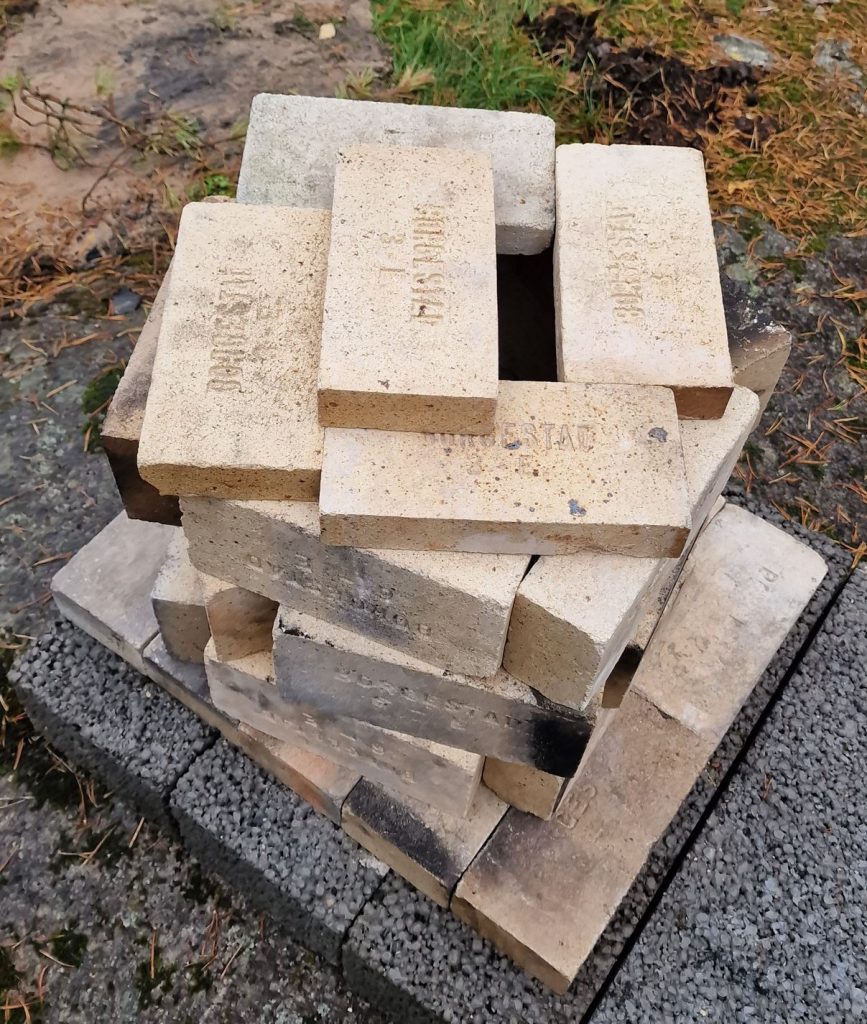
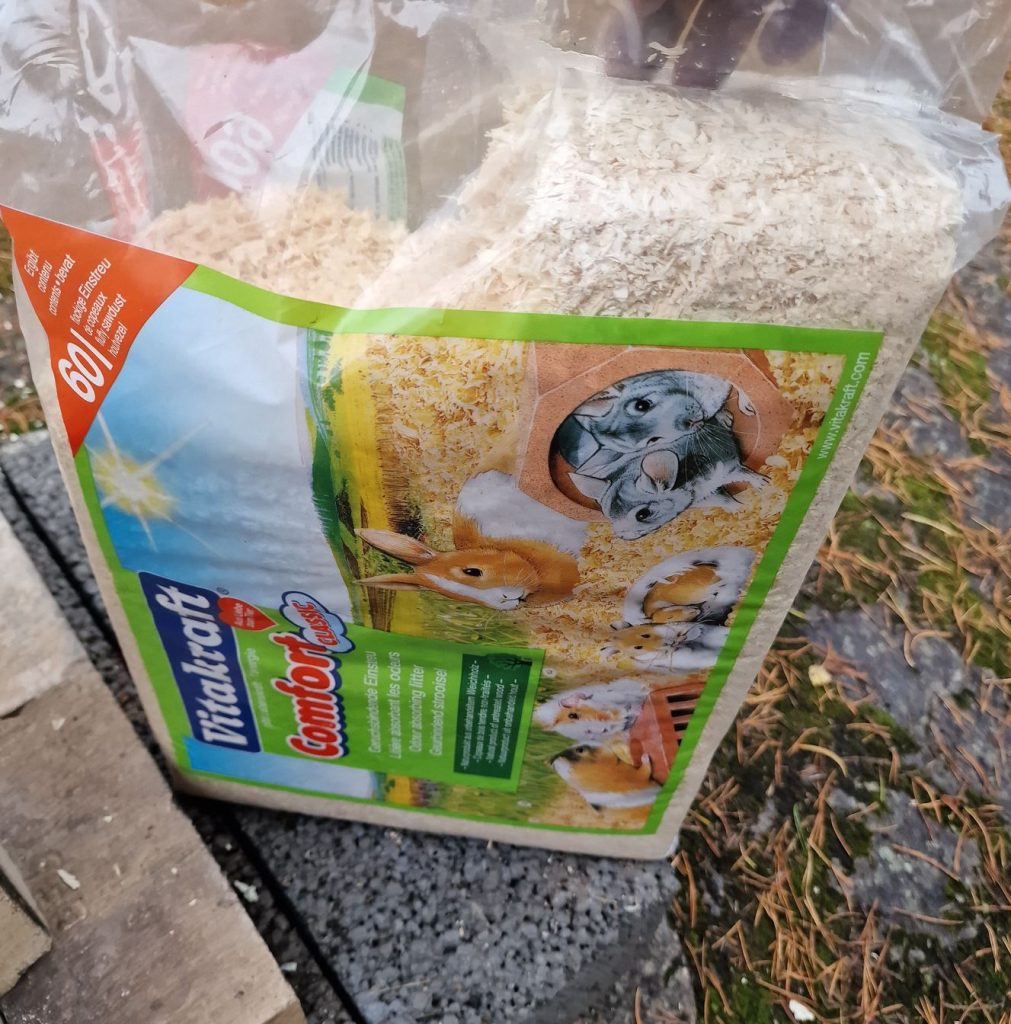
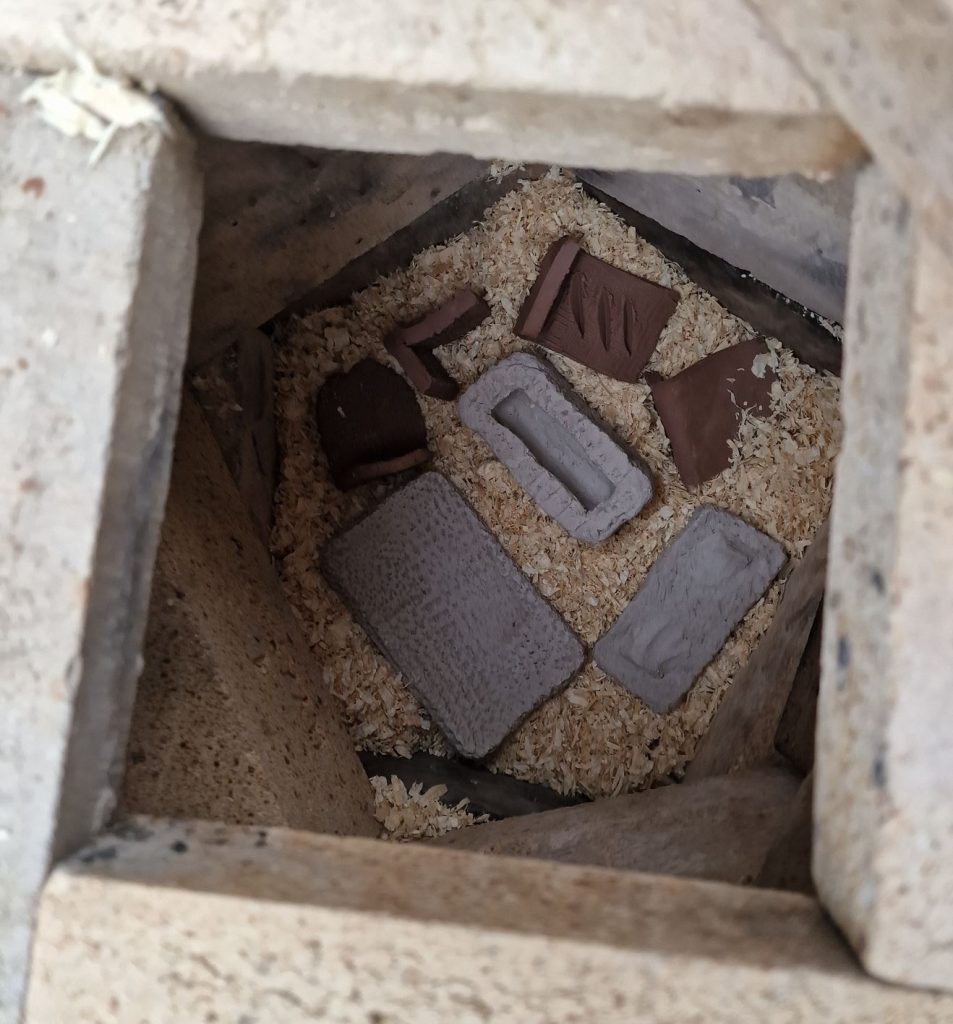
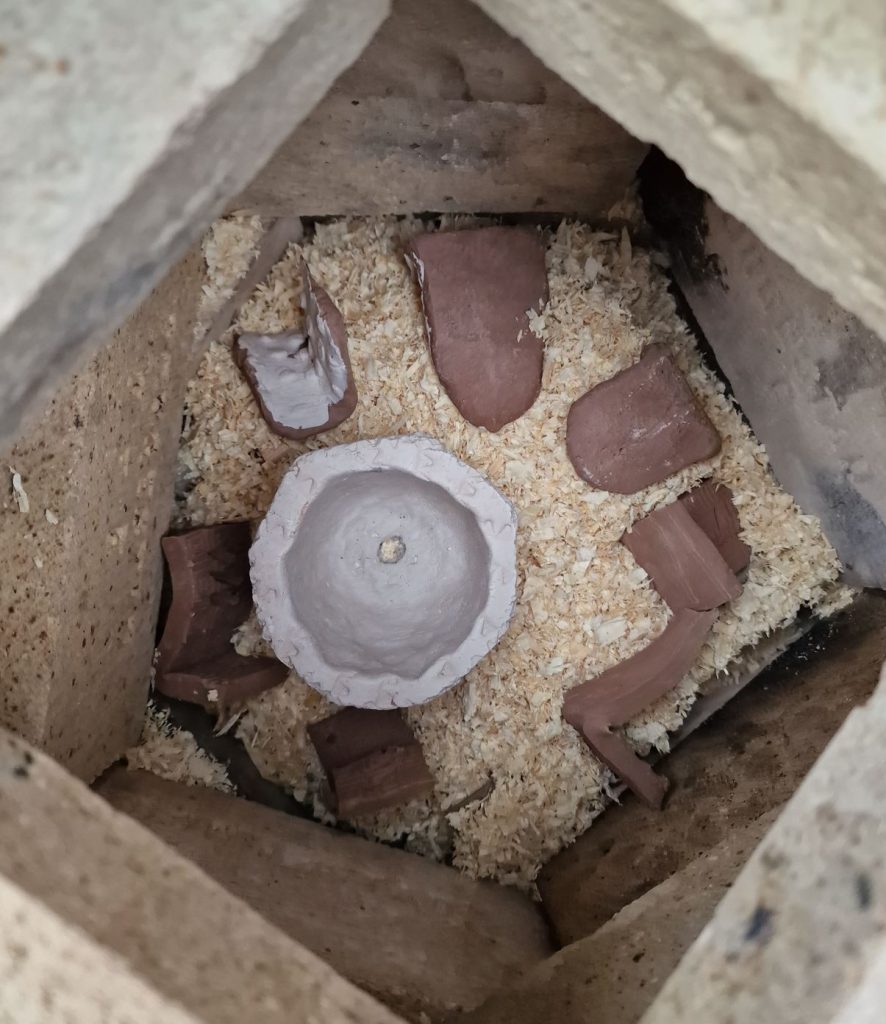
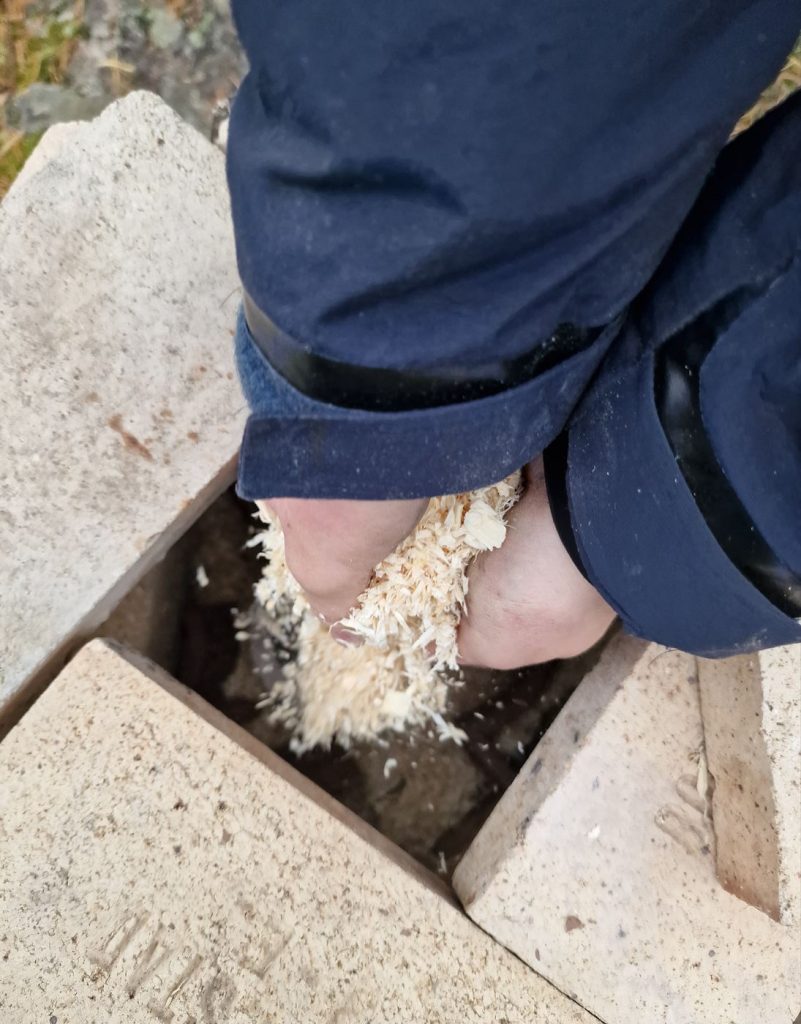
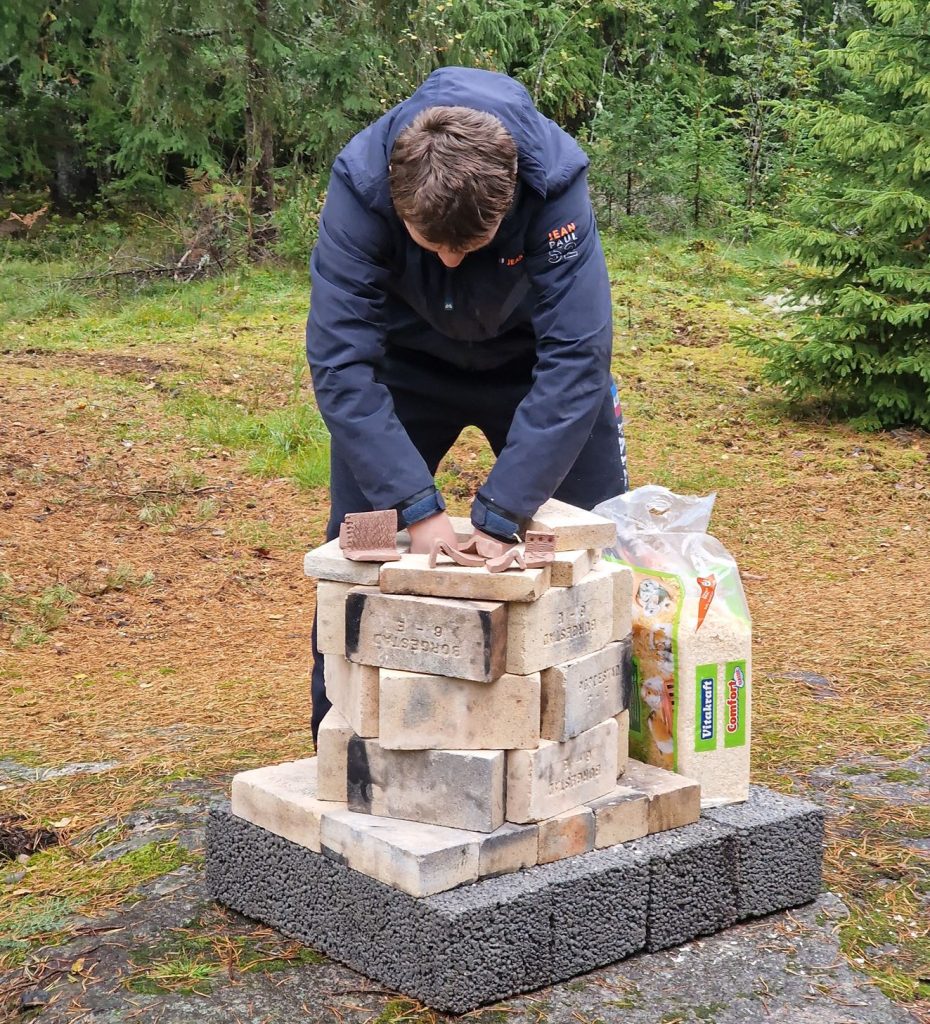
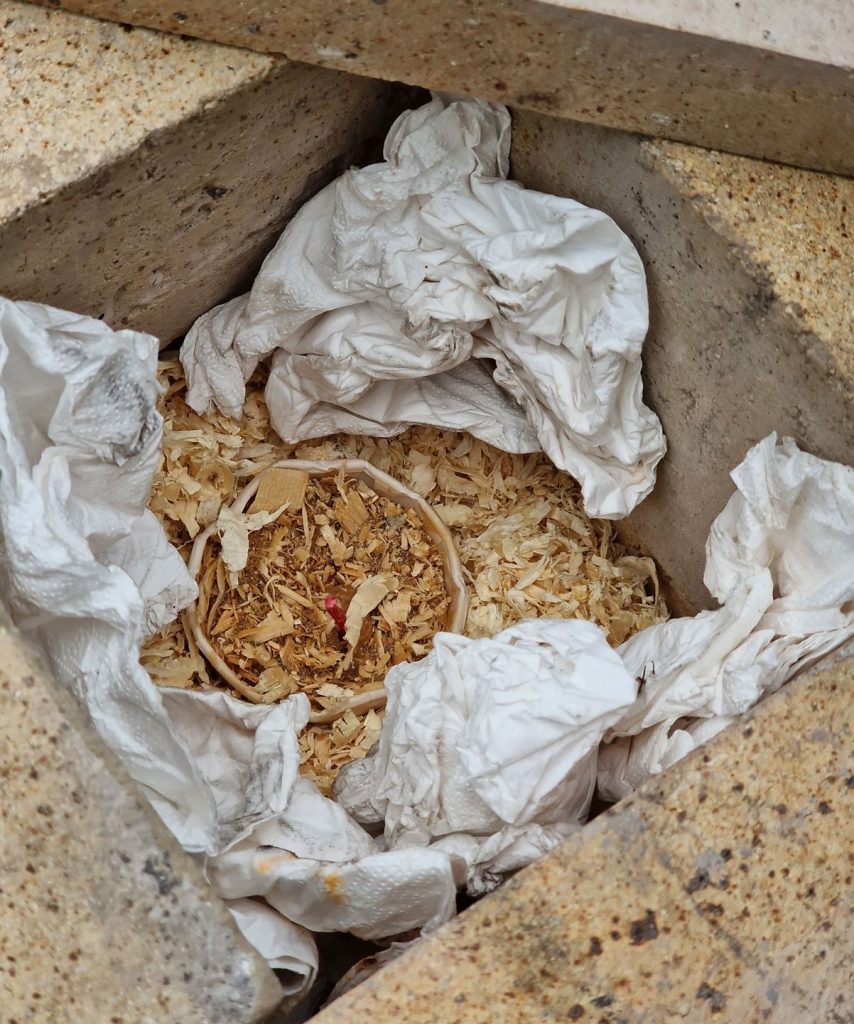
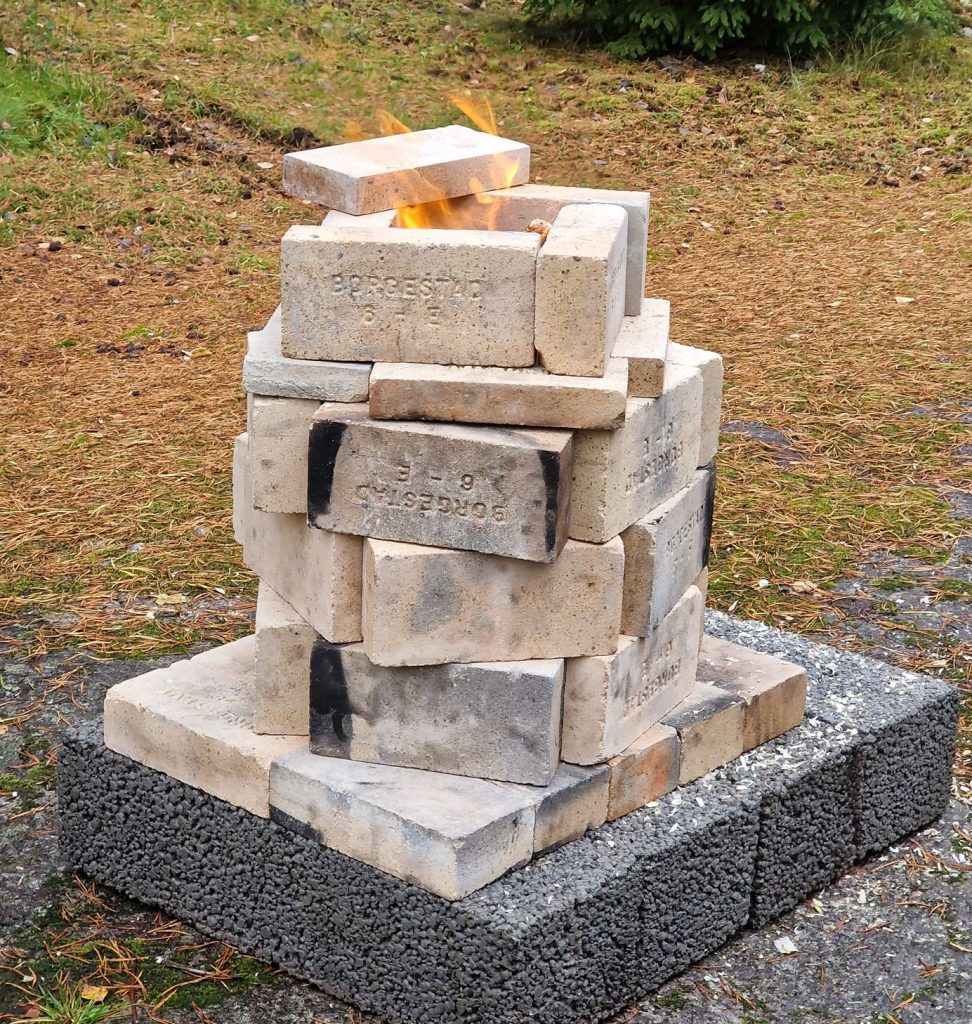
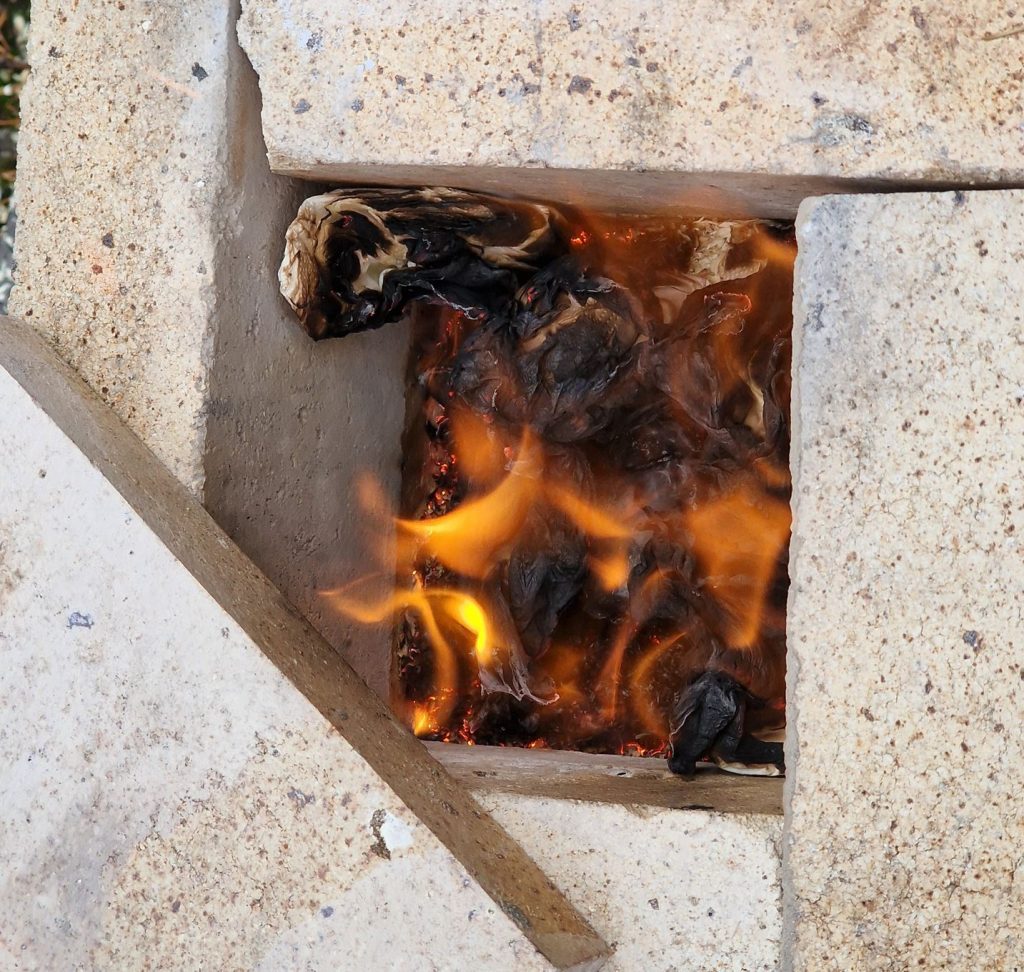
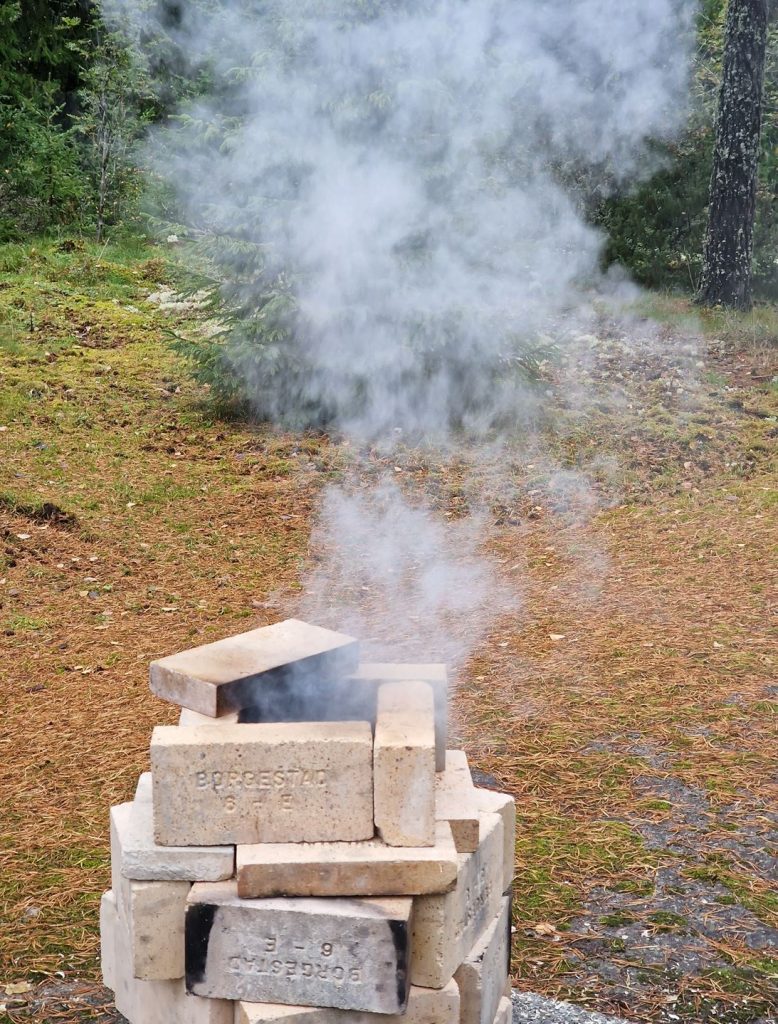
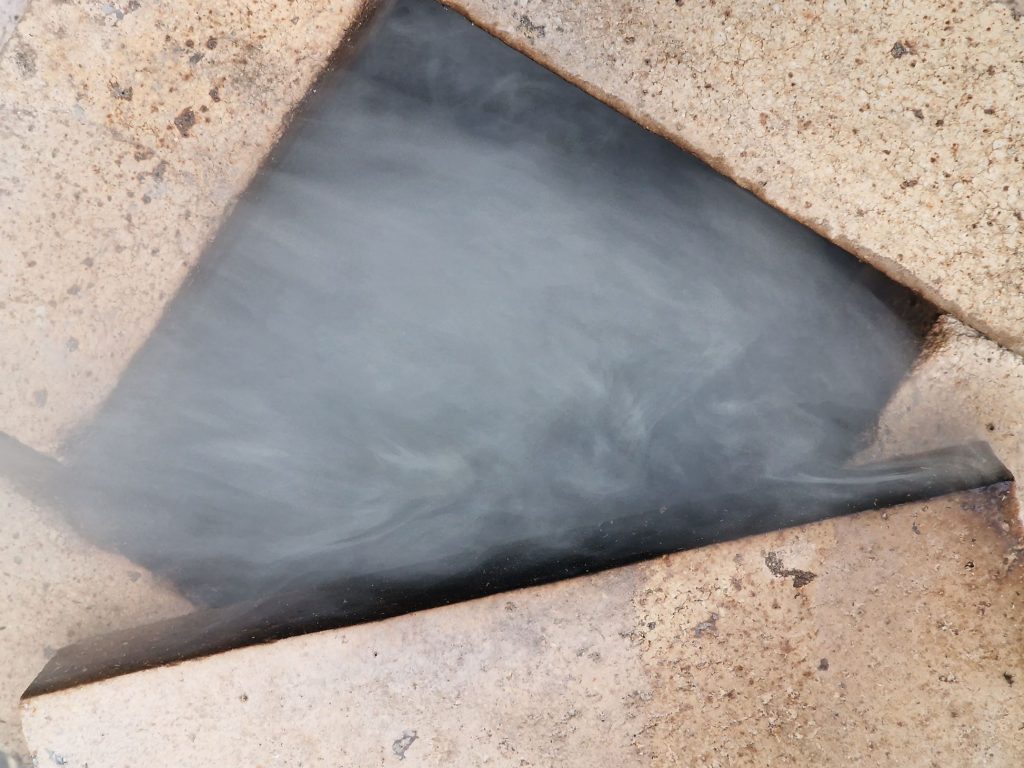
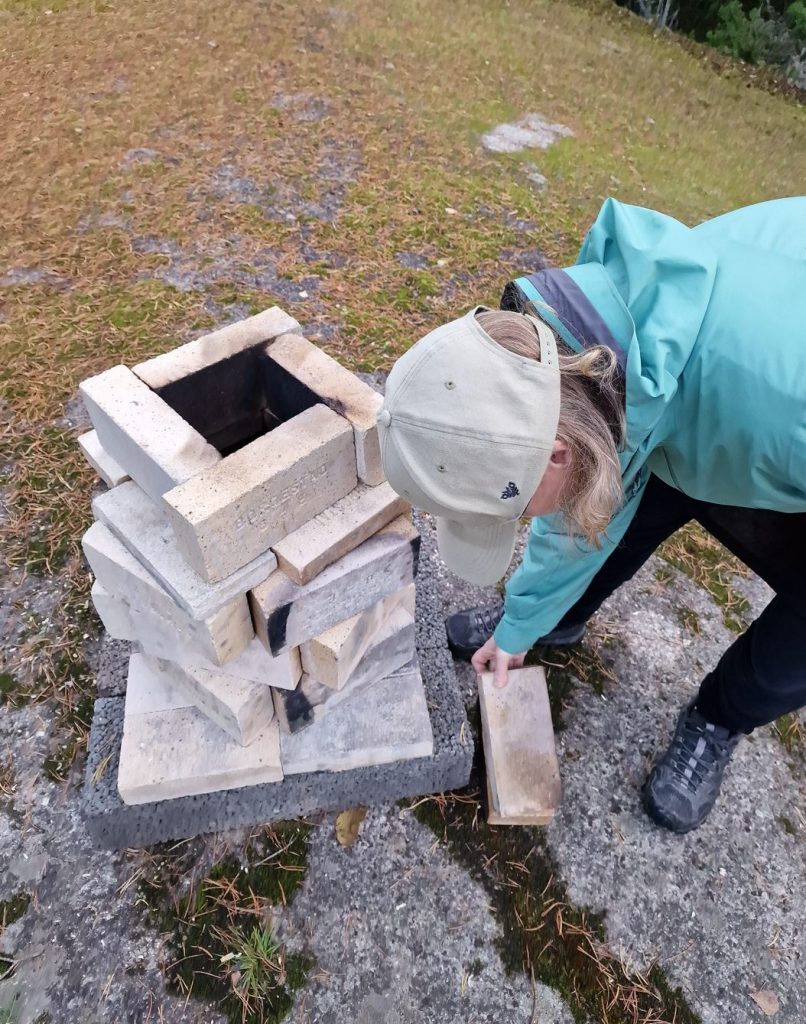
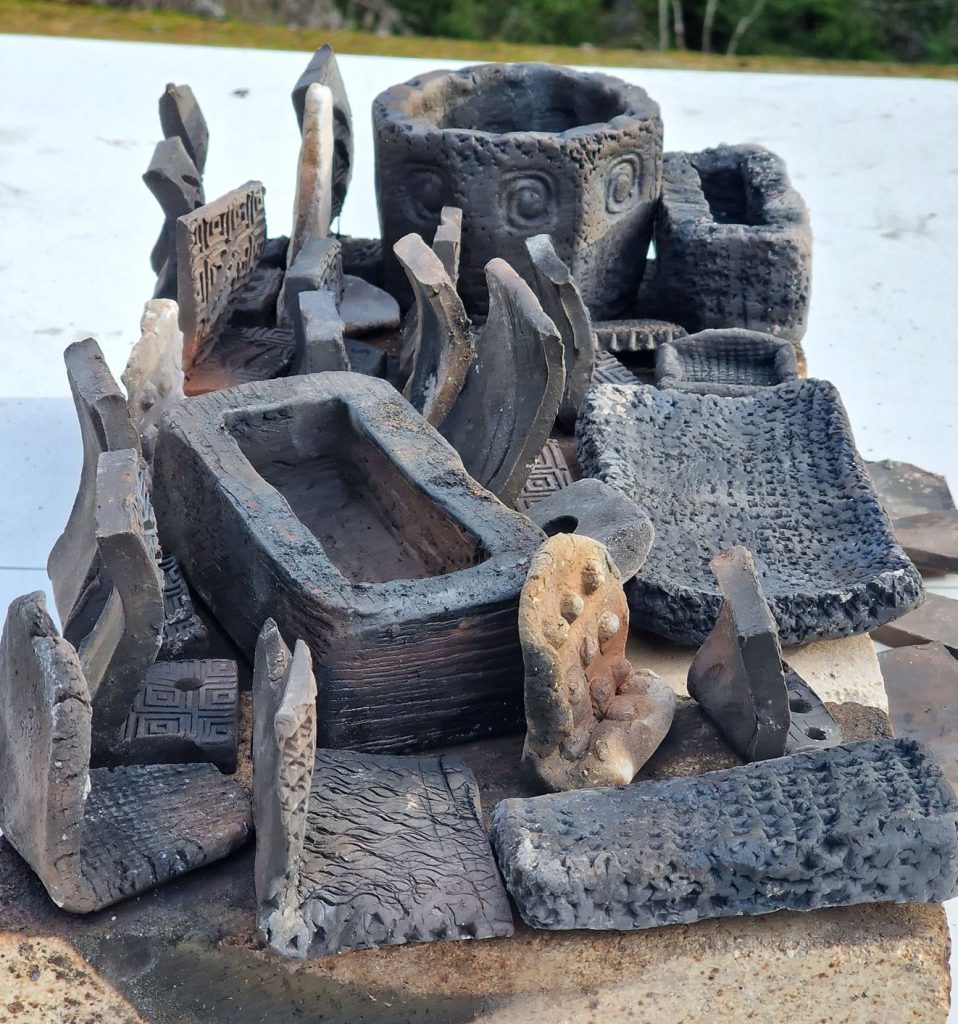
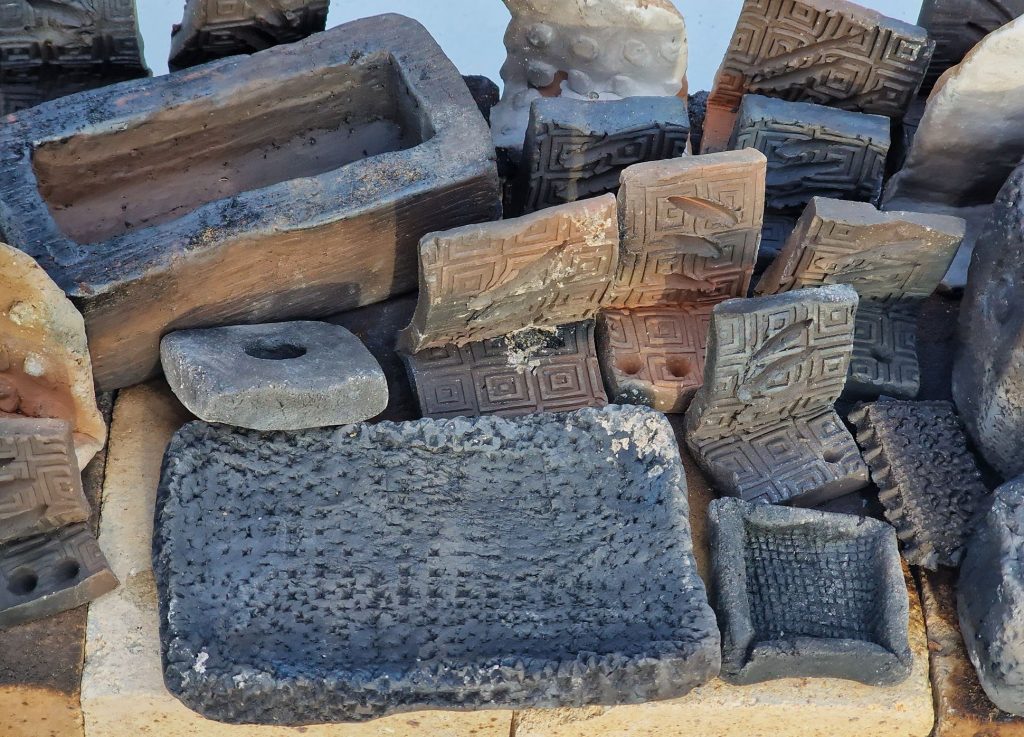
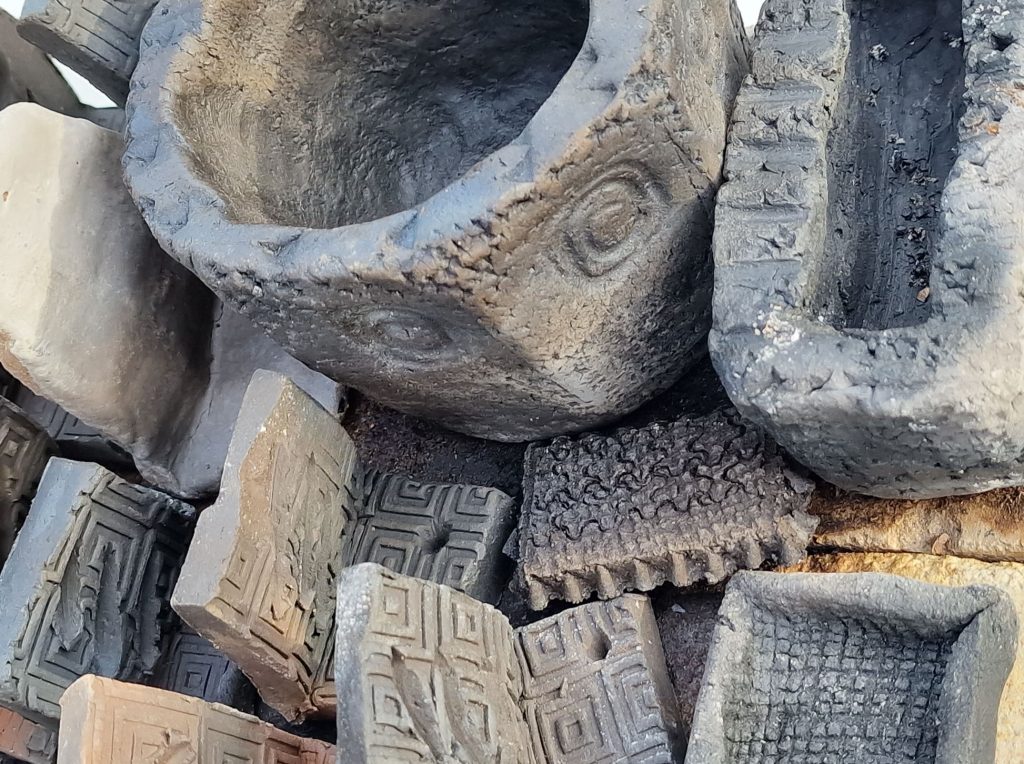
The sawdust pottery kiln is the final firing for your pots and makes the expression on your wares.
Adjust each stone so there is a glimpse of air between if you want a faster burning, while sealing the sides with clay makes a slower cooling for more sensitive wares. 4 stones high is enough. (I tried 3 but think 4 is better).
When the pots cool down, they should be washed and polished with wax to get a nice shine.
I tried several designs of this kiln. I first tested the circular one on the wrong day, it was quite a strong wind that day, and the unwanted side draft made it burn from two sides, it was “digging” holes from the south side while burning from the top down at the same time, not how it was intended.
Sawdust firing is often done in one of 3 different setups:
Brick kiln
Pit kiln
Bin kiln
I already demonstrated the Brick kiln on this page. The Pit kiln works the same way but is dug into the ground, but not too deep; 30 cm to max 60-70 should be enough. The Bin kiln is the same concept as the Oil Barrel kiln, but this time filed with Sawdust:
https://www.woodfireceramic.com/how-to-build-a-wood-kiln-for-ceramics/
In both my firings the thickest pieces cracked, or not really cracked; more shot-out parts of the goods. When clay with thick walls “shoots out” parts like this, it is always related to quick heating where trapped water in the form of steam, uses force to escape.
Also, check out how to make strong clay for primitive firing:
https://www.woodfireceramic.com/make-strong-pottery-for-primitive-firing/
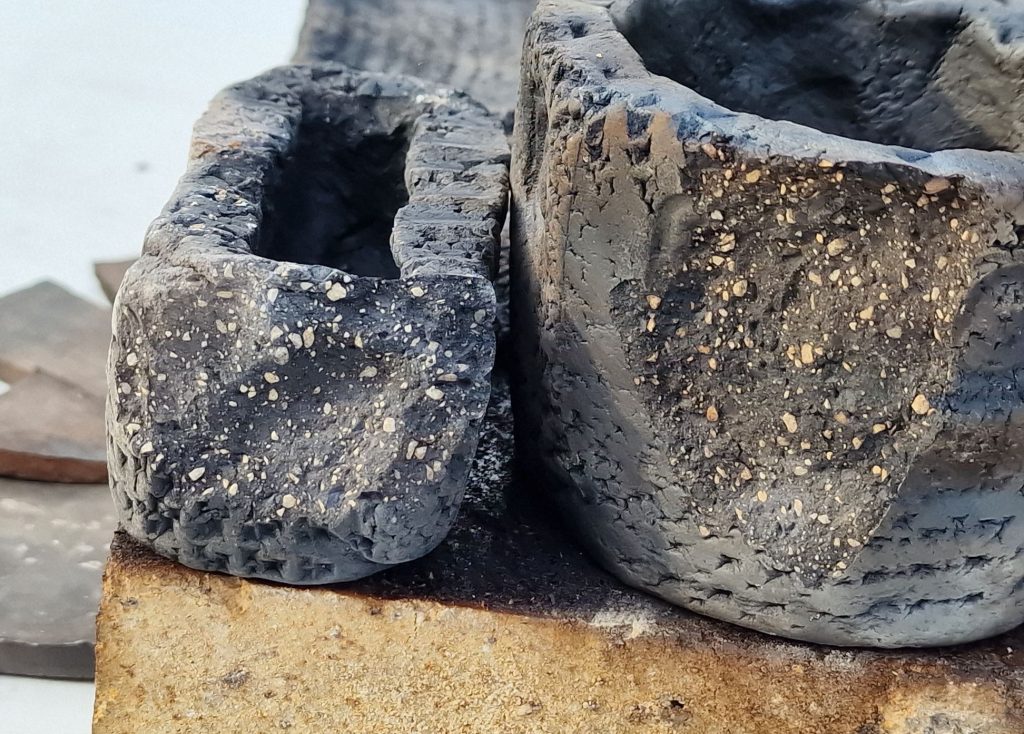
“Shot-out parts” made by too-quick heating and a too-thick clay wall. Also, see how the black color goes deep into this (white) clay body.
Most of the wares from this firing were black, meaning the kiln environment was almost complete without oxygen. Someplace the soot had layered and got a nice black, fat, glossy shine. It gives a beautiful deep black, matte surface known from primitive pottery around the world.
The second attempt was with the square kiln in a day without wind, and the result was quite the same. Except this time it was burning top-down as expected, it was actually still hot and smoking the next day, but all sawdust was turned to ashes.

The firing in this picture burned with too much oxygen and did not get the thick, deep black color I wanted.
Check out my other favorite kiln:
https://www.woodfireceramic.com/how-to-build-a-wood-fired-pottery-kiln/
And how to make a simple Tin Can kiln:
https://www.woodfireceramic.com/make-a-simple-tin-can-pottery-kiln/
Also, check out these videos:
Fire up the sawdust pottery kiln the right way – 2025