How to build a Kiln for pottery of this type is both easy and cheap. If you want to make a small-scale kiln to build and burn as a solo project or a two-man team, this is my favorite. 8 – 10 hours to reach 1100 degrees Celsius, that’s enough for my projects, but I guess you can push the kiln even further. This is an updraft brick-kiln design, found in many versions around the internet. It’s built in a variety of ways, from big to small, and also given a variety of names. I call it the half S-kiln, I guess it’s as wrong as anything else.
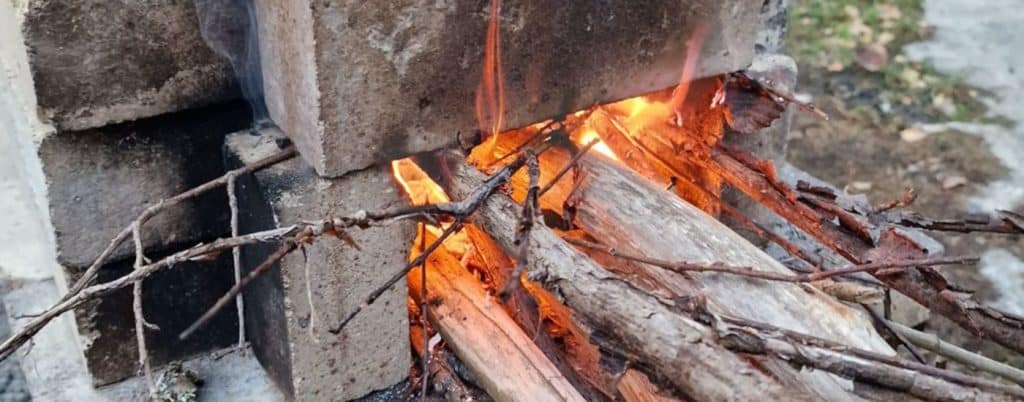
How to build a kiln for pottery – Go for the wood-fired kiln!
I like reading books about building pottery kilns (see the link below), and all books seem to agree on this one thing: The one kiln you don’t build is the electrical kiln! So, if you want to build a pottery kiln yourself, it makes sense to build a wood-fired kiln.
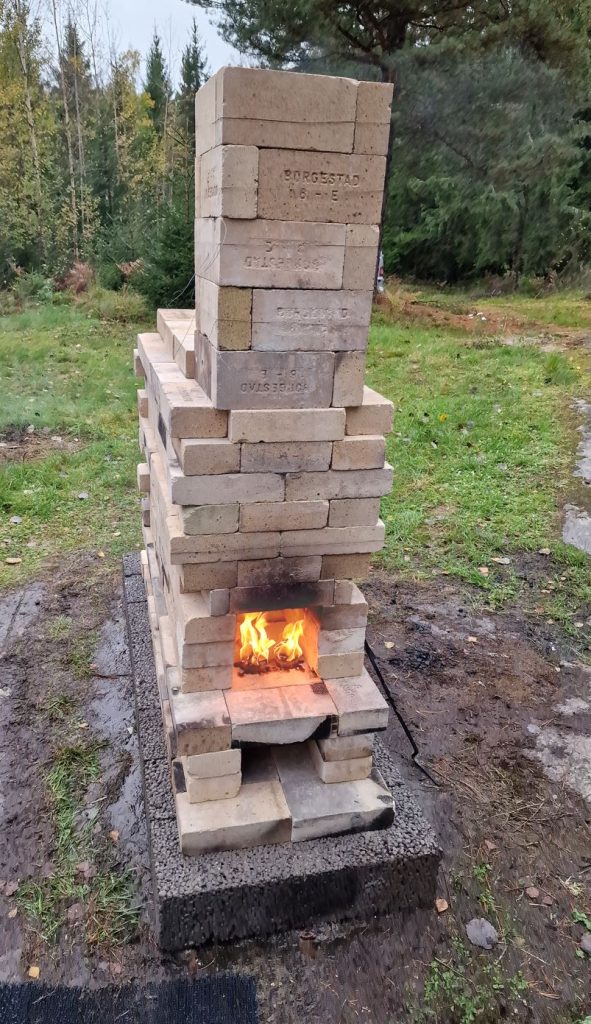
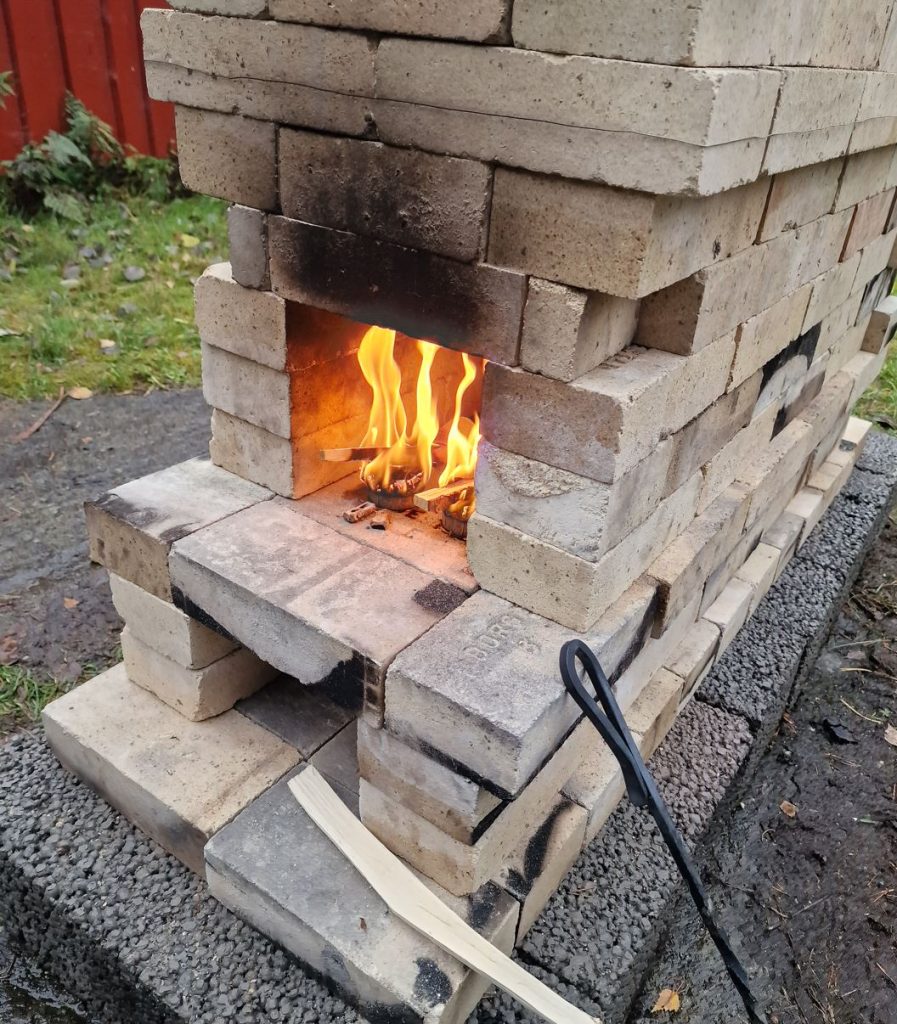
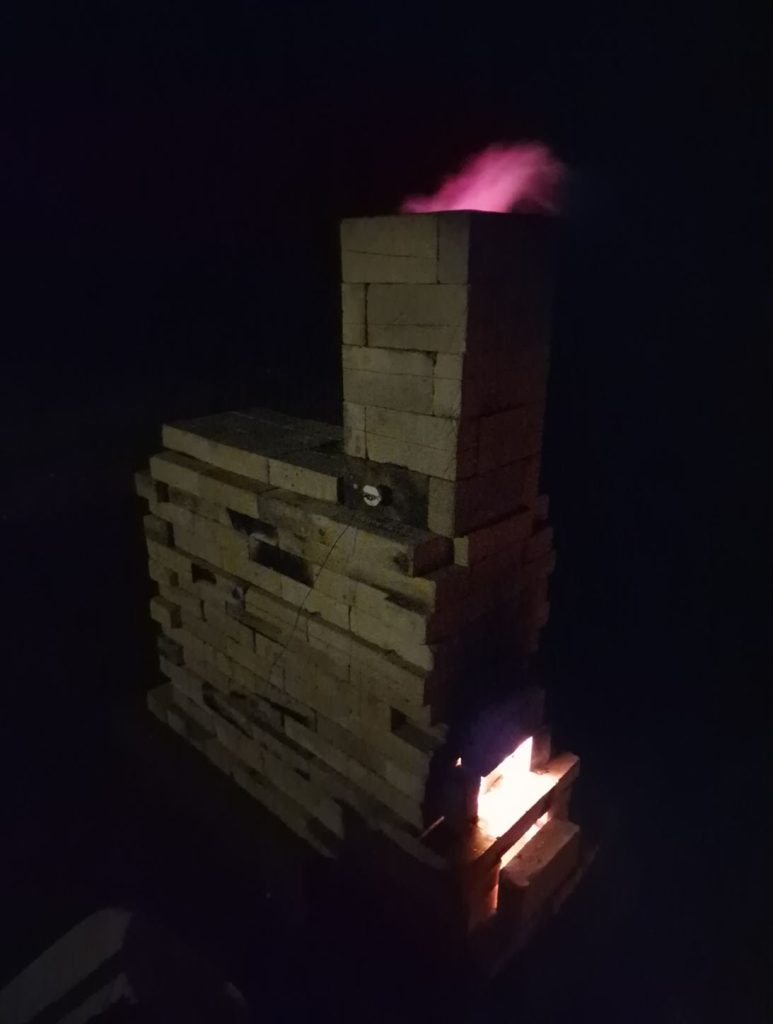
So, how to build a kiln for pottery: This kiln is easily built with bricks stacked on top of each other with no use of mortar; you can take the kiln down again as soon as the bricks cool down, if you want. The design needs some special-sized bricks, something you easily fix with a hard metal saw.
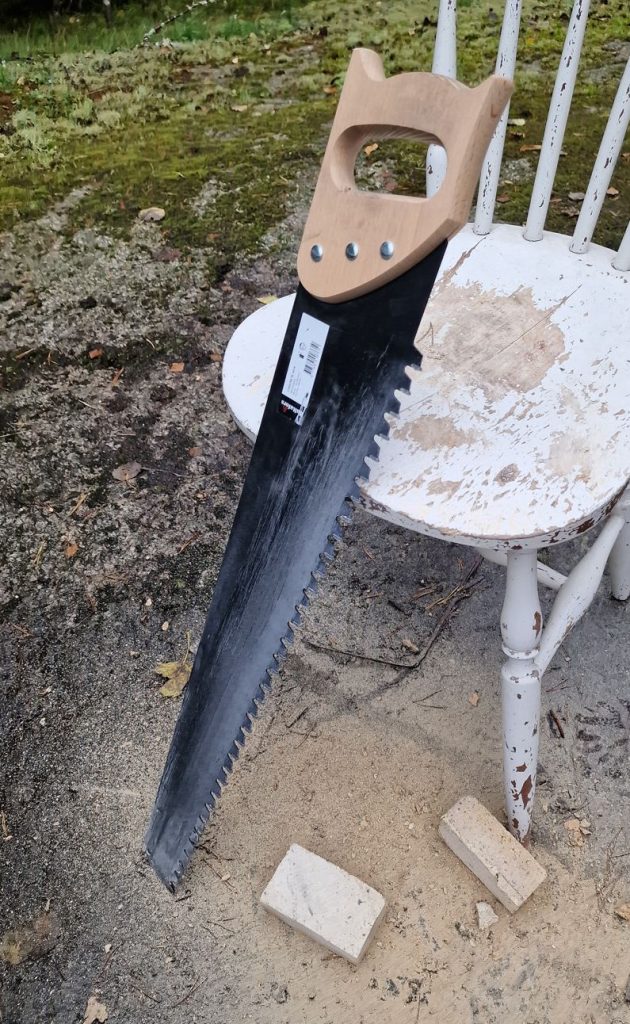
Sure, it’s possible to make your kiln more permanent, but I like the flexibility to take it down and redesign it whenever I want.
If you want to study the design in detail, please see the 3D model at the end of the article.
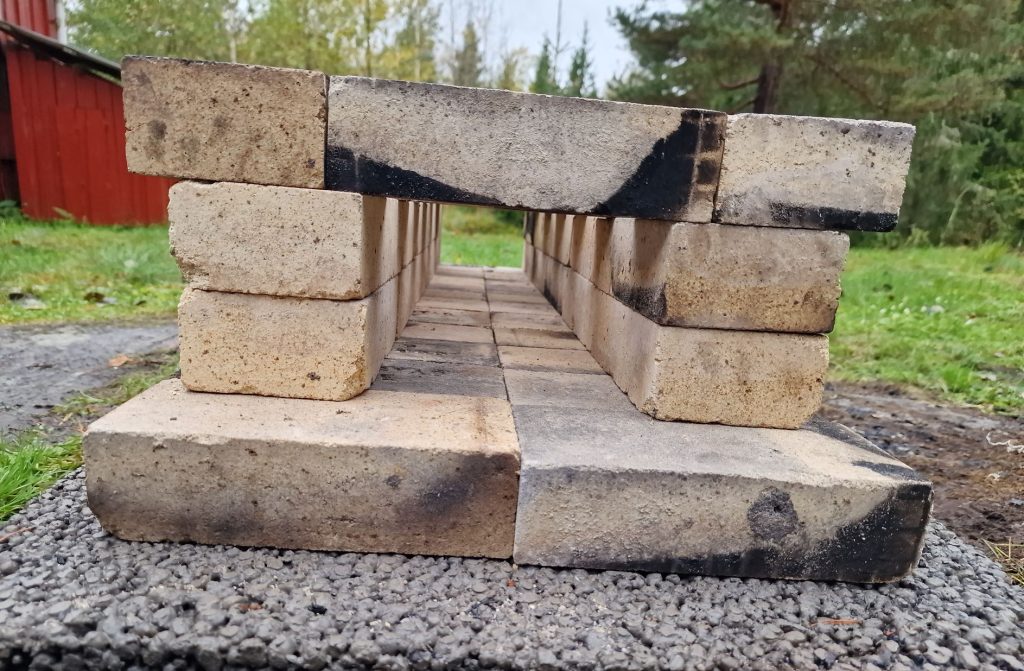
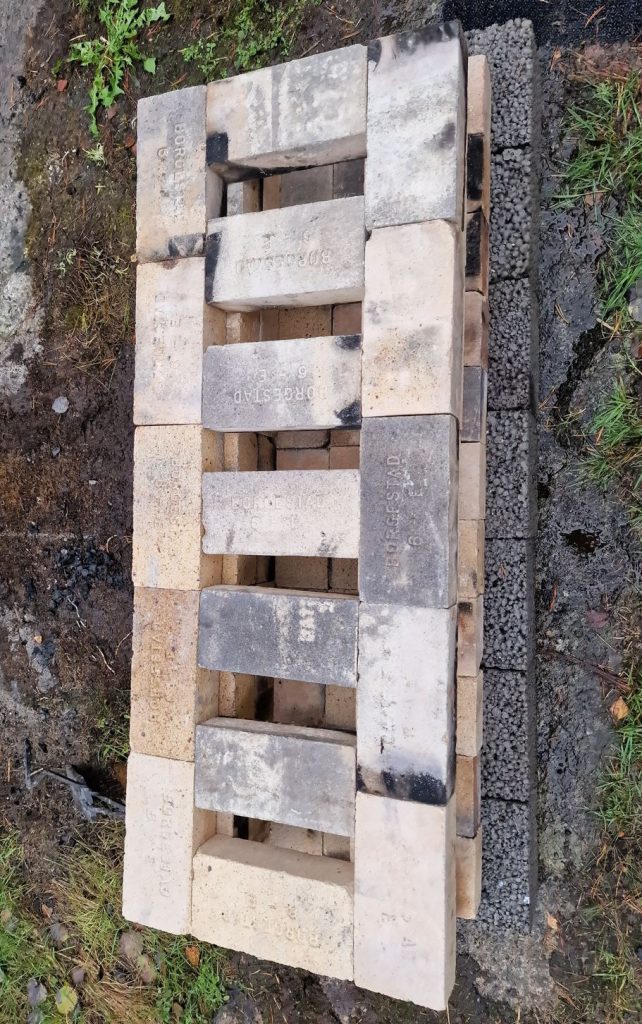
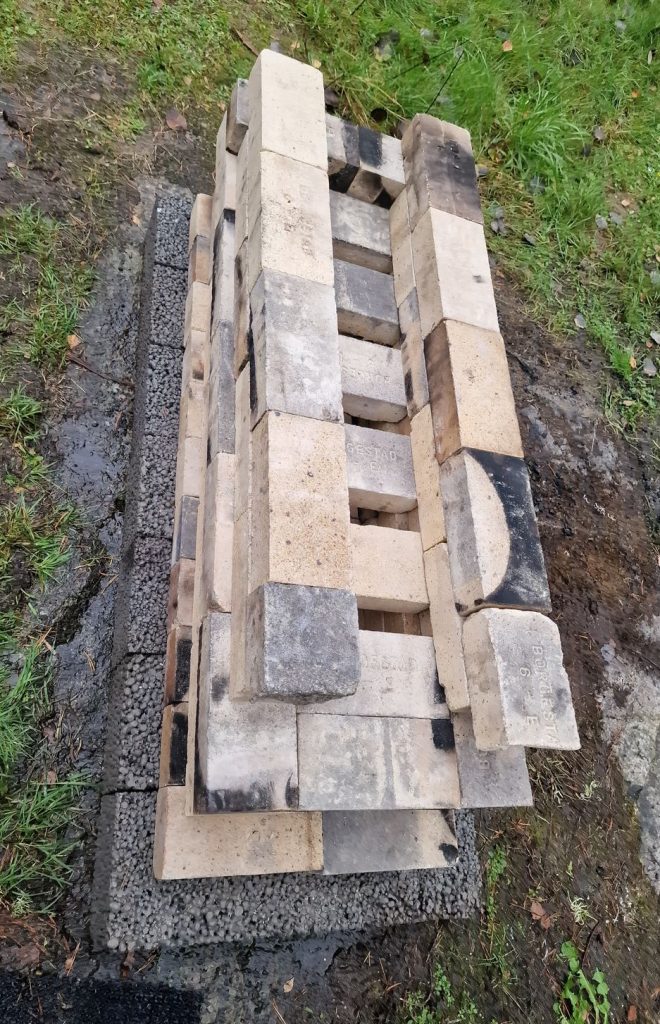
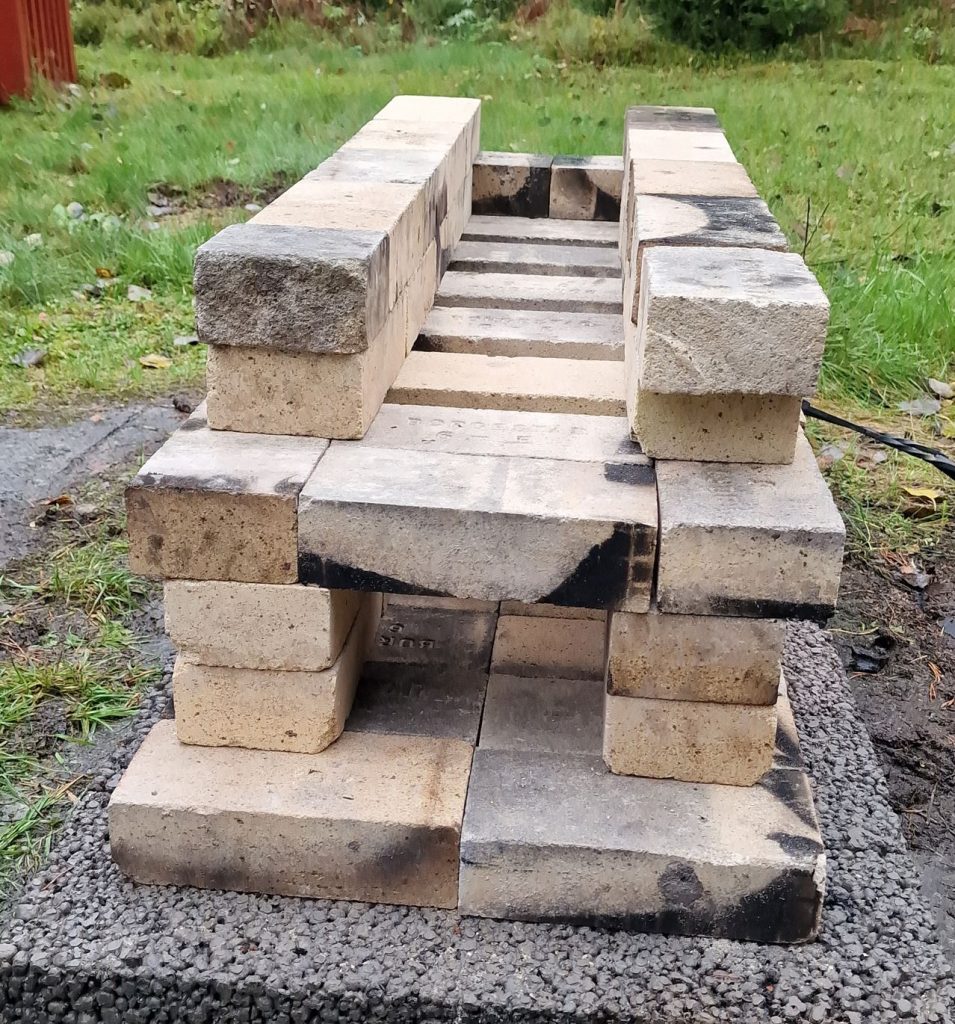
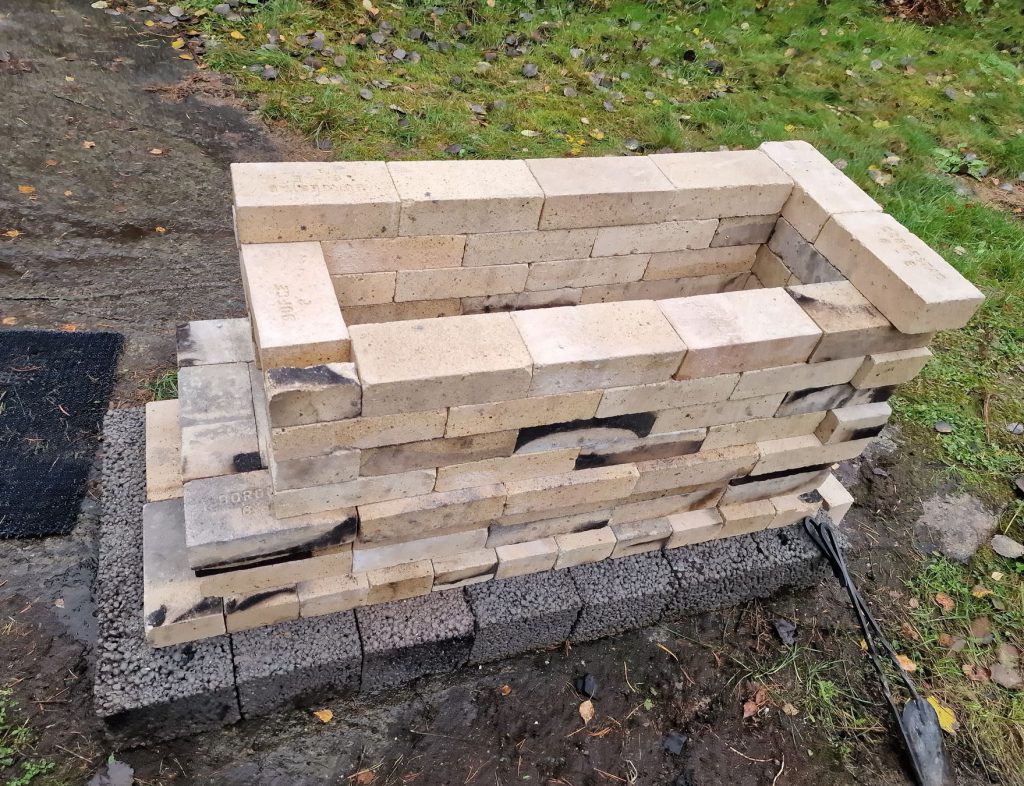
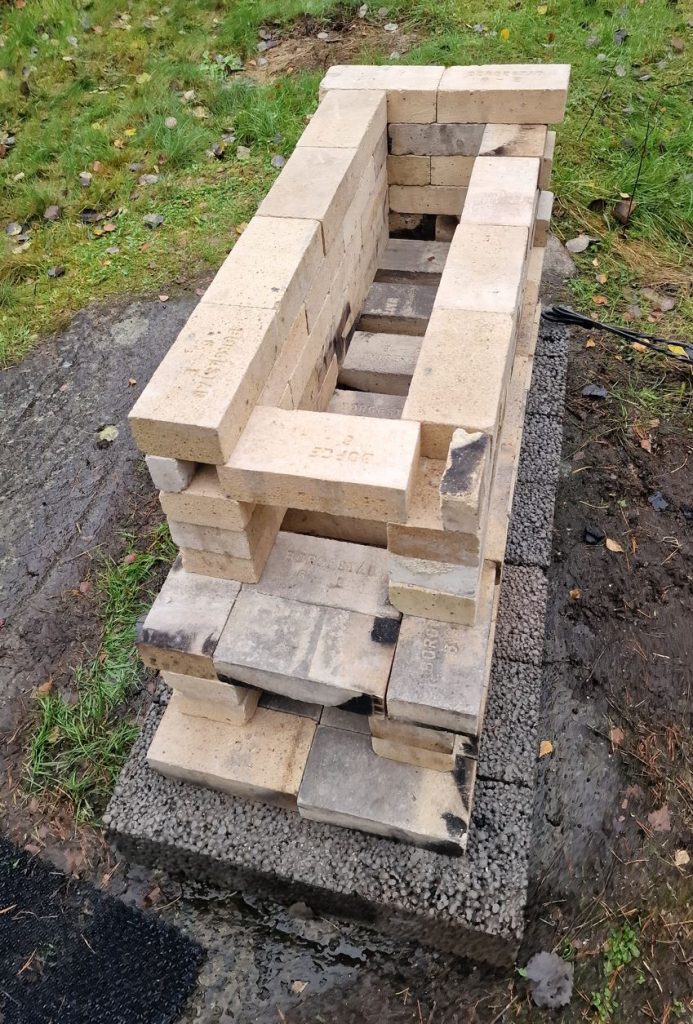
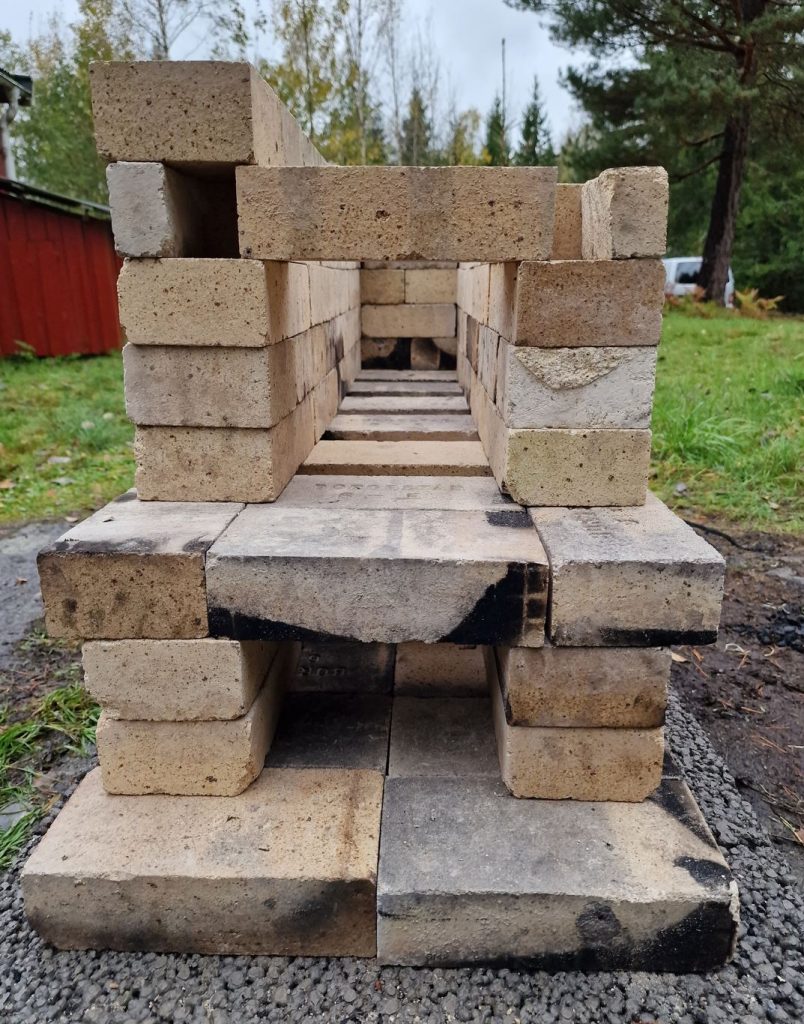
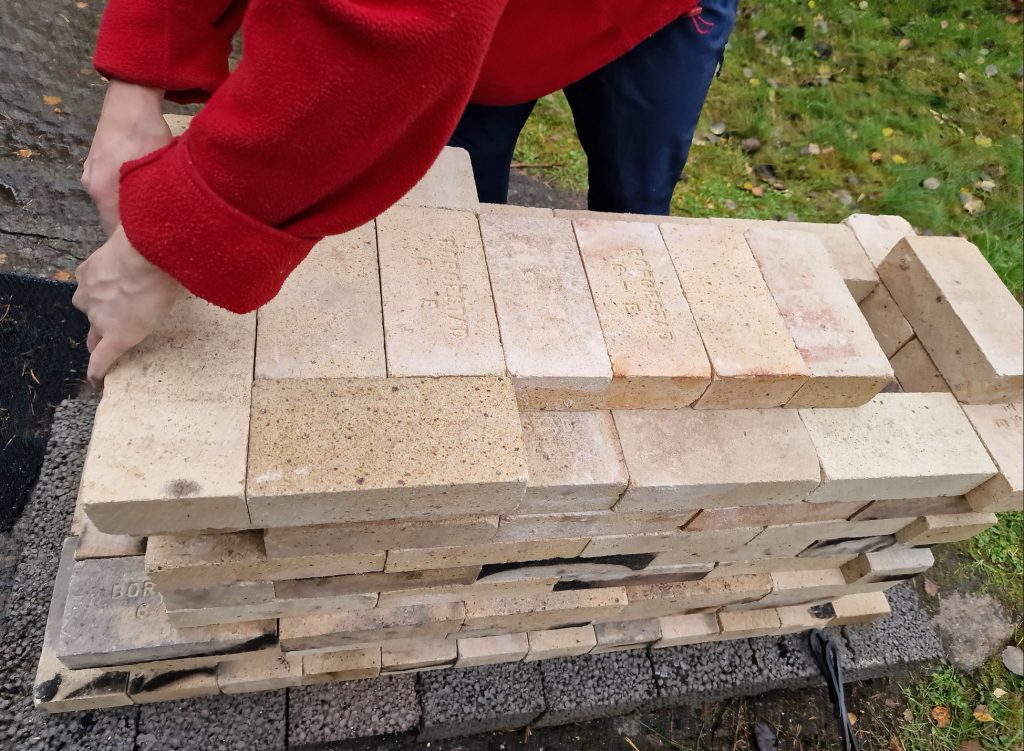
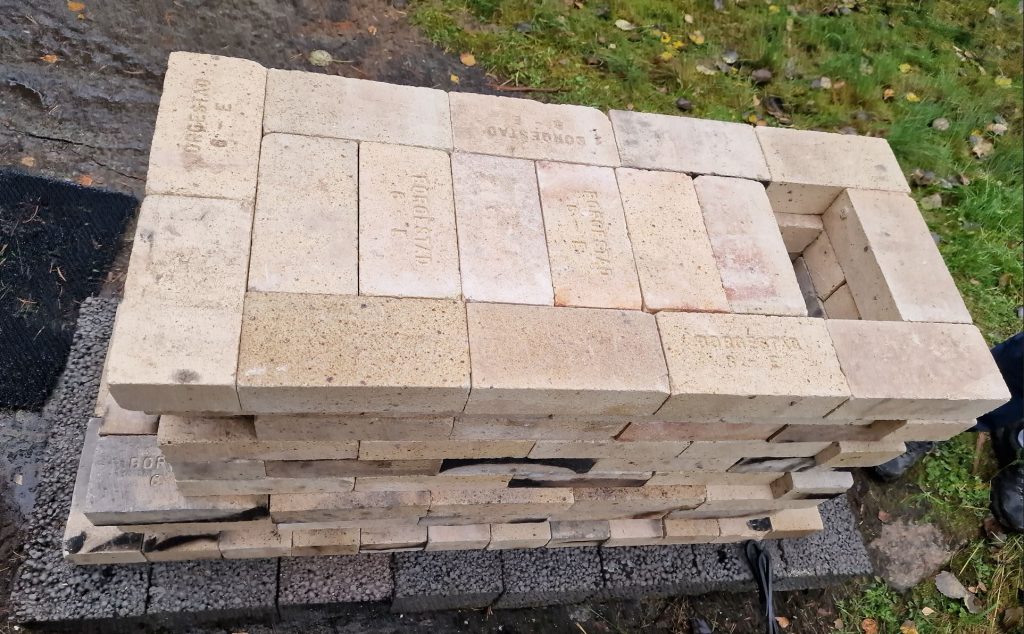
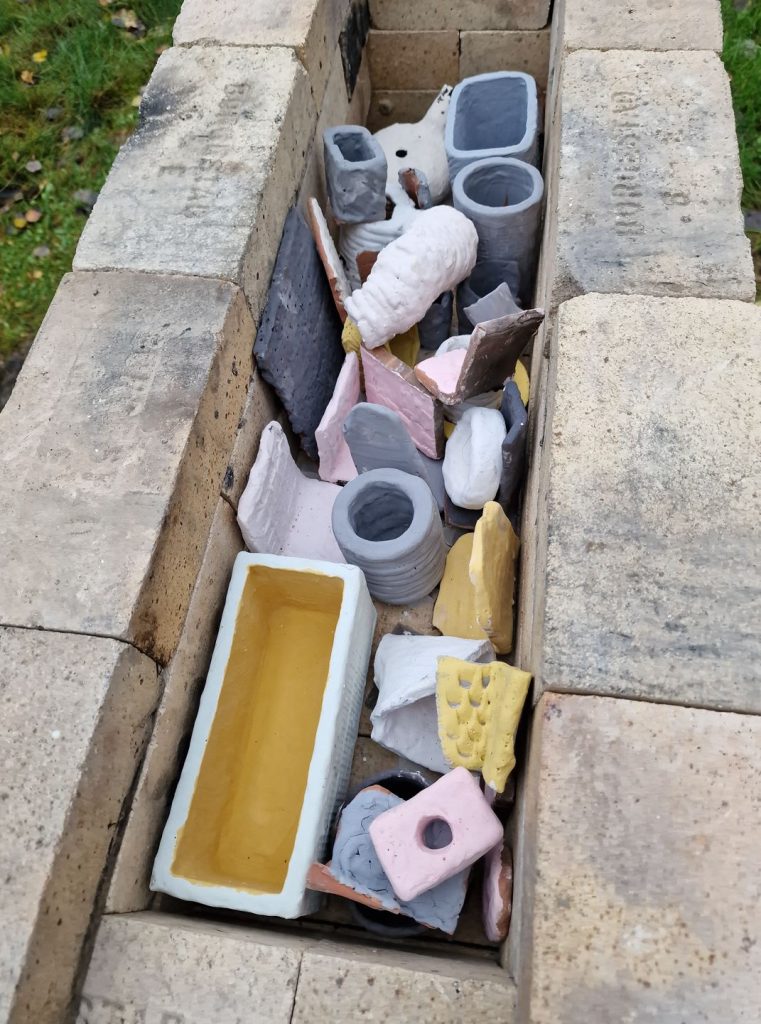
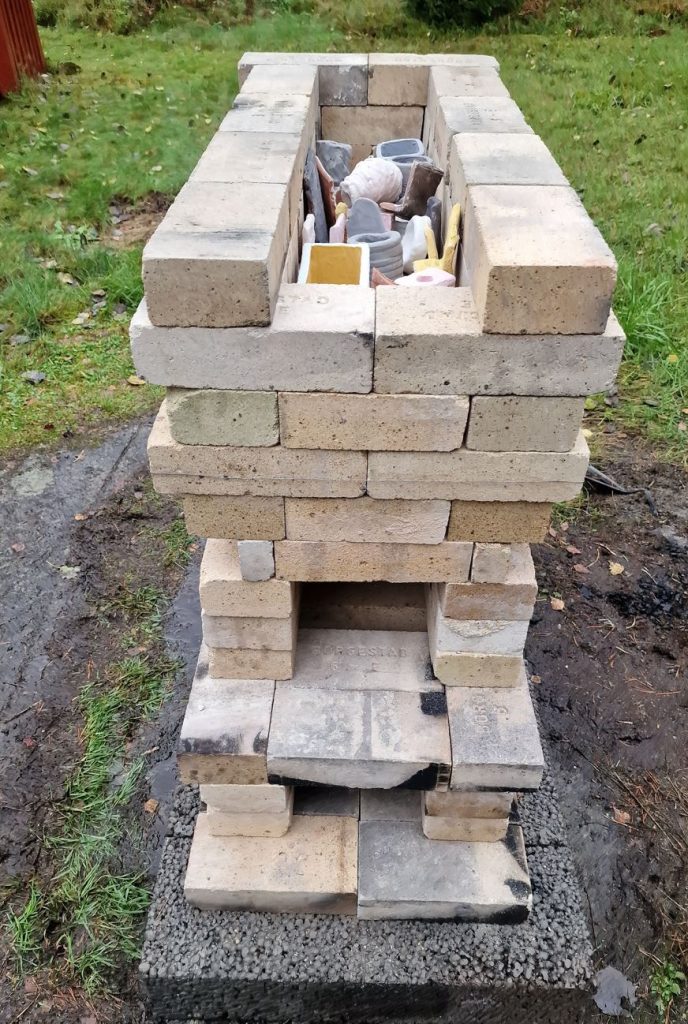
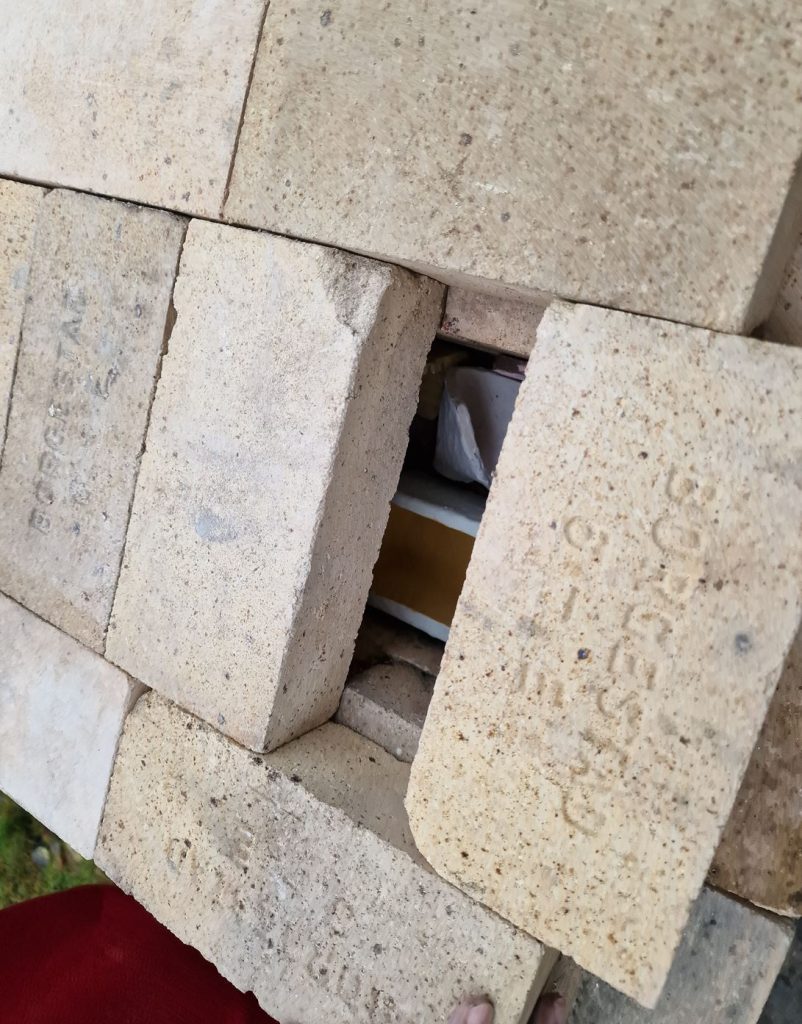
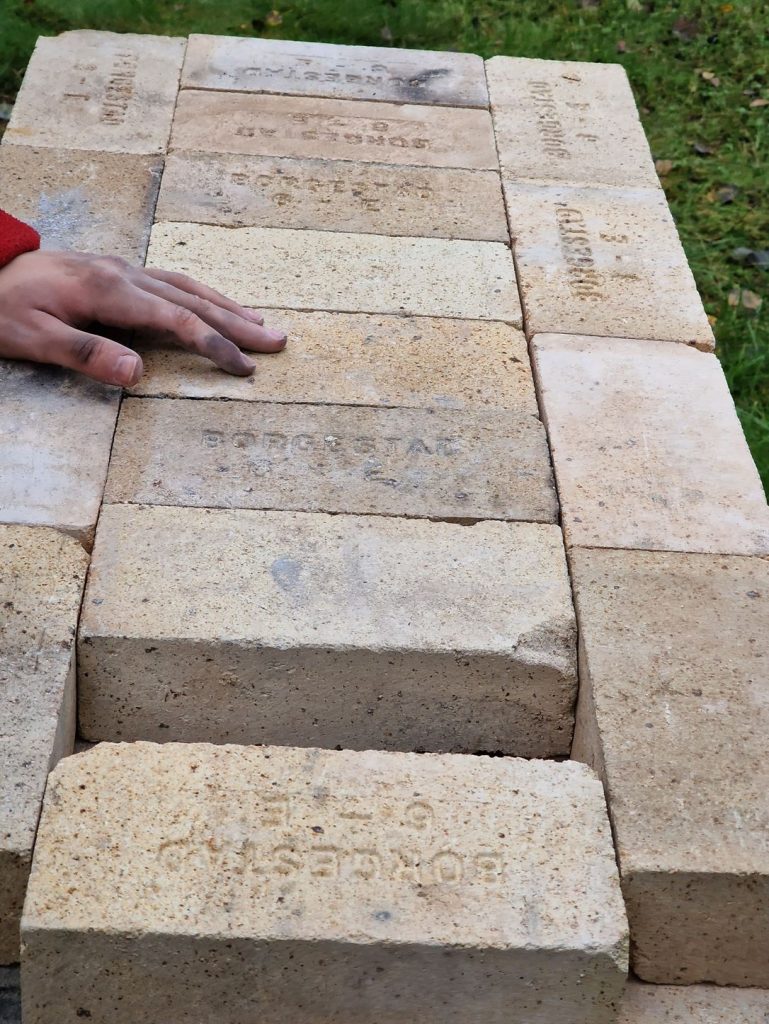
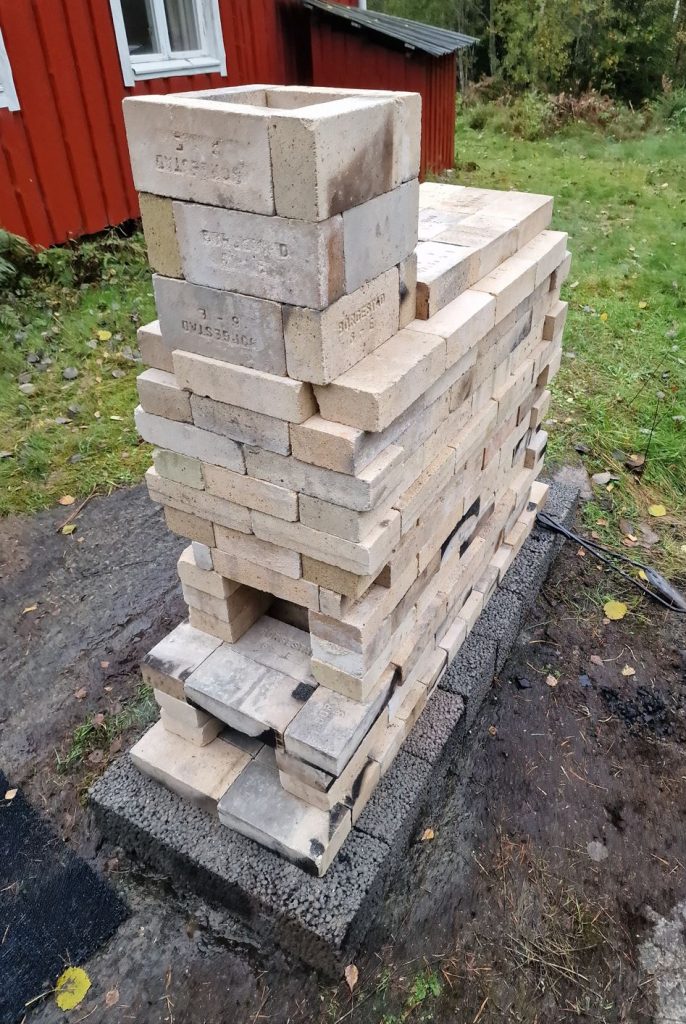
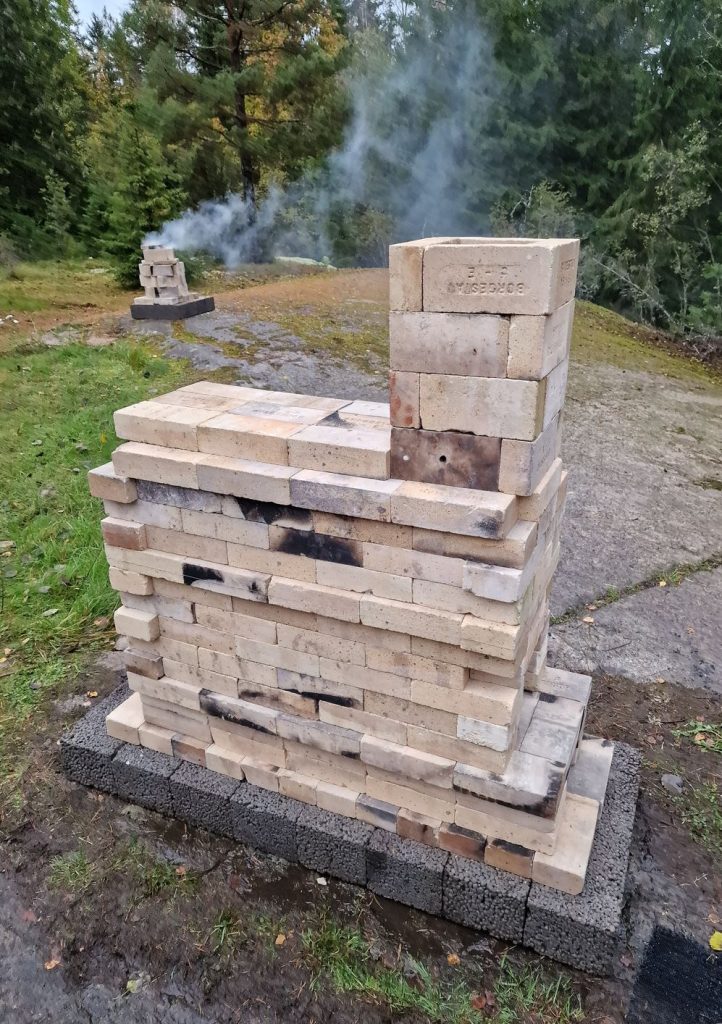
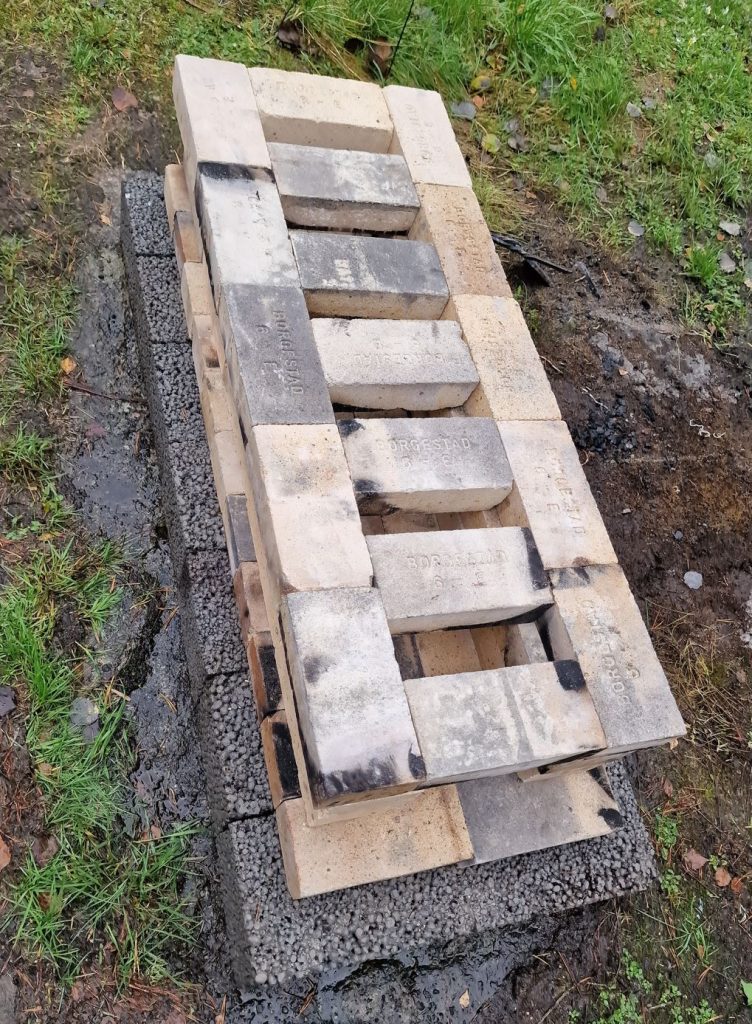
Bricks will move a bit (expand) as the kiln gets hot, and you will get glitches between the bricks when the kiln reaches high temperatures. This is not a heavy construction, but remember to secure the kiln, I use steel wires. I found it to be strong enough to keep this small kiln together.
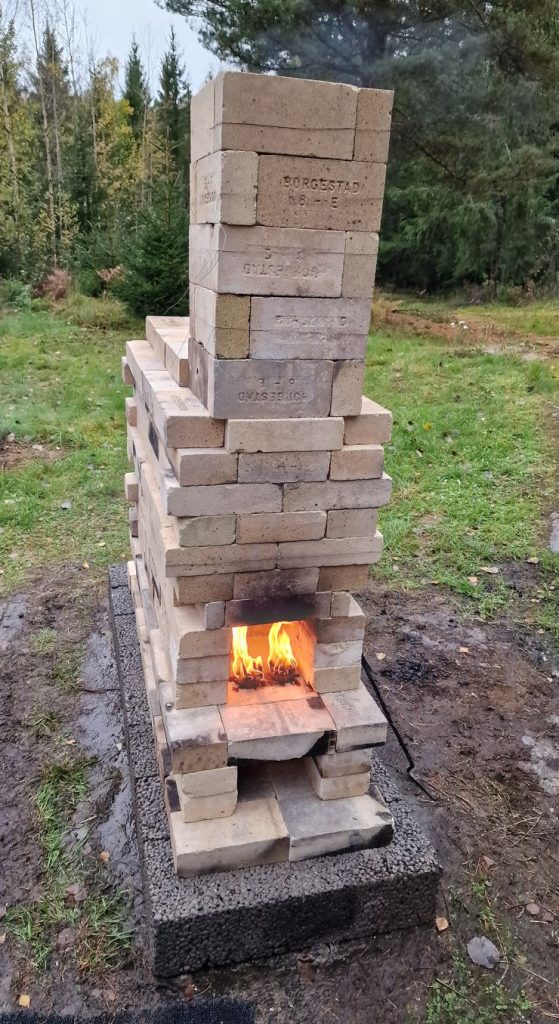
We built an opening in the back of the kiln to dig out embers blocking the air ventilation under the fire chamber. When not removing embers, keep it locked, you don’t want cool air from the back.
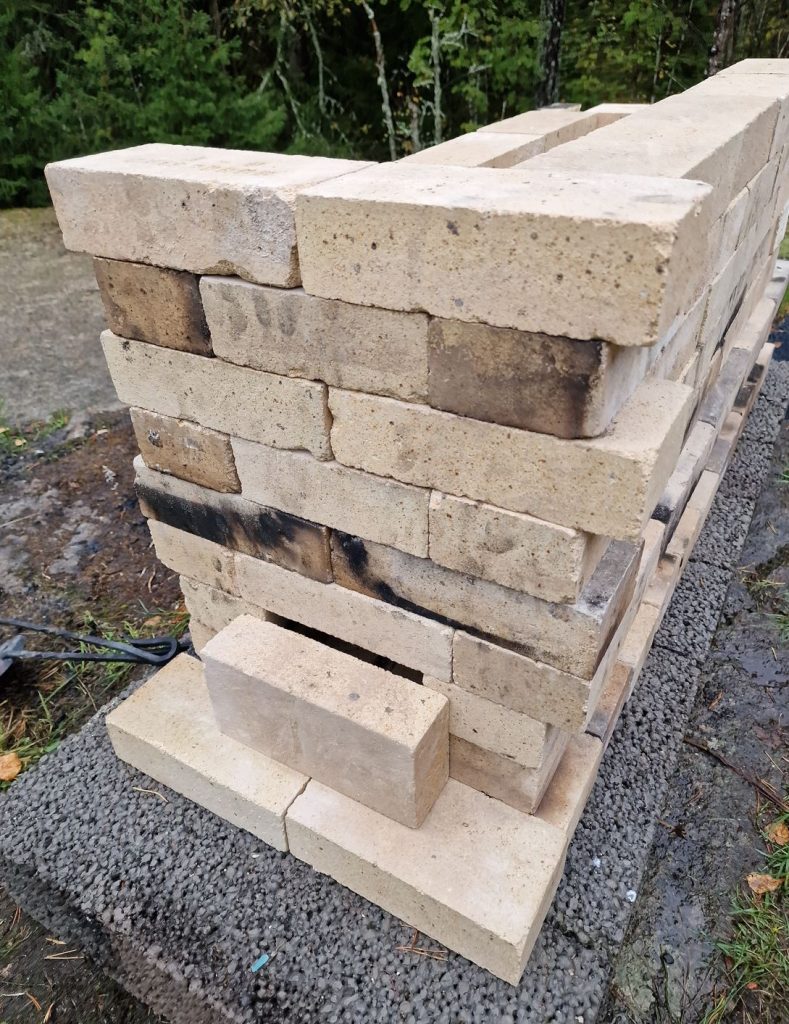
How to build a kiln for pottery
How to fire the pottery kiln:
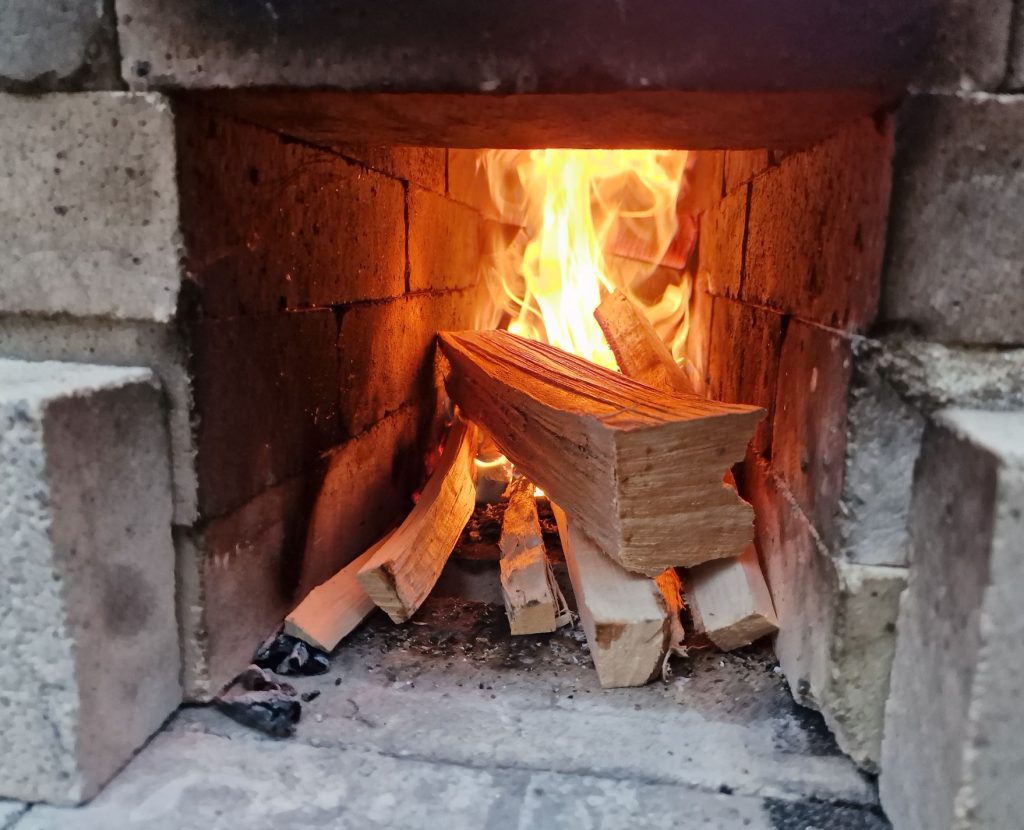
In the first hour, fire slowly til you pass 150 degrees. This is called candling, and is all about giving moisture time to slowly vaporize from the clay before it reaches boiling temperature, you want to avoid water turning to steam. After that, I burn as fast as I can; from 150 to 1000 degrees Celsius takes about 5 hours.
What is special about this kiln design is its long fire chamber; the wares chamber is on top of the fire chamber, they are both equally long, and that’s a lot of space for combustion. But it’s hard to see inside of it when it burns, does it burn at its full length, or if it has openings and “cold spots” between the fire, leaking cold air up in the wares chamber? It’s also hard to get wood deep into the kiln. I use a 1-meter stick to stuff wood back in there. Throwing short sticks deep into the kiln is also possible; better still was firing with thin sticks as long as the fire chamber, and feeding them one by one in its full length. Buildups of embers, on the other hand, are not a problem; embers fall down in the air ventilation shaft, which you need to empty from time to time.
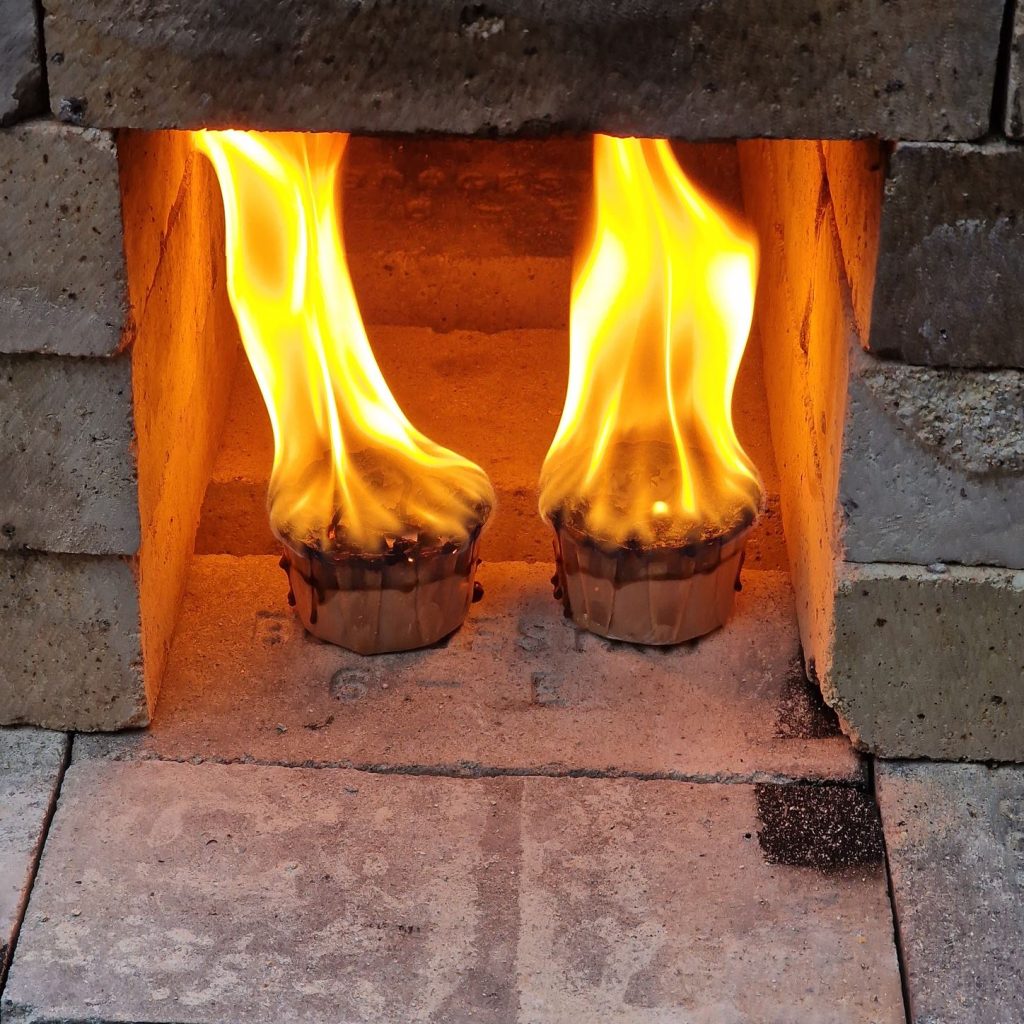
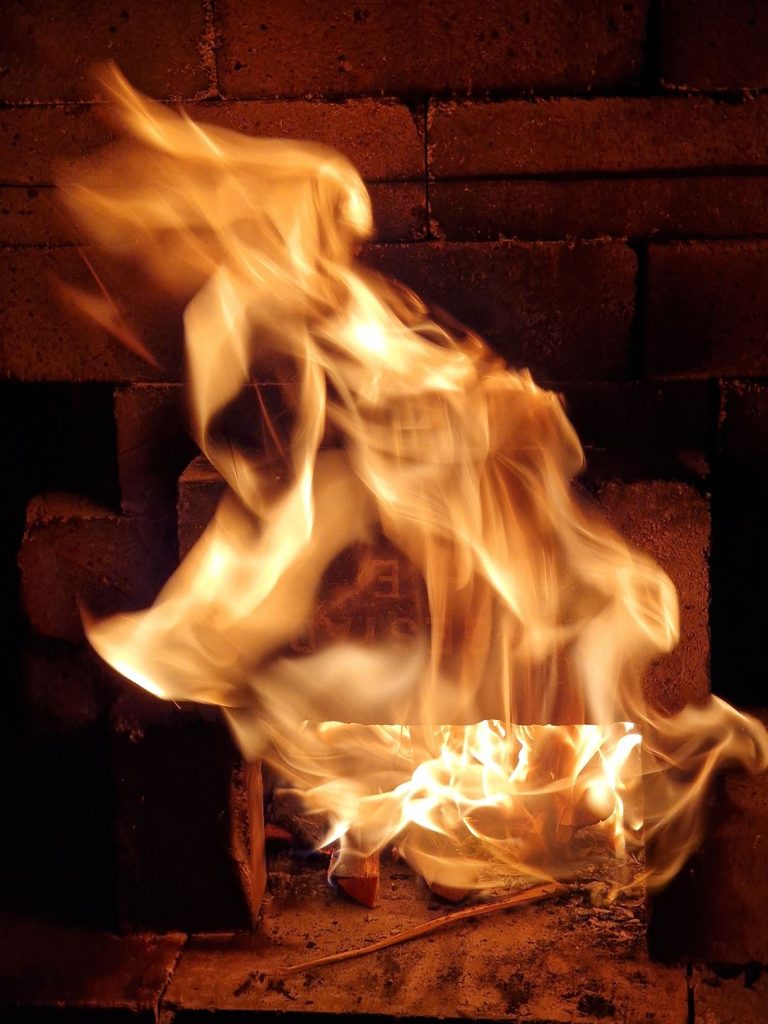
In the picture, I start up with some oversized fire-starters for an hour or two, keeping ting steady around 80 degrees, and that is a good drying temperature (but remember, clay has to be bone-dry before putting it in the kiln, this is just to be 100% sure).
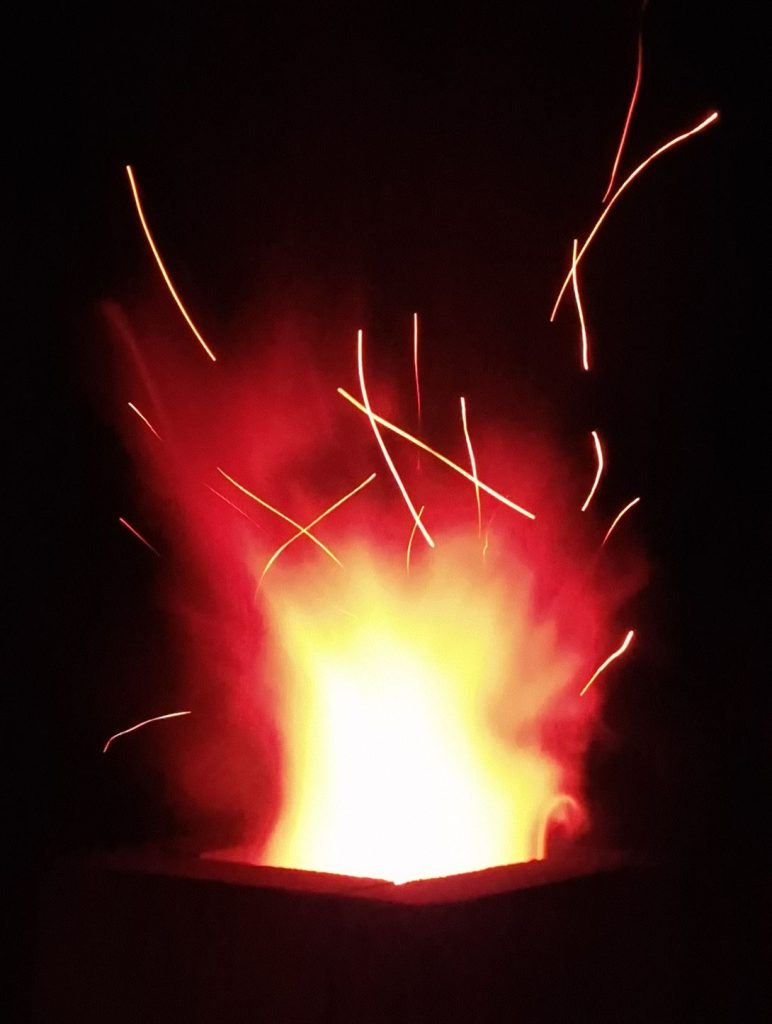
How to build a kiln for pottery
The hotter it gets, the harder it is to increase the temperature. This means the last two hundred degrees are a lot harder than in the beginning. Stalling means the kiln won’t get hotter no matter what you try. To overcome stalling and reach your desired temperature, understanding the practical aspects of woodfires and combustion is key. Finding a good firing rate for your kiln is important. Read about consistent firing here and how to reach high temperatures:
How to burn ceramic consistently in a wood-fired kiln/
The Half S kiln is easily controllable both in the hot and the cold end of the fire range; It’s a common kiln type, and the same design is used to build both bigger and more permanent kilns. This one is made for stacking without the use of mortar. I do find the design a bit ineffective, with too much fireplace going on, too difficult to see how the fire is going, and too little space for the ceramics. But it is a good test and entry kiln, and I have had a lot of fun working with it.
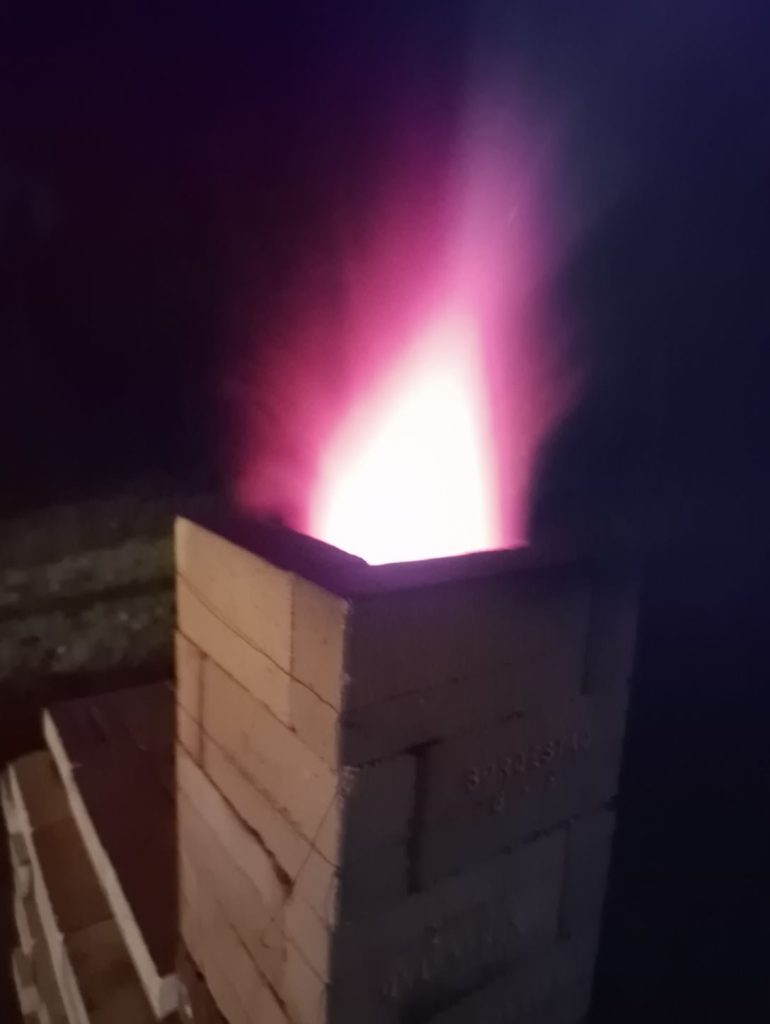
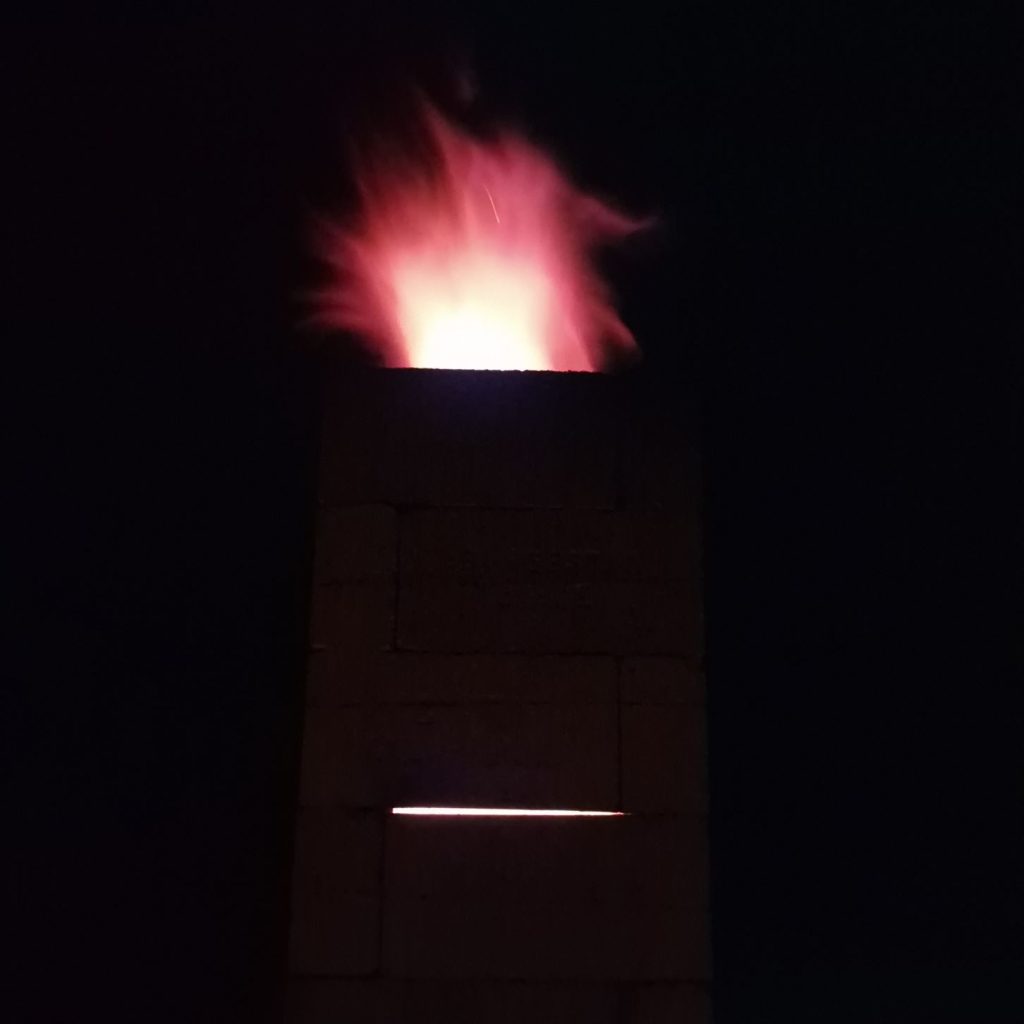
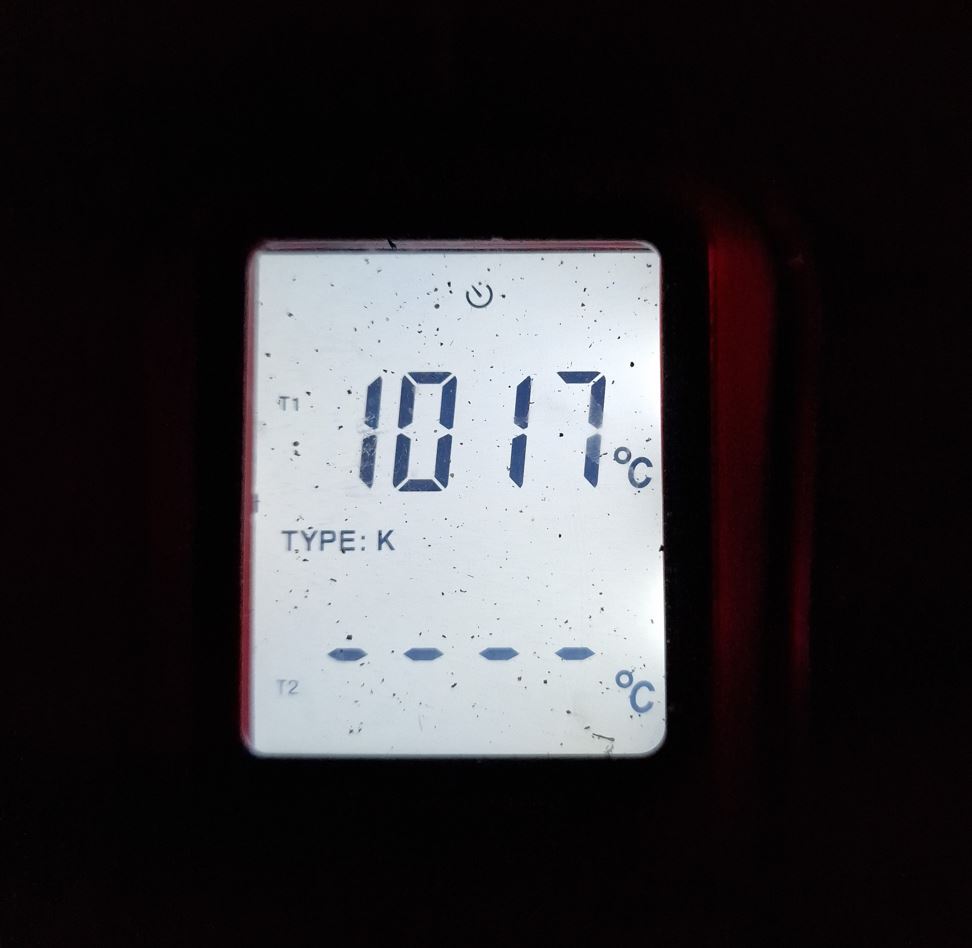
Yes, I reached my 1000 degrees Celsius:
See the 3D model:
Open the 3D model in fullscreen:
https://woodfireceramic.com/vv-content/kilns-horizontal-stack-bricks.html
This website was my first inspiration:
https://sidestoke.com/firstkilns/firstkilns.html
But there are many web pages of similar kilns:
http://www.lafayetteclayworks.com/opt-events/Backfire%20kiln.html
https://www.ginabaumart.com/news-1
https://opopots.blogspot.com/2009/03/my-woodfired-kilns-all-7.html
How to build a kiln for pottery – 2025