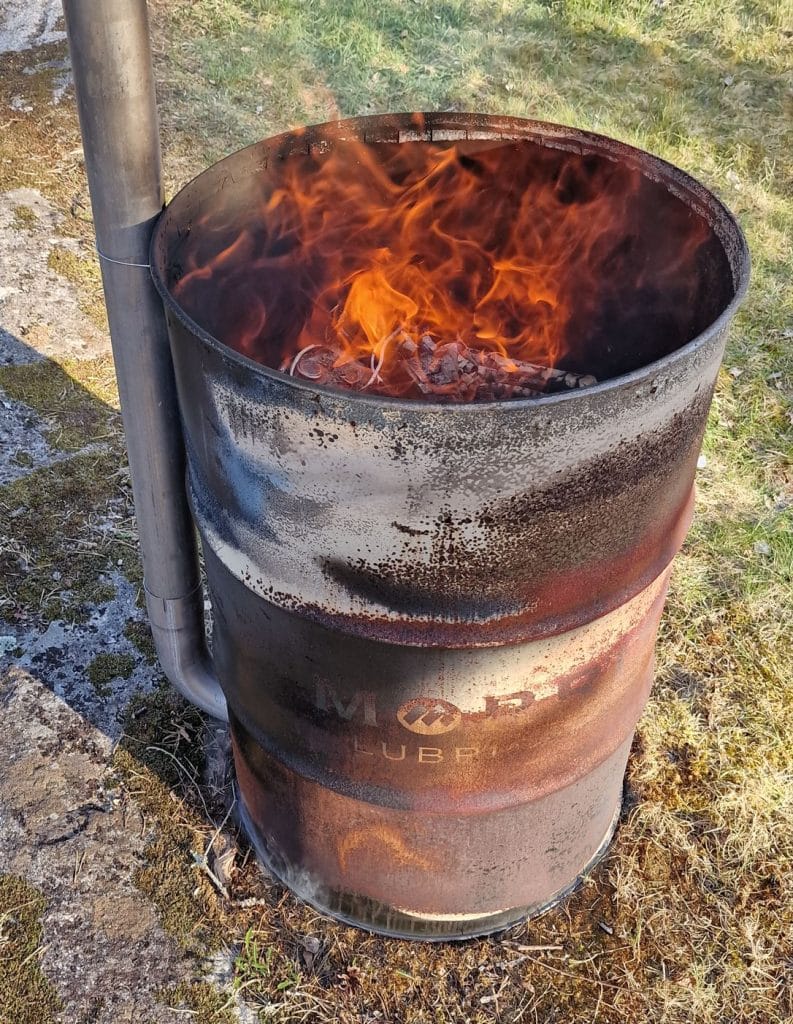
How To Build A Wood Fired Kiln With An Oil Barrel
You do not need many tools to shape an oil barrel into a pottery kiln.
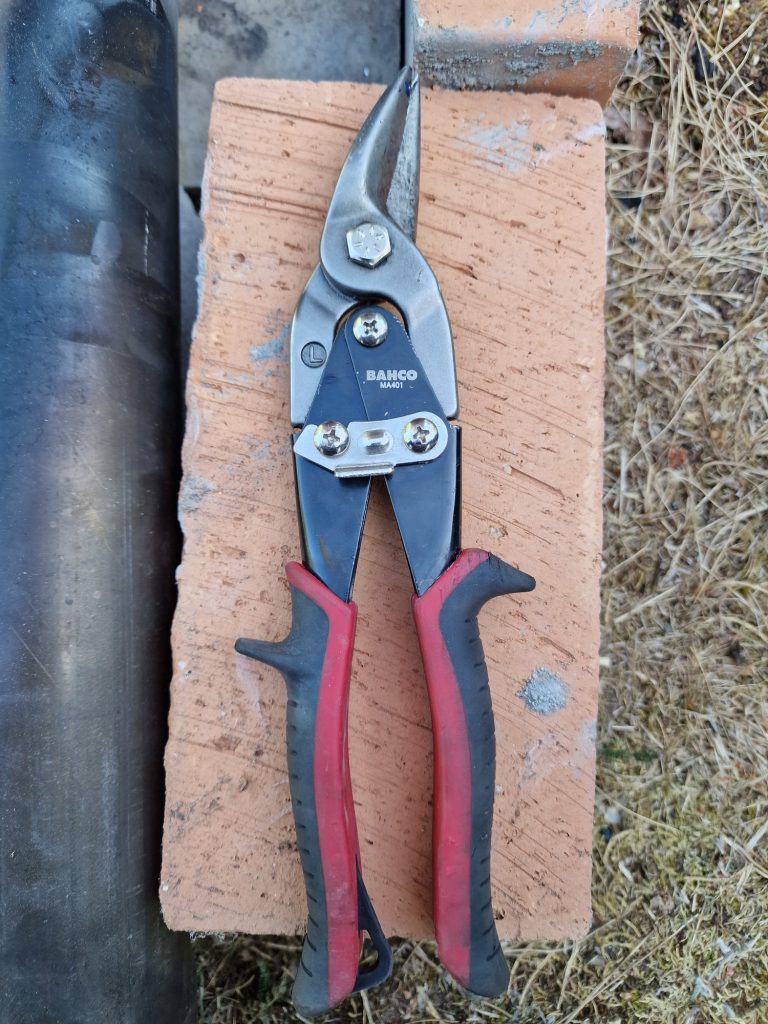
A hammer, a drill, and a handheld metal shear are more than enough, add some steel wire and you have all you need.
If you have an angle grinder life smiles at you (remember to use safty glasses). But it can be done by hand: Drill several holes till you have an opening big enough for the snout of the shear, it can be a bit tough to hand-cut since the steel is a bit thick for manual tools.
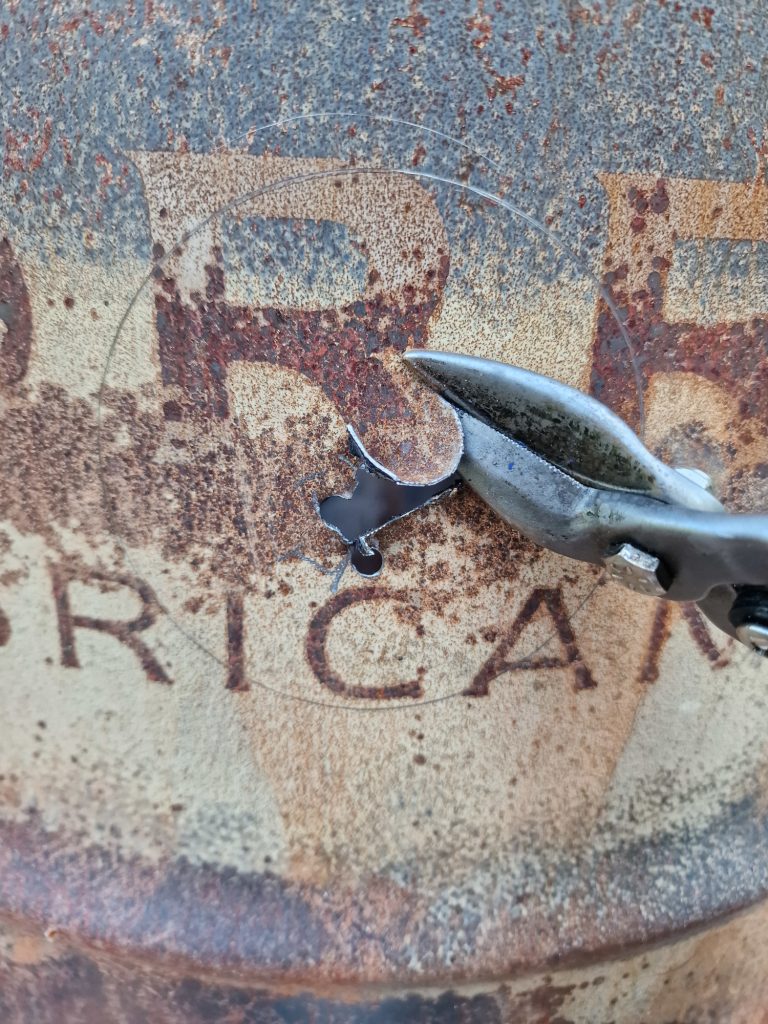
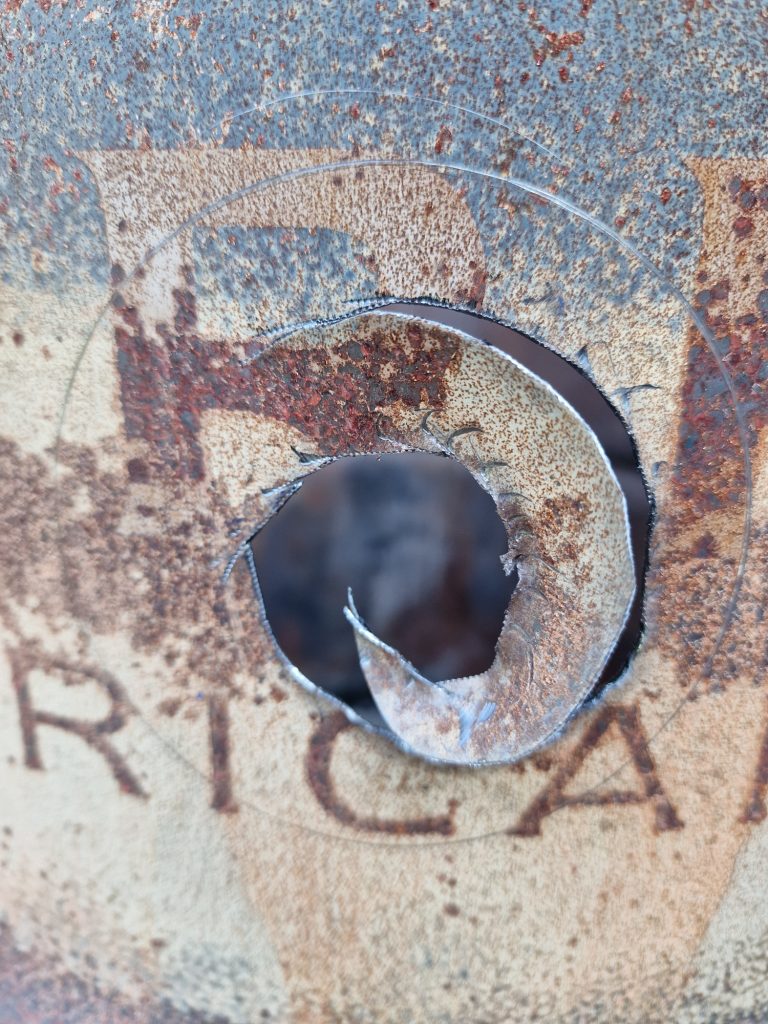
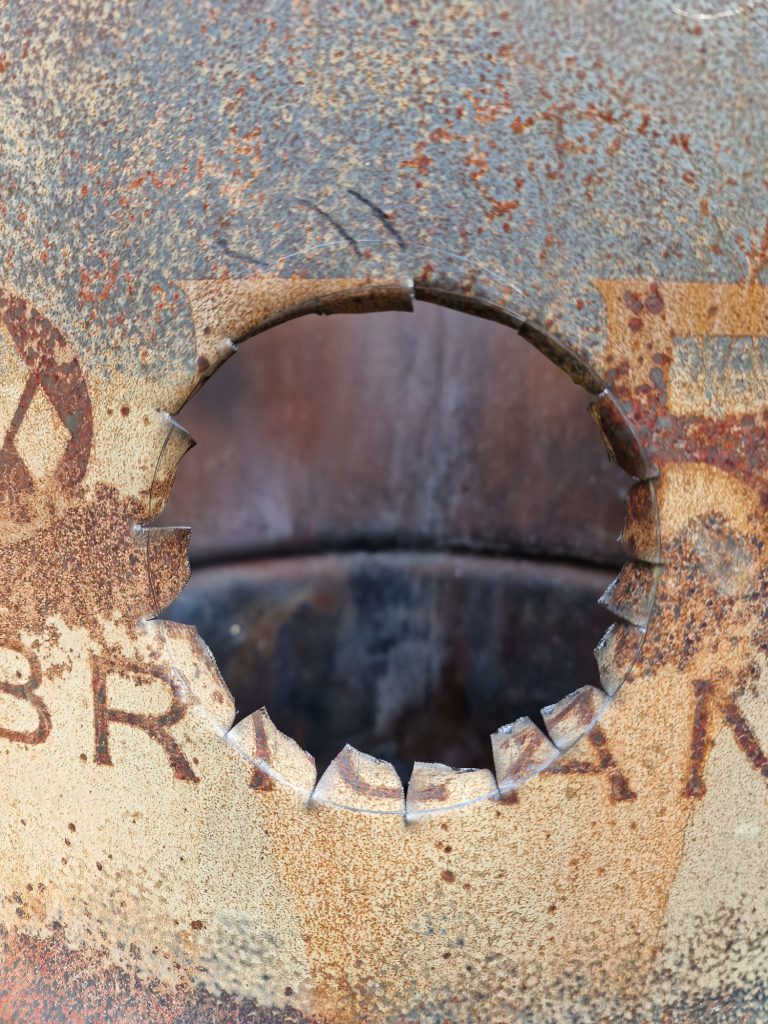
Remember to use gloves, knife-shaped steel cuts can be sharp.
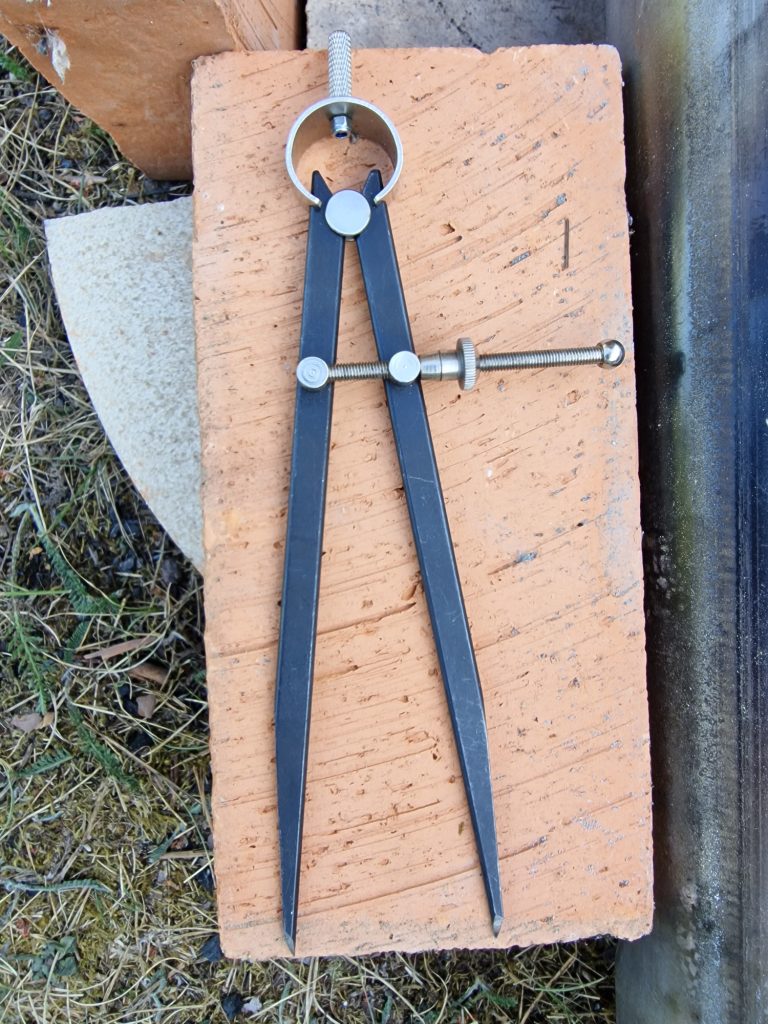
This is how you make holes for the pipe. But also how to cut off the top of the barrel.
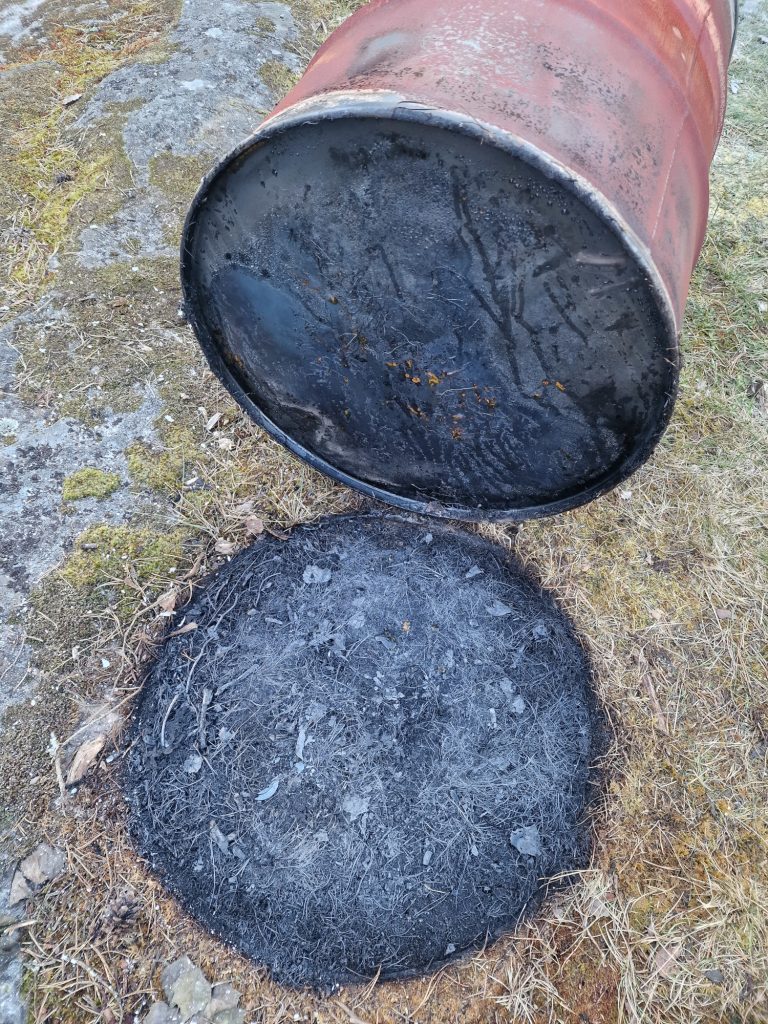
First-time firing makes thick, stinky smoke if there is some oil residue left in the barrel, same for the outside paint. But it will burn away in a few minutes.
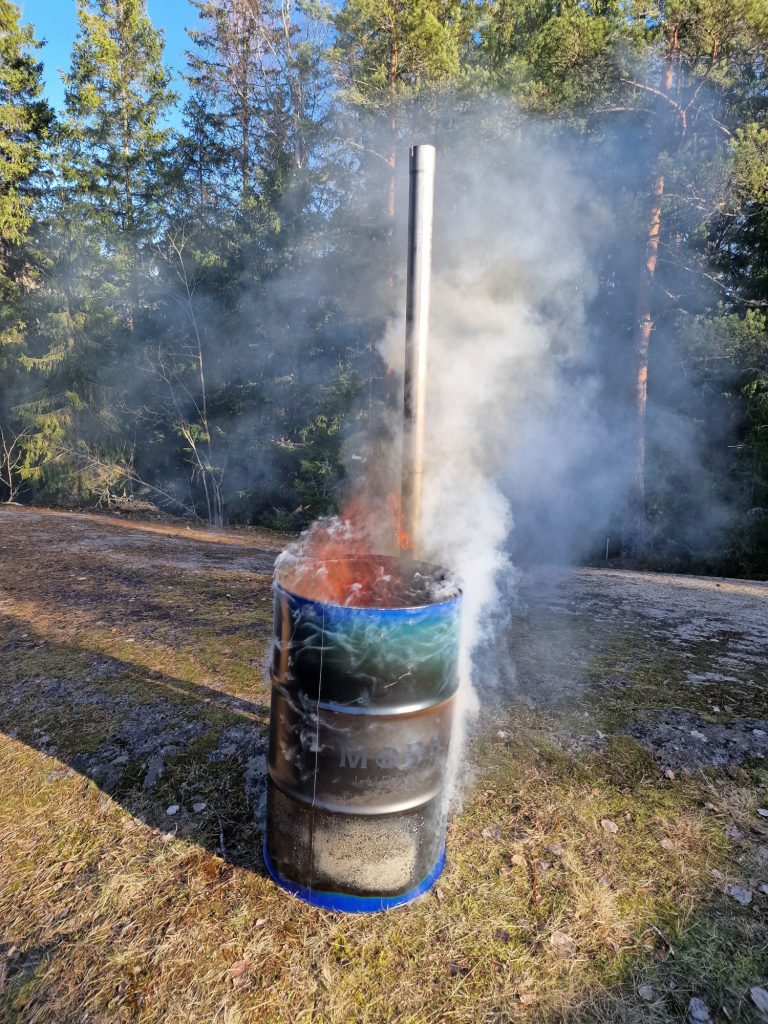
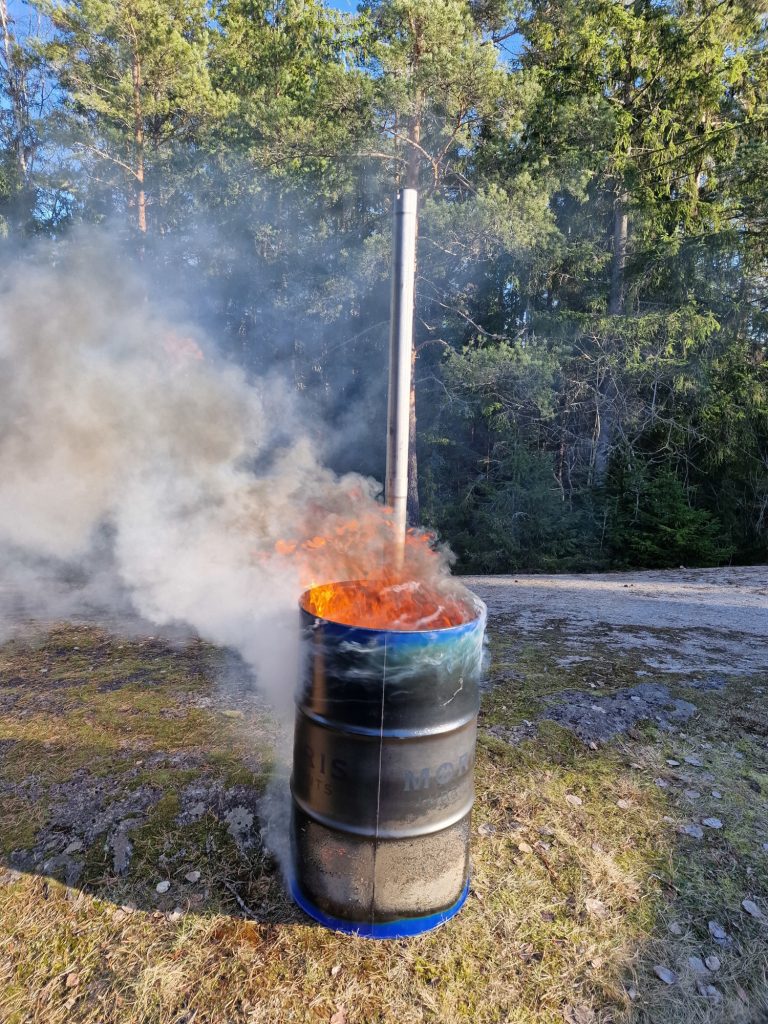
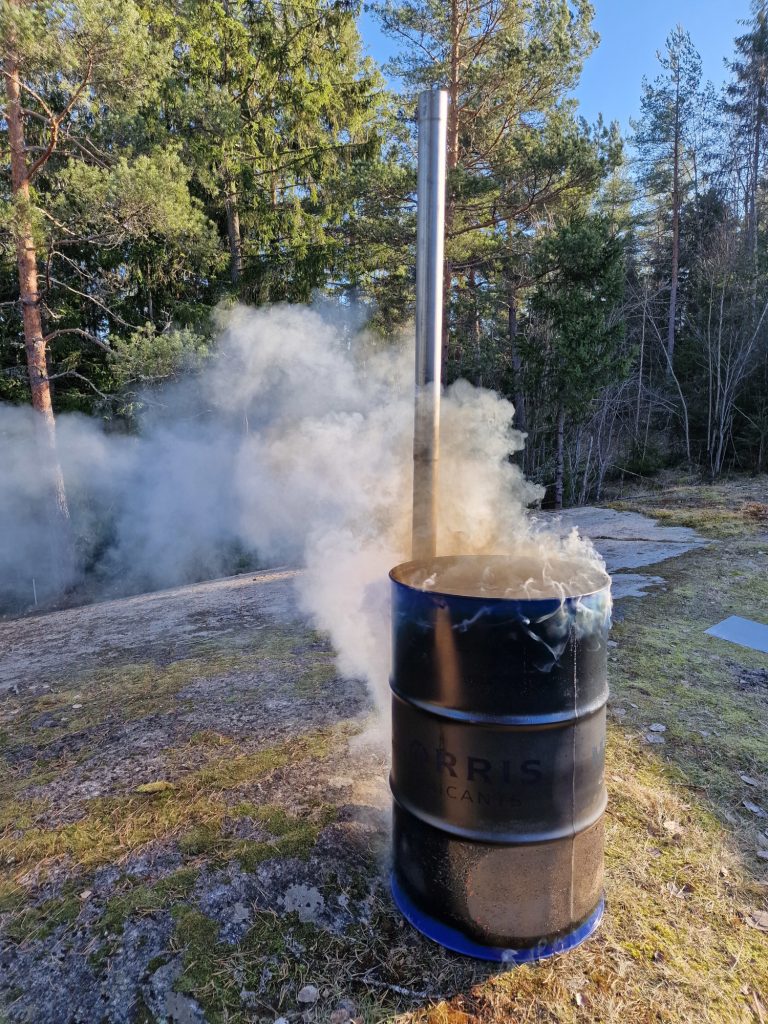
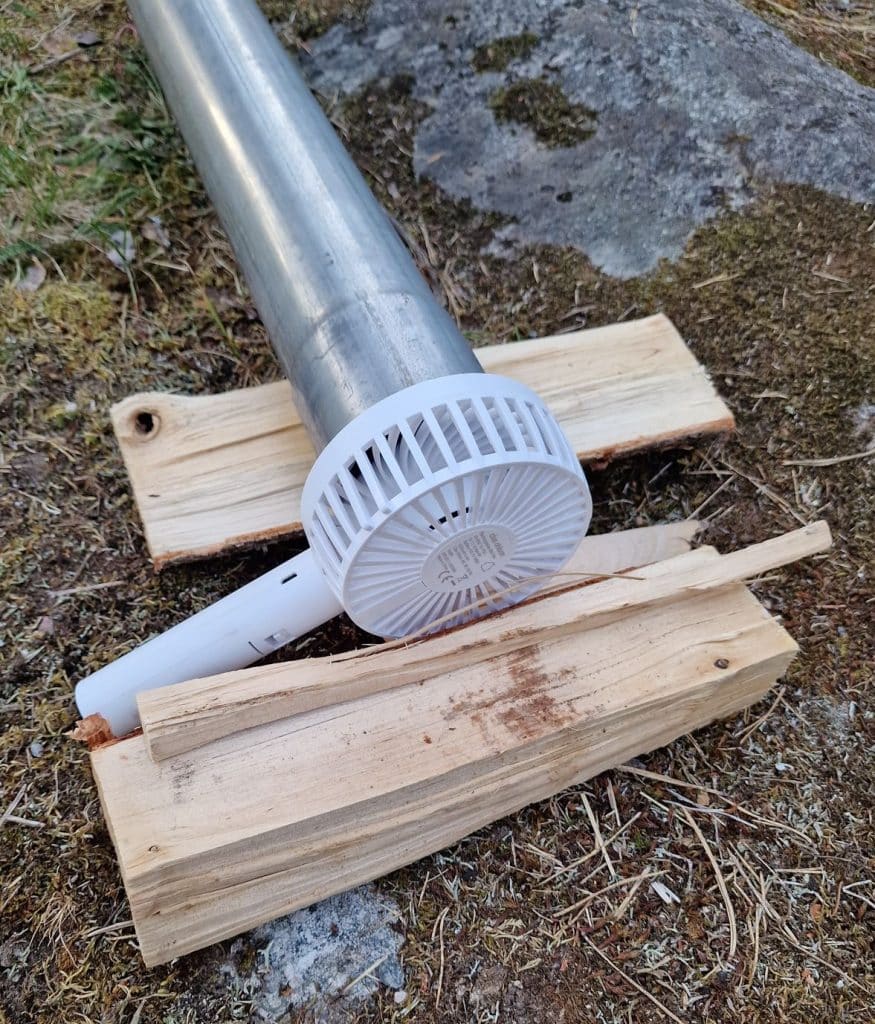
How to build a wood fired kiln with an oil barrel: Cut off the lid, and drill air holes in the bottom of the barrel for ventilation. The flames need quite a lot of oxygen to burn effectively. A cheap 12 Volt battery-fan can effectively increase the fire rate.
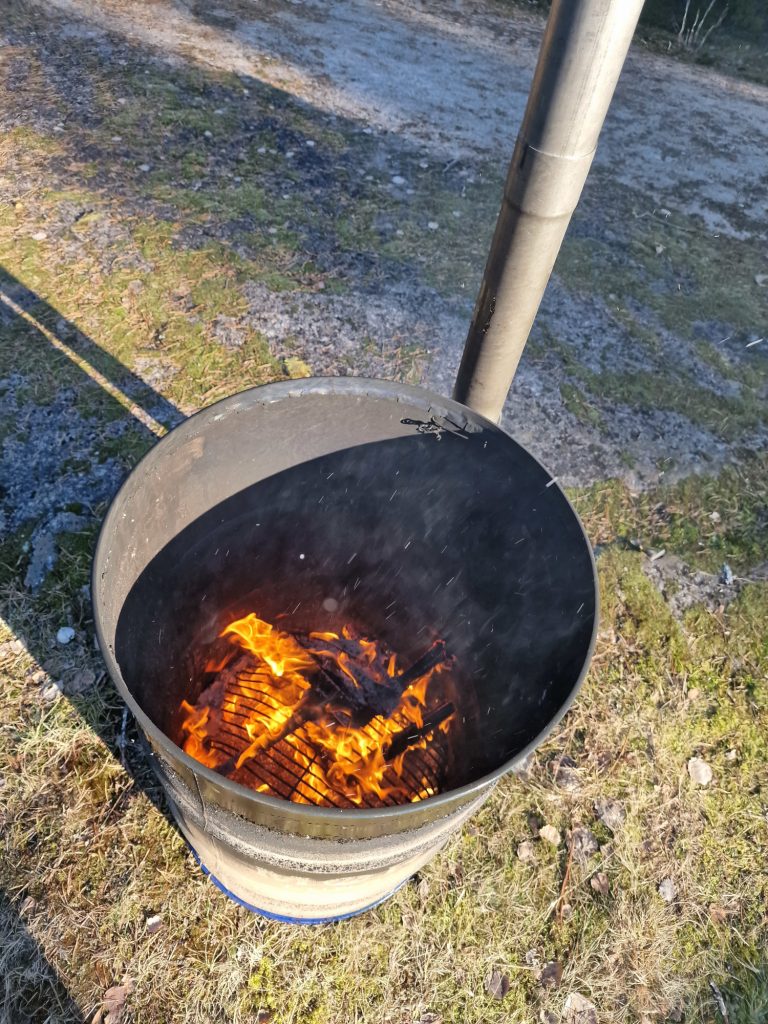
A Grate at the bottom of the oil drum can distribute oxygen evenly.
Also read about Sawdust-firing pottery in the oil drum here:
Experiment with any type of design you want:
Build your oil drum with an inside pipe, an outside pipe, or no pipe at all. You can add a lid or maybe not? Your steel drum can have a ventilation pipe and a fan in the bottom, or just holes for air. What about joining two oil barrels, one for the fire and one for the goods? You get an oil barrel for free or just a few bucks, so if your design fails get a new one and just start over.
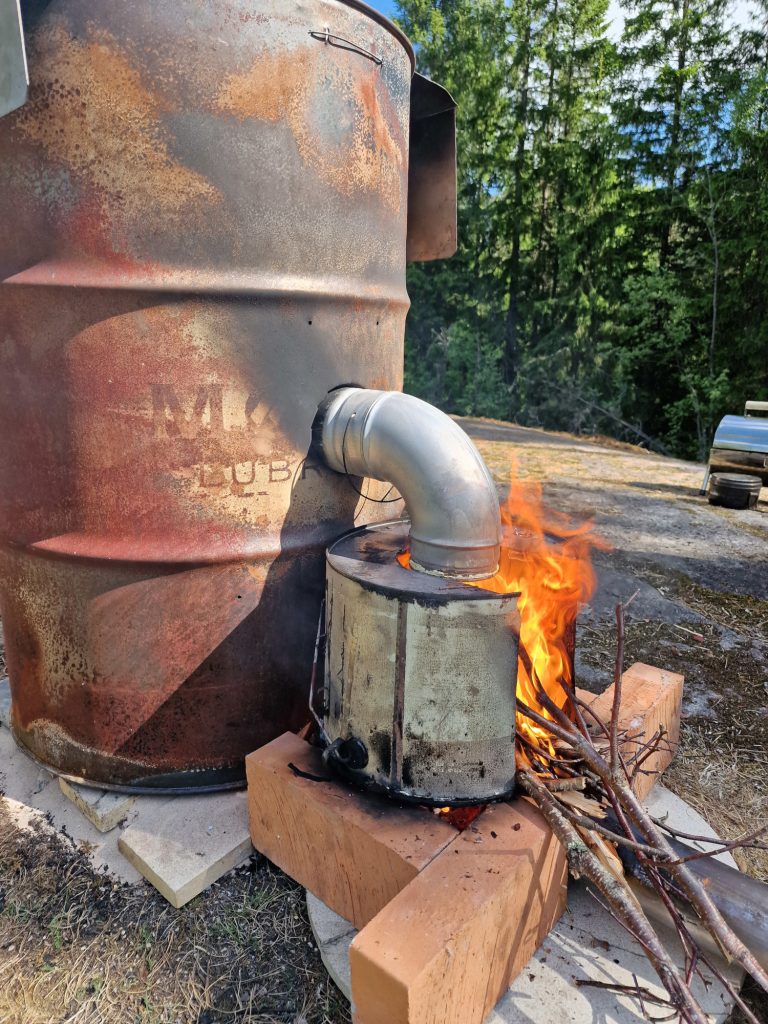
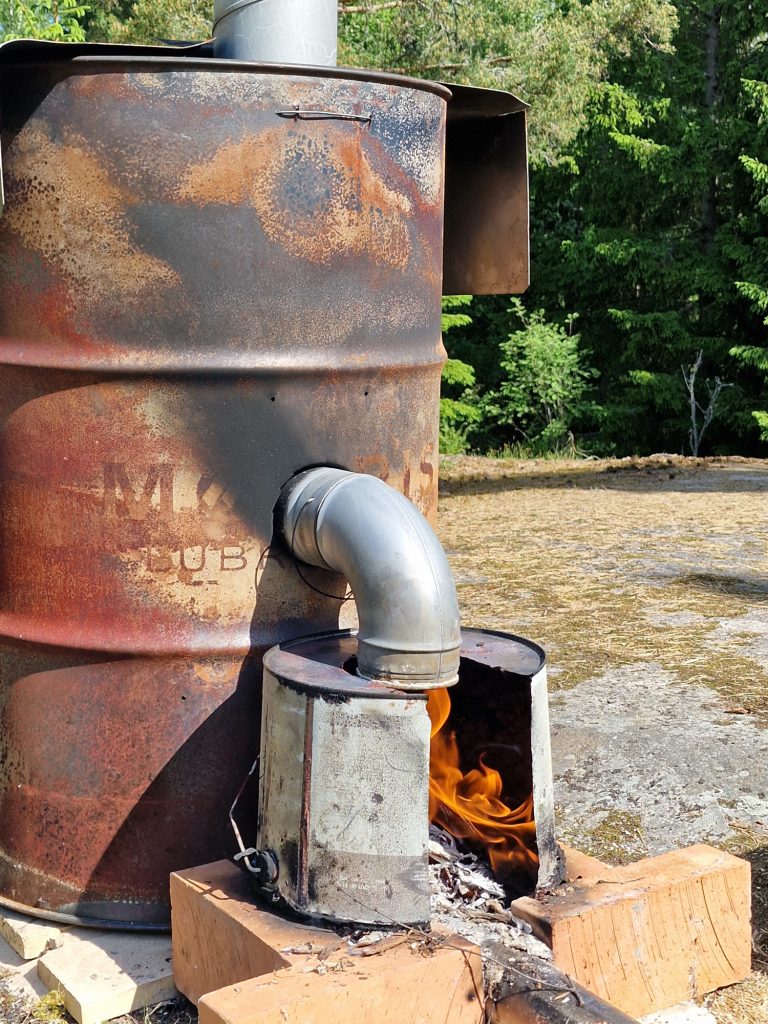
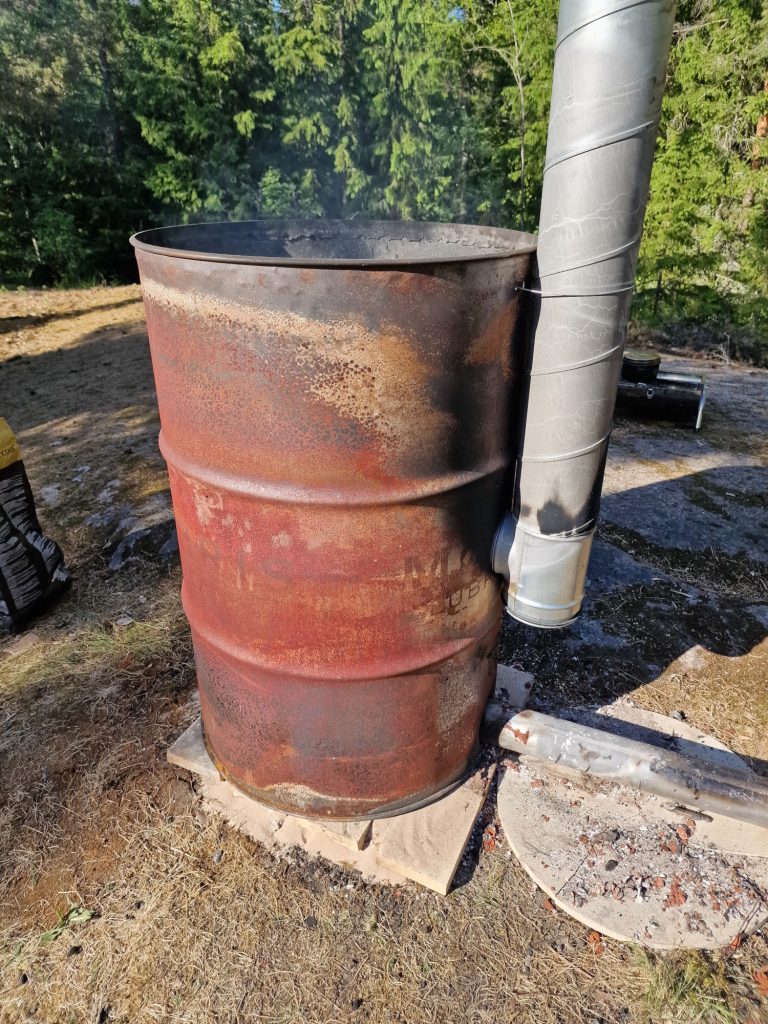
You can reach as high as 1000 degrees Celcius in a steel barrel, that’s enough for raku firing, low-fire ceramic and glazes, and bisque firing. This is of course a simple and cheap backyard kiln, and can not compare with a real pottery kiln.
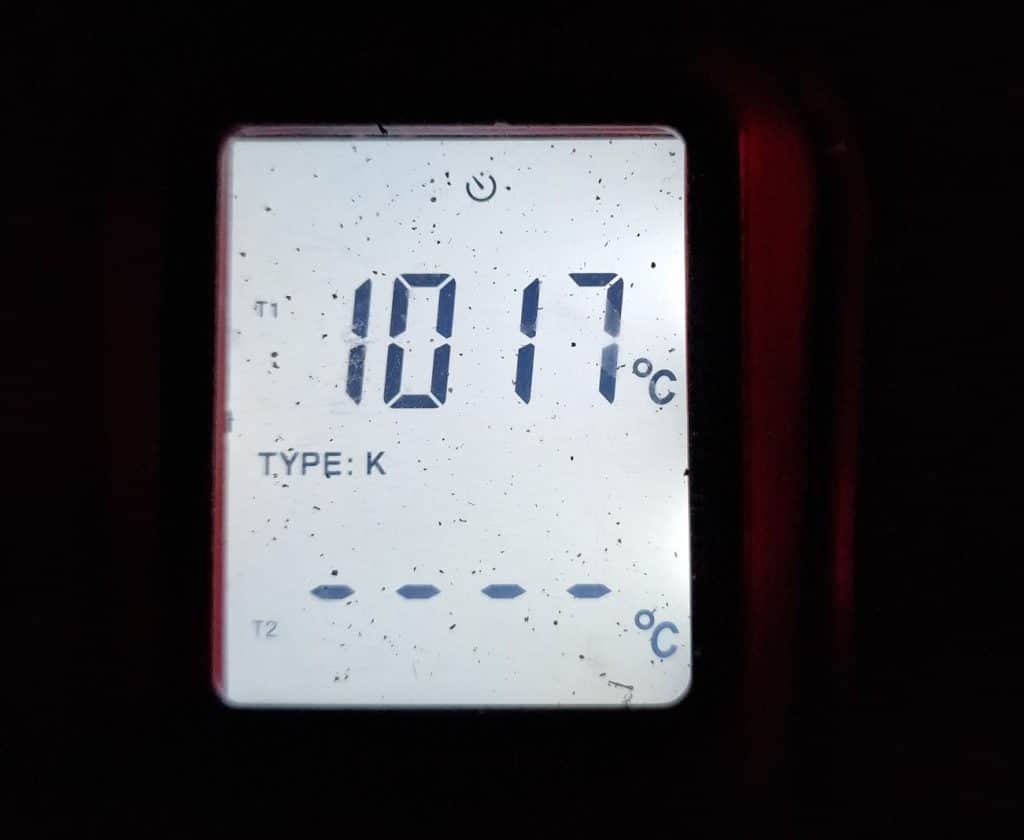
Stoneware ceramic is fired up to 1250 – 1300, but this kind of temperature needs more efficient kilns, a long time of firing, way better isolation, and so on.
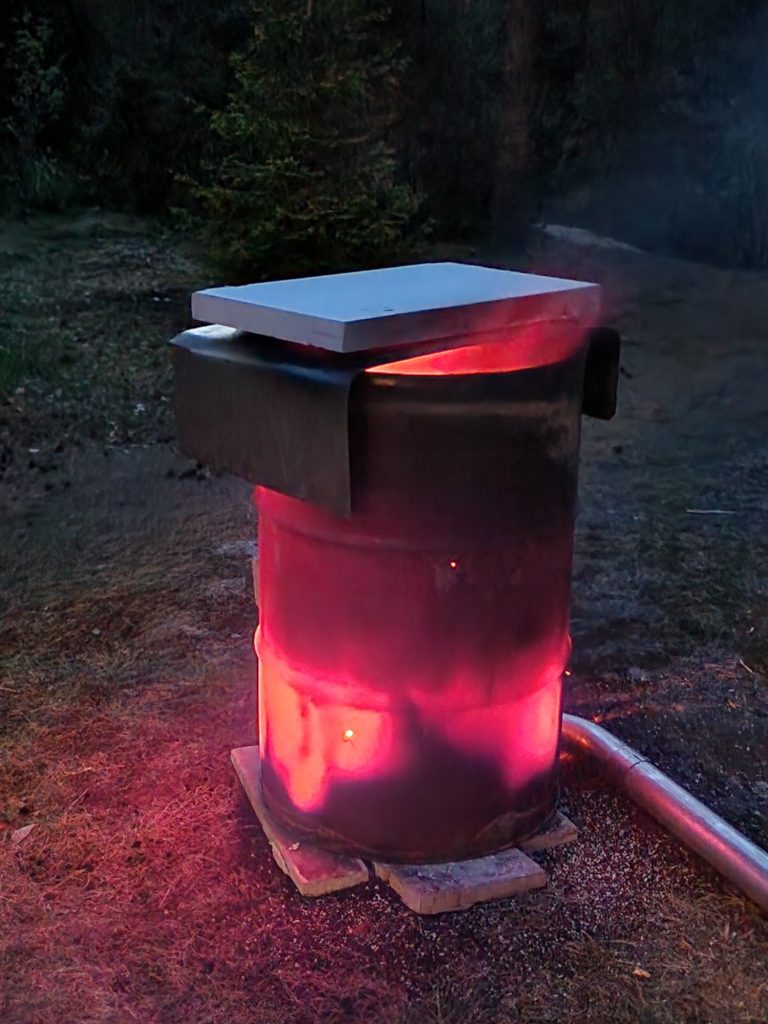
How to build a wood fired kiln with an oil barrel:
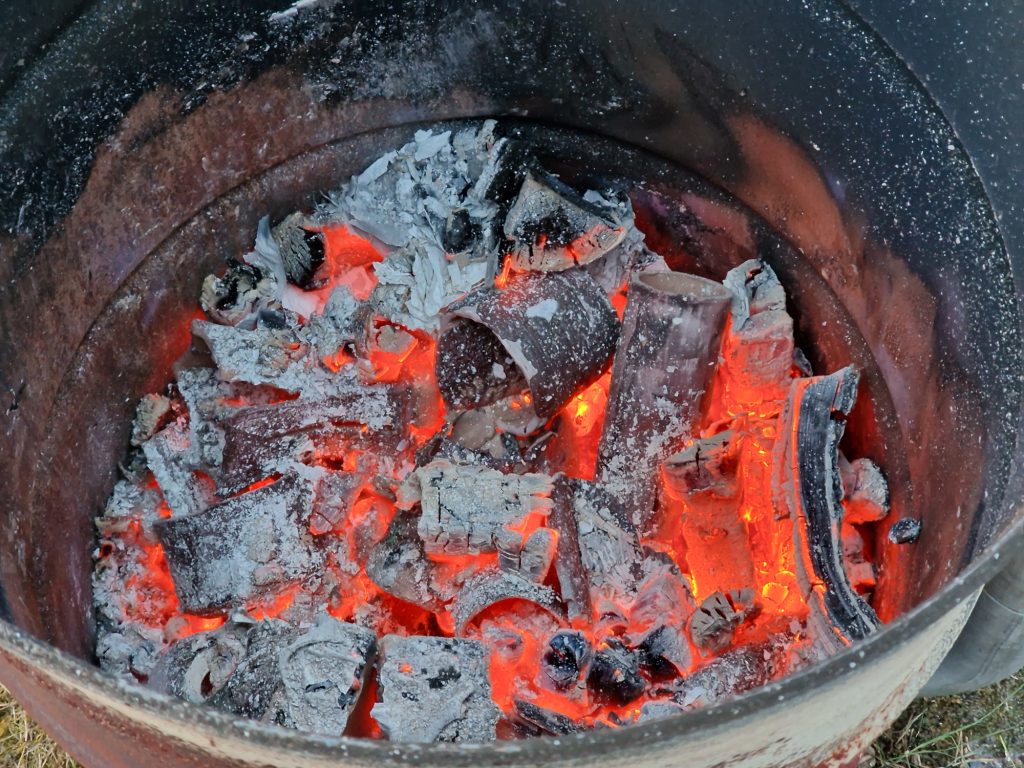
A common way to fire pottery in an oil barrel is to fill the barrel with a combination of ceramic and wood, ignite it on top, and let it burn slowly down. The goal is to make it burn slowly downwards in the barrel at a steady rate. In general, ceramic needs to be heated slowly, most importantly til it passes 100 degrees Celsius, so all the water can evaporate out when the clay get heated, and not stay trapped in the clay when it turns to steam. Fire effectively heats up in the direction of the flames, but not the other way: Ceramic wares 10 cm below the fire (or deeper), get no heated. As the fire burns deeper in the barrel, pottery will still go from no heat to maximum temperature in quite a short time. That’s far from an ideal.
Another challenge is that sparks from the fire can fall to the bottom of the barrel, and ignite it from underneath too. This way everything can start to burn at once, and the heat rises all too quickly, opposite of what we try to achieve. By filling the barrel with a combination of wood logs and wood spoons, can be some kind of control, and the goal here is to find the right combination of oxygen, cavities, and wood spoons.
Also, read how to burn ceramic in the sawdust kiln:
https://www.woodfireceramic.com/the-sawdust-kiln/
Check out the mini tin can kiln:
https://www.woodfireceramic.com/make-a-simple-tin-can-pottery-kiln/
Or read about the simple brick kiln:
https://www.woodfireceramic.com/how-to-build-a-wood-fired-pottery-kiln/
Remember safety when firing pottery in an oil drum; any kiln that's filled once and ignited is hard to "turn off" when it's first started. Any kiln that needs to feed solid fuel one by one gives a higher degree of control. In both cases, high temperatures and long flames will occur.
Also, see Mikkel deMib’s pottery tips on youtube:
https://www.youtube.com/watch?v=AMJPjPZ0kM0&t=2132s
How to build a wood fired kiln with an oil barrel – 2025